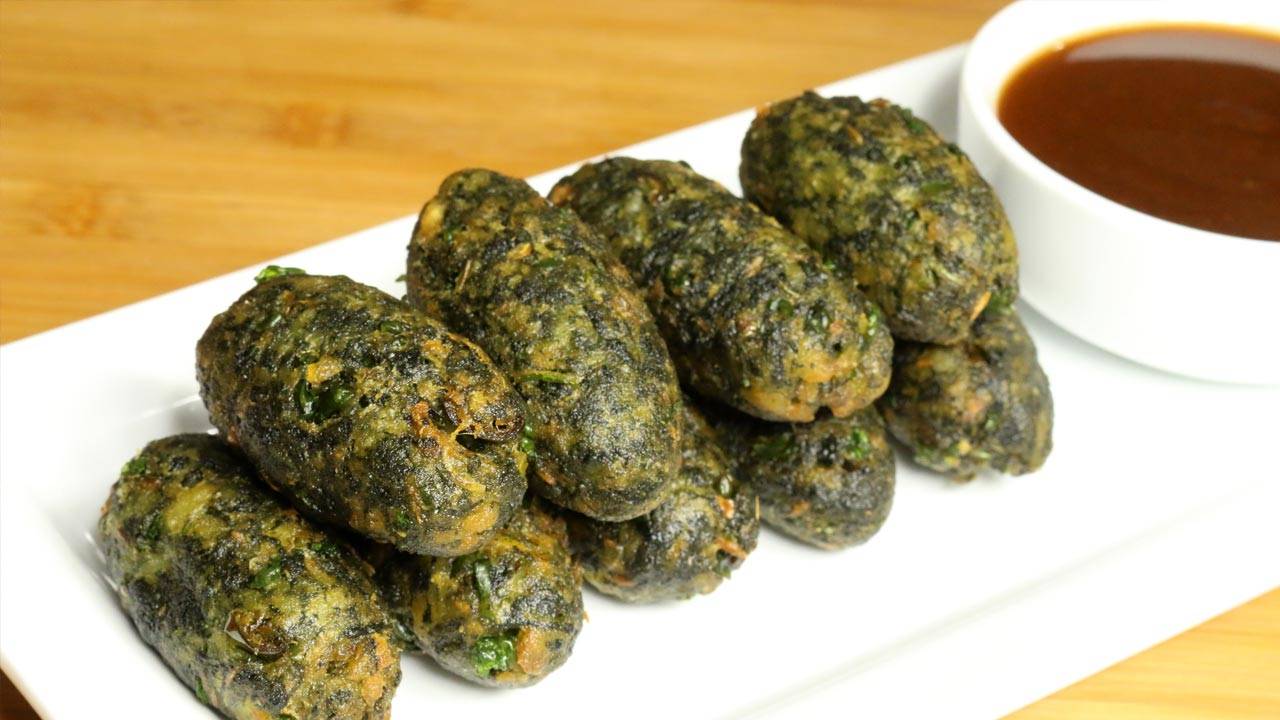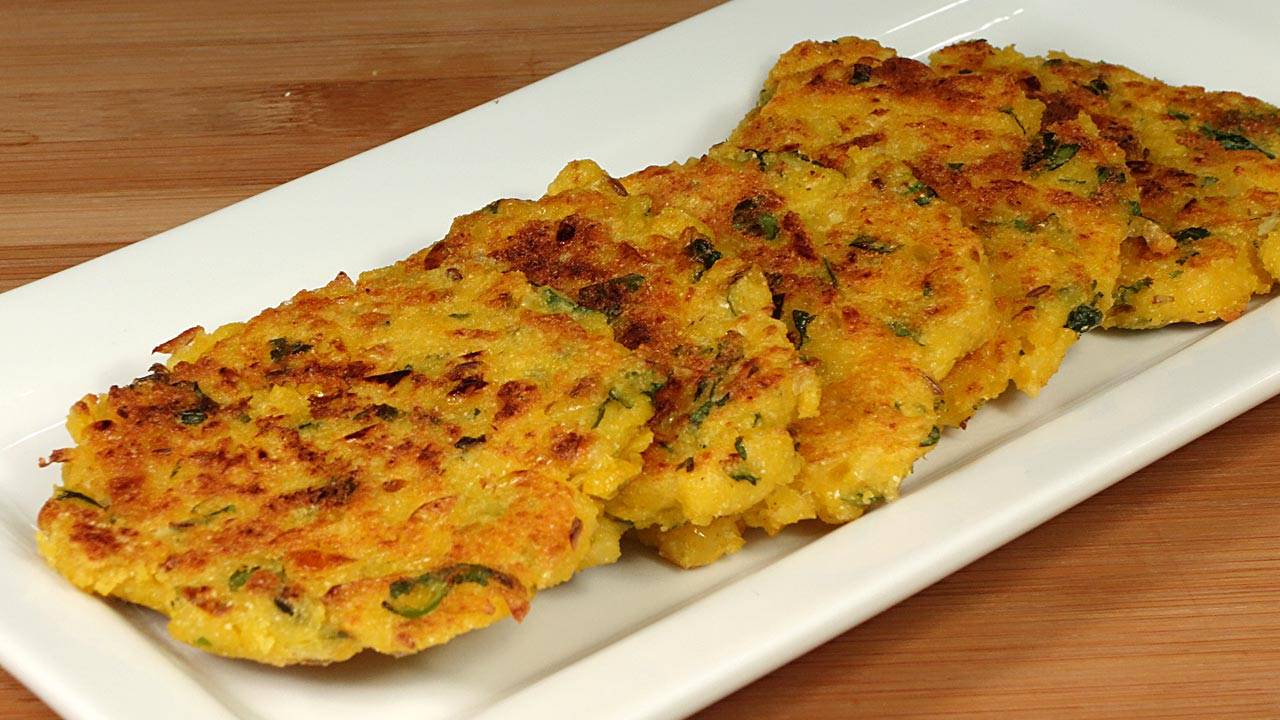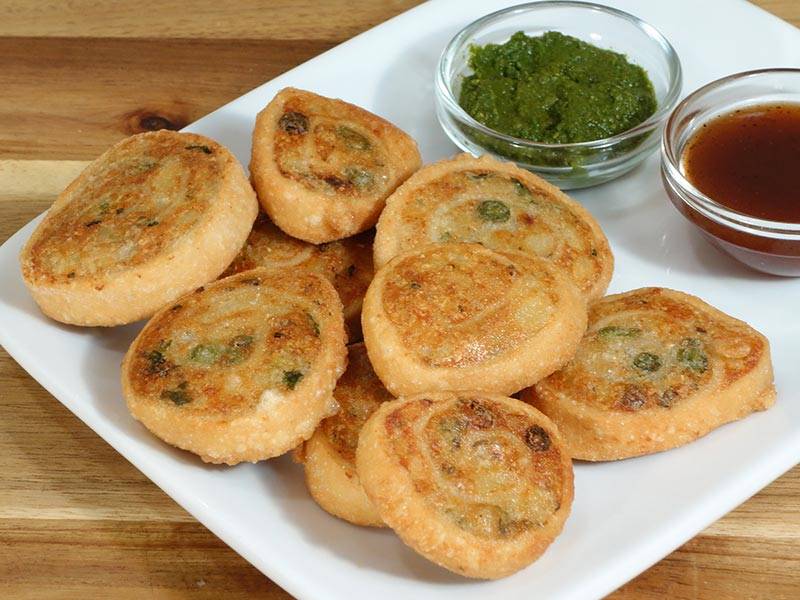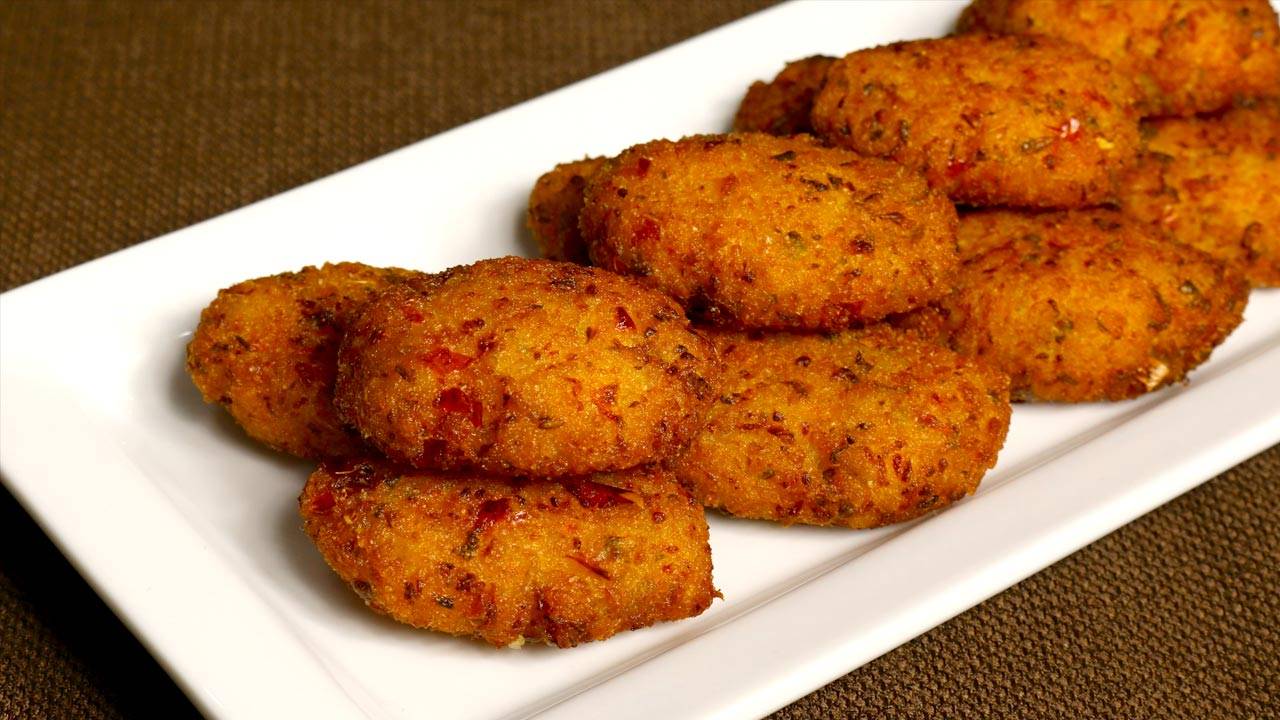
Vegetable Rice Cutlets
Ingredients
- 2 cups cooked rice
- 1 small potato peeled and cut in small pieces
- 1 cup mixed vegetables cut into very small pieces (green beans, bell pepper and carrot)
- 2 teaspoon ginger chopped
- 1/2 teaspoon red chili powder, adjust to taste
- 1-1/2 teaspoons salt
- 1 teaspoon cumin seeds
- 1 tablespoon corn starch
- Oil to fry
Instructions
- Pat dry all the vegetables.
- Put all the ingredients in food processer and mix for about half a minutes. Mix should not become like paste and you should be able to see all the vegetables.
- Remove from the food processer, rice mix will be textured of chunky soft dough. Divide the mix into 16 pieces and roll them into flat patties about 1/2 inch thick.
- Heat the oil in a frying pan on medium high heat. Drop the cutlets slowly into it, taking care not to overlap them.
- Fry the cutlets until they are golden brown, turning occasionally. This should take about 5 to 6 minutes. Take them out over a paper towel.
- For best taste serve them hot. Cutlets taste great with cilantro chutney.
Vegetable Rice Cutlet Recipe
Vegetable Rice Cutlet is a delectable appetizer that is not only gluten-free but also suitable for both Krishna Janmashtami and Navaratri celebrations. This snack is prepared by combining cooked rice with various finely chopped vegetables, forming a mixture that is then shaped into patties and fried until golden brown.
Being vegan-friendly, these cutlets cater to a wide range of dietary preferences.
They serve as delightful snacks or appetizers, perfect for any occasion or gathering. In this guide, we will explore the delightful world of Vegetable Rice Cutlets. These savory treats are perfect for any occasion, whether you’re hosting a party or simply craving a flavorful snack.
Packed with wholesome ingredients and bursting with flavor, these cutlets are sure to be a hit with your family and friends.
How to Make Vegetable Rice Cutlet: A Step-by-Step Guide
Prep the Vegetables: For perfect texture, ensure all vegetables are meticulously dried. Pat them dry to remove excess moisture that can affect the final consistency.
Combine Ingredients: Assemble all ingredients in a food processor. Pulse carefully to achieve a cohesive mixture with some texture. Avoid over-processing into a paste.
Shape the Cutlets: Transfer the mixture – it should be a chunky, pliable dough. Divide it into 16 equal portions. Shape each portion into a flat patty, about half an inch thick, for even cooking.
Fry to Golden Perfection: Heat oil in a frying pan over medium-high heat. Add enough oil to submerge half the patty. Gently place patties in the hot oil, ensuring they don’t touch. Fry for 5-6 minutes, turning occasionally, until golden brown.
Drain and Serve: Transfer the golden cutlets to absorbent paper towels to remove excess oil while maintaining crispness.
Variations:
You can customize Vegetable Rice Cutlets according to your preferences and dietary restrictions. Here are some variations to try:
Spicy Variation: Add chopped green chilies or a dash of chili powder to the mixture for an extra kick of heat.
Cheesy Variation: Mix in grated cheese to the filling mixture for a gooey and indulgent twist.
Vegan Variation: Replace potatoes with mashed chickpeas or sweet potatoes for a vegan-friendly option.
Gluten-Free Variation: Use gluten-free bread crumbs or crushed cornflakes for coating to make the cutlets suitable for those with gluten intolerance.
FAQs:
Can I bake the cutlets instead of frying them?
Yes, you can bake the cutlets in a preheated oven at 375°F (190°C) for 20-25 minutes or until they are golden brown and crispy.
Can I use leftover rice?
Absolutely! Vegetable rice cutlets are a great way to use leftover rice. Just make sure it’s cooked and cooled completely.
Can I freeze the cutlets for later use?
Yes, you can freeze the uncooked cutlets in a single layer on a baking sheet until firm, then transfer them to a freezer-safe bag or container for up to 3 months. Thaw them in the refrigerator before frying or baking.
How long will they stay fresh?
Store leftover cutlets in an airtight container in the refrigerator for up to 3 days. Reheat in a pan or oven until warmed through.
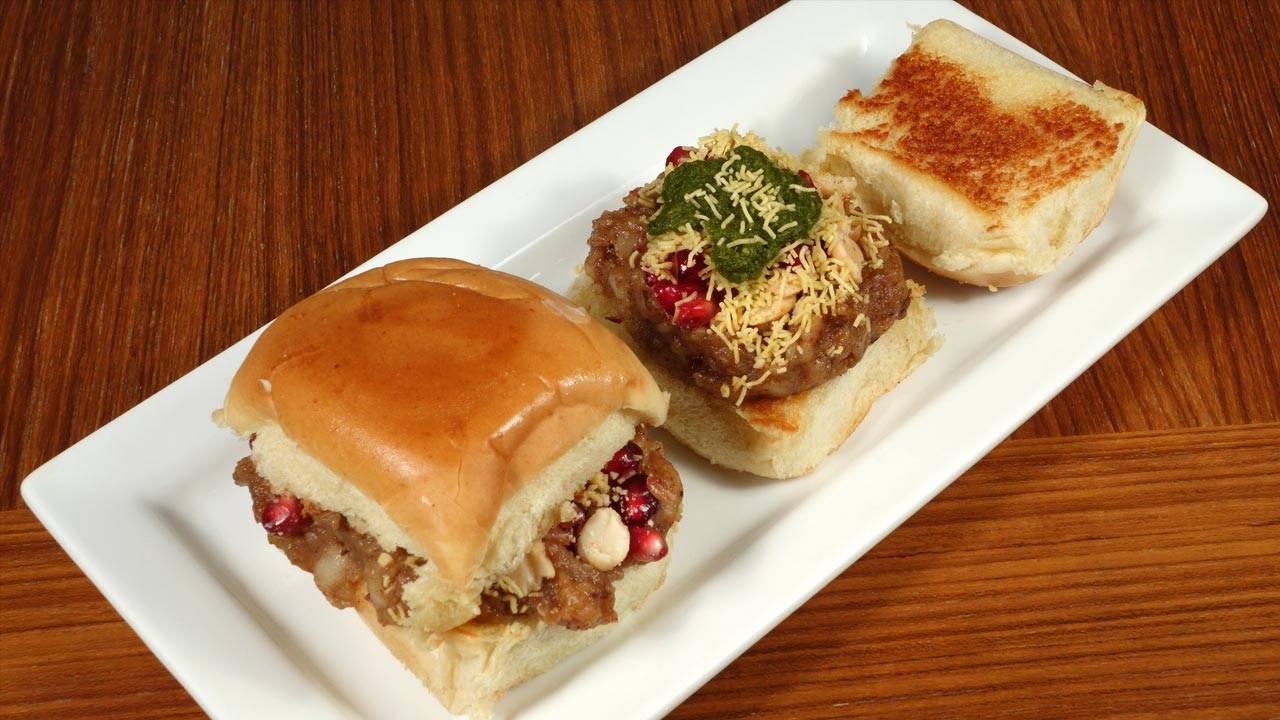
For more delicious recipes, visit Manjula’s Kitchen and explore other Recipes. If you’re looking to explore more Indian recipes, appetizers, beverages, and desserts, be sure to check out the following links on Manjula’s Kitchen. Here are some links to recipes on Manjula’s Kitchen official website: Paneer Tikka Masala Recipe, Chana Chaat (Spicy Chickpea Salad) Recipe, Pav Bhaji (Spicy Vegetable Hash with Buns) Recipe, Raj Kachori (Crunchy Chaat) Recipe, Vegetable Biryani Recip. These recipes should offer you a flavorful experience straight from Manjula’s Kitchen.