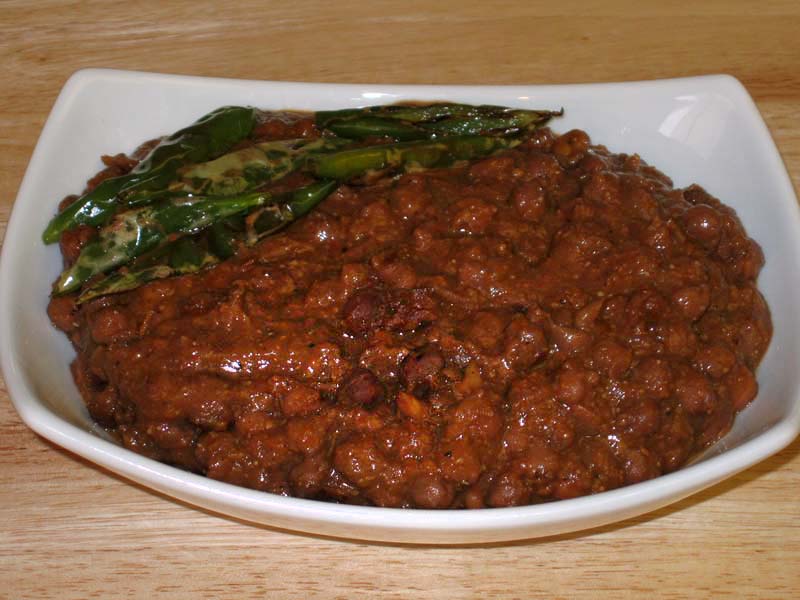
Kadhi Pakoras
Ingredients
For Kadhi
- 1 cup yogurt dahi, curd
- 2/3 cup besan gram flour
- 6 cup water
- 2 tbsp ghee clarified butter
- 1/8 tsp asafetida hing
- 1/2 tsp fenugreek seeds methi dana
- 1/2 tsp cumin seeds jeera
- 1 tsp turmeric haldi
- 4 whole red chilies
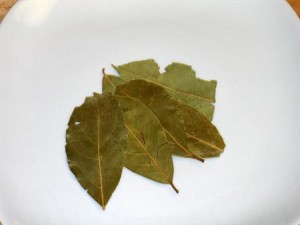
- 2 bay leaves
- 1/2 tsp red chili powder
- 1 tsp salt
- pinch citric acid if needed to give more sourness to kadhi
For Pakoras
- 3/4 cup besan, gram flour
- 2/3 cup water use as needed
For Garnish
- 1 tsp ghe clarified butter
- 1 tsp red chili powder
Instructions
Making Kadhi
- Mix gram flour and turmeric with yogurt until smooth. Add three cups of water slowly and mix well.
- Heat the oil in a saucepan. Test the heat by adding one cumin seed to the oil. If the cumin seeds crack right away, the oil is ready. Add the asafetida, fenugreek seeds, cumin seeds, stir and add bay leaves, whole red chilies, and red chili powder. Stir for a few seconds. Add the yogurt mixture and keep stirring until the kadhi comes to a boil.
- Add three cups of water and let it come to boil. Add salt. Turn the heat to medium low. Let the kadhi cook an hour and a half, stir occasionally. To adjust thickness, add boiled water.
Making Pakoras
- Add water slowly to the besan to make a smooth and thick batter. Whip the besan batter two to three minutes in a circular motion using a spoon, until light and fluffy.
- Fry the pakoras in ½ inch of oil in a flat frying pan over medium heat. (Don’t use enough oil to cover the pakoras; they will be softer and fluffier if fried in shallow oil.
- To test, drop one drop of batter into the oil. The batter should form a ball on the surface of the pan, but not change color right away.
- Place about one tablespoon of batter into the oil. Fry the pakoras in small batches until golden-brown.
- After frying, soak the pakoras in room-temperature water for ten minutes. Squeeze the pakoras gently to remove the water, taking care not to break them.
- Add the pakoras to the kadhi and boil on low to medium heat for ten minutes.
Making the Seasoning
- Heat the ghee (clarified butter) lightly in a small saucepan. Add chili powder and/or paprika (adjust to taste). Pour over the kadhi when ready to serve.
Notes
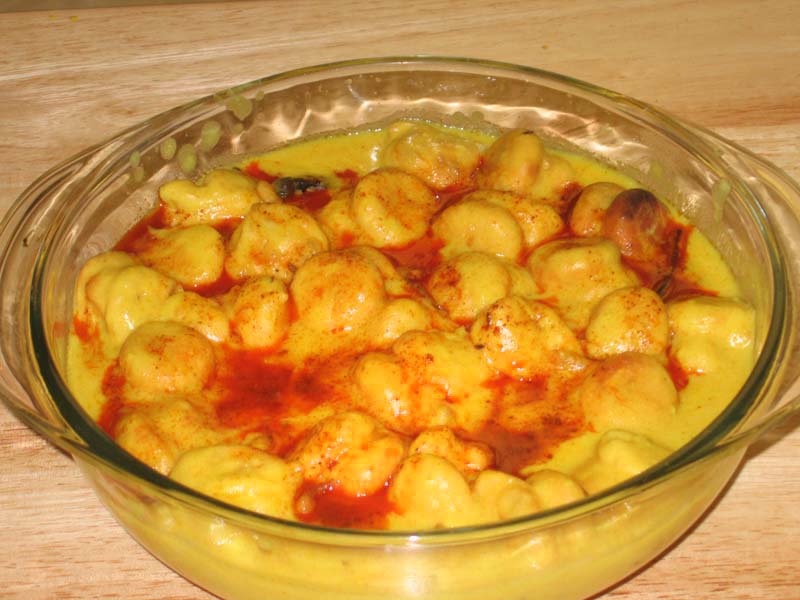
Punjabi Kadhi Pakora Recipe
Kadhi Pakora is a gluten-free summer recipe featuring a savory vegetable curry with dal (lentils) and crispy fried pakoras, creating a delightful and flavorful dish. Kadhi Pakora, a popular North Indian dish, is a comforting and flavorful yogurt-based curry with gram flour dumplings. This traditional dish is known for its tangy and savory taste, making it a favorite among many households. In this kadhi recipe, we’ll show you how to make authentic Punjabi Kadhi Pakora step by step, so you can enjoy its deliciousness at home. Whether you’re craving a comforting meal or planning a special dinner, Kadhi Pakora is sure to satisfy your taste buds.
Step 1: Preparation of Ingredients for kadhi pakora punjabi style
Start by gathering all the necessary ingredients for making Kadhi Pakora. For the pakoras, prepare a batter using gram flour, spices, and water. Slice and chop green chilies, cilantro, and ginger for the pakora batter. For the kadhi, whisk yogurt and gram flour together until smooth, and set aside. Finely tomatoes and ginger for the kadhi gravy. Having all the ingredients ready will streamline the cooking process.
Step 2: Making Pakoras:
To make the pakoras, heat oil in a deep-frying pan. Drop Spoonfuls of the pakora batter into the hot oil and fry until golden brown and crispy. Remove the pakoras from the oil and place them on a paper towel to drain excess oil. Repeat the process until all the batter is used. The crispy pakoras will add texture and flavor to the kadhi.
Step 3: Preparing the Kadhi Base:
In a large pot or saucepan, heat oil or ghee over medium heat. Add cumin seeds, mustard seeds, and fenugreek seeds, and let them splutter. Next, add ginger, and cook until fragrant. The aromatic base will form the foundation of the kadhi gravy, imparting depth of flavor to the dish.
Step 4: Cooking the Kadhi:
Once the aromatics are sautéed, it’s time to add the chopped tomatoes to the pot. Cook the tomatoes until they soften and break down, forming a thick gravy. Then, add the whisked yogurt and gram flour mixture to the pot, stirring continuously to prevent lumps from forming. Bring the mixture to a gentle boil, then reduce the heat and let it simmer.
Step 5: Adding Pakoras:
Once the kadhi base is cooked and thickened, add the fried pakoras to the pot. Gently stir to coat the pakoras with the flavorful kadhi gravy. Allow the pakoras to simmer in the kadhi for a few minutes to absorb the flavors. The combination of soft pakoras and tangy kadhi creates a harmonious and satisfying dish.
Step 6: Finishing Touches:
Before serving, garnish the Kadhi Pakora with freshly chopped cilantro leaves for a burst of freshness and color. You can also sprinkle some roasted cumin powder on top for extra flavor. Serve the Kadhi Pakora hot with steamed rice or roti for a comforting and wholesome meal.
Tips for Making Perfect Kadhi Pakora:
- Consistency: Adjust the consistency of the kadhi by adding more water if it’s too thick or simmering longer if it’s too thin.
- Fresh Ingredients: Use fresh yogurt and spices for the best flavor in the kadhi gravy.
- Frying Pakoras: Fry the pakoras in batches to ensure even cooking and crispiness.
Variations of Kadhi Pakora:
- Vegetarian Variation: Skip the addition of pakoras and add vegetables like potatoes, carrots, or bell peppers to the kadhi for a vegetarian version.
- Gluten-Free Option: Use chickpea flour (besan) instead of wheat flour for the pakora batter to make it gluten-free.
- Spicy Version: Add extra green chilies or red chili powder for a spicier kadhi.
Benefits of Including Kadhi Pakora in Your Diet:
- Probiotic-rich: Yogurt used in kadhi is rich in probiotics, which promote gut health and digestion.
- Good Source of Protein: Gram flour used in pakoras adds protein to the dish, making it a satisfying meal option.
- Balanced Meal: Kadhi Pakora is a balanced meal that provides carbohydrates, protein, and fats, along with essential vitamins and minerals.
Frequently Asked Questions (FAQs) about Kadhi Pakora:
Q: Can I make kadhi without pakoras?
A: Yes, you can skip adding pakoras and enjoy the kadhi as a creamy yogurt-based curry with a tempering of spices.
Q: How long does kadhi pakora last in the refrigerator?
A: Kadhi Pakora can be stored in the refrigerator for up to 3-4 days. Reheat gently on the stovetop before serving.
Q: Can I freeze kadhi pakora?
A: While you can freeze kadhi pakora, the texture of the pakoras may change slightly upon thawing. It’s best enjoyed fresh or stored in the refrigerator for a few days.
For more delicious Indian curry recipes, visit Manjula’s Kitchen. Explore a variety of vegetarian curry dishes featuring a range of spices, vegetables, and legumes to add flavor and variety to your meals.
For more delicious Indian recipes, check out Manjula’s Kitchen: Chole Bhature, Naan, Paneer Tikka Masala, Aloo Paratha, Vegetable Biryani.