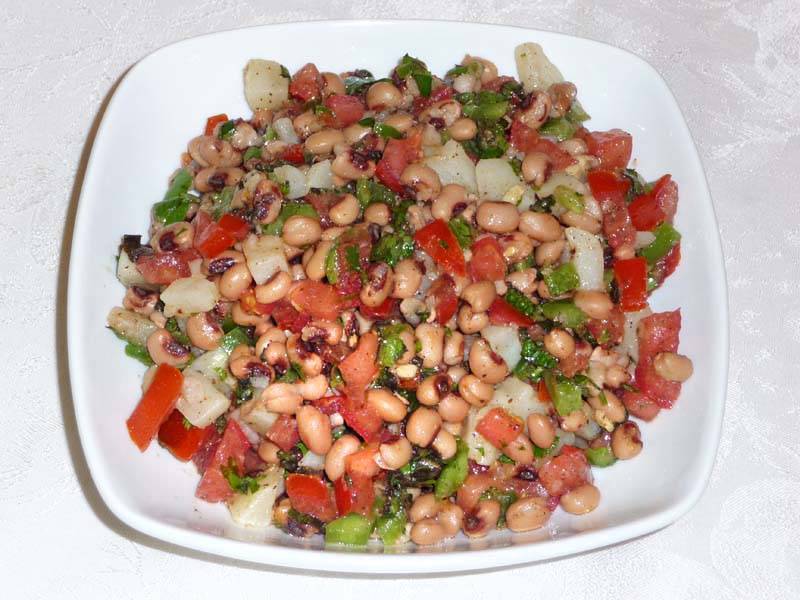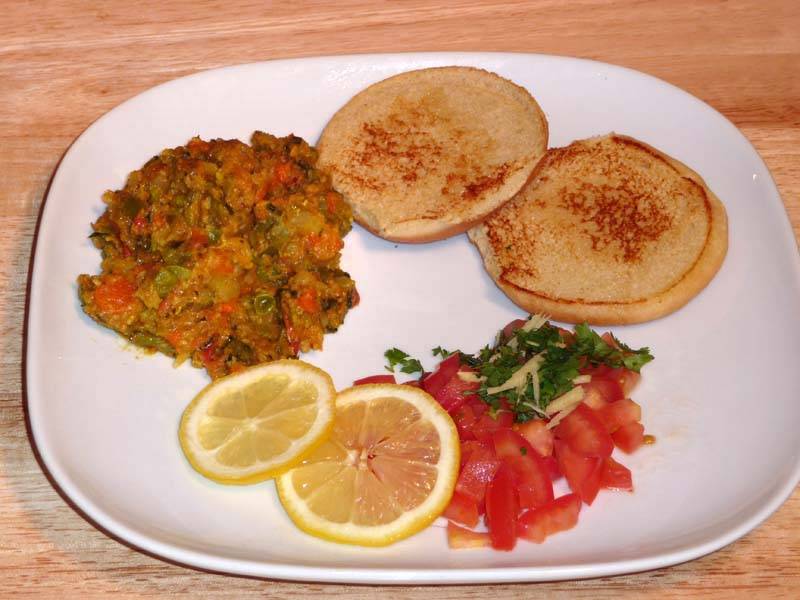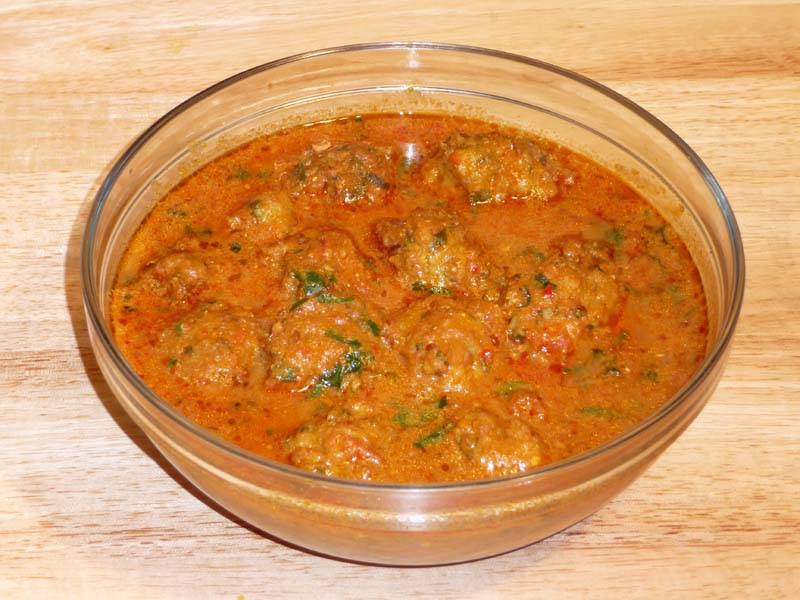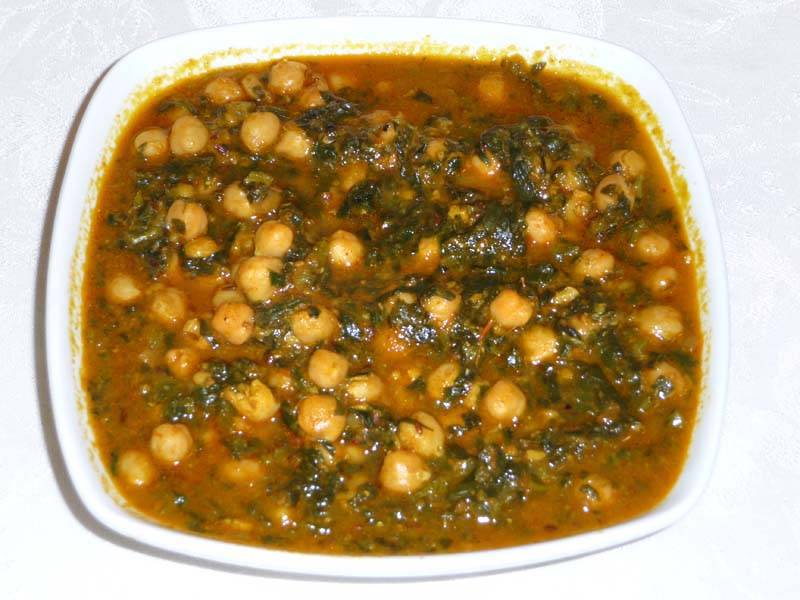
Chole Palak (Chickpeas With Spinach)
Ingredients
Ingredients:
- 1 15 oz can of chickpea (chole, garbanzo)
- 3 cups finely chopped spinach (palak)
- 2 medium tomatoes chopped
- 1/2" piece ginger (adrak)
- 1 green chili
- 3 tablespoon oil
- 1/4 teaspoon asafetida (hing)
- 1 teaspoon cumin seed (jeera)
- 1 tablespoon coriander powder (dhania)
- 1/2 teaspoon turmeric (haldi)
- 1/2 teaspoon red pepper adjust to taste
- 1/2 teaspoon salt adjust to taste
- 1/2 teaspoon garam masala
Instructions
Method
- Drain the chickpeas and rinse well.
- Blend the tomatoes, green chilies, and ginger to make a puree.
- Heat the oil in a saucepan. Test the heat by adding one cumin seed to the oil; if the seed cracks right away, the oil is ready. Add the asafetida and cumin seeds. When the cumin seeds crack, add the tomato puree, coriander powder, turmeric, and red chili powder. Cook for three to four minutes on medium heat. The tomato mixture will separate from the oil and reduce to about half in quantity.
- Add spinach, salt, and one-half cup of water. Cook, covered, four to five minutes on medium heat.
- Add the chickpeas and mash them lightly with a spatula. Add more water as needed to keep the gravy consistency to your liking. Cook on low heat for seven to eight minutes. Add the garam masala.
Notes
- Chole Palak can be served with roti, naan, or any other bread. It also goes well with plain rice.
- Chole Palak is a delicious, healthy choice for people who eat a vegan or gluten-free diet
Introduction to Chole Palak – Chickpeas with Spinach:
Palak Chana Masala is a flavorful and nutritious Indian dish that combines spinach (palak) and chickpeas (chana) in a spiced gravy or curry. It is typically made with dal (lentils), making it a good source of protein, and is naturally gluten-free and low in fat. This dish is quick and easy to prepare, making it perfect for a winter meal. It is also suitable for vegans as it does not contain any animal products.
Chole Palak, also known as chickpeas with spinach or palak chana masala, is a delightful and nutritious dish that combines the goodness of chickpeas and spinach in a flavorful curry. This Chana Saag recipe is a perfect balance of protein-rich chickpeas and iron-packed spinach, making it not only delicious but also incredibly healthy. In this recipe, we’ll guide you through the process of making this hearty and satisfying dish step by step.
Chole Palak Recipe:
-
Drain and Rinse the Chickpeas: Open the can of chickpeas and pour its contents into a colander. Use running water to thoroughly rinse the chickpeas, removing any canning liquid or residue. Shake the colander gently to remove excess water. Set the rinsed chickpeas aside for now.
-
Blend the Aromatics: Wash and roughly chop the tomatoes, green chilies, and ginger. Add them to a blender and blend until you have a smooth puree. This puree will form the flavorful base of your chickpea curry.
-
Heat the Oil and Add Spices: Pour oil into a saucepan and heat it up on medium heat. To test if the oil is hot enough, carefully add a single cumin seed to the pan. If the seed sizzles and cracks right away, the oil is at the perfect temperature. Once the oil is hot, add the asafetida (a pinch is enough) and cumin seeds. Asafetida adds a unique, slightly garlicky aroma to curries. Listen for the cumin seeds to crackle, indicating they’ve released their flavors.
-
Cook the Tomato Masala: Now it’s time to add the blended tomato puree, coriander powder, turmeric, and red chili powder to the pan with the cumin seeds. Stir the mixture well to combine all the spices with the tomato puree. Let this mixture cook on medium heat for three to four minutes. As it cooks, the oil will separate from the tomato mixture, and the mixture itself will reduce in volume by about half. This concentration of flavors is what will give your curry its depth.
-
Add Spinach and Simmer: After the tomato masala has cooked down, add the spinach and salt to the pan. Pour in half a cup of water as well. Give everything a good stir and bring to a simmer. Cover the pan and let the contents simmer for four to five minutes on medium heat. The spinach should wilt and become tender during this time.
-
Add Chickpeas and Adjust Consistency: Once the spinach is cooked, add the rinsed and drained chickpeas to the pan. Use a spatula to gently mash some of the chickpeas against the side of the pan. This will help slightly thicken the gravy and add some textural variation to the curry. If the gravy seems too thick at this point, simply add more water, a little bit at a time, until you reach your desired consistency. Let the chickpeas simmer in the gravy for another seven to eight minutes on low heat, allowing them to absorb all the flavors.
-
Finish with Garam Masala: As a final touch, take the pan off the heat and stir in the garam masala. Garam masala is a warming spice blend commonly used in Indian cuisine. It will add another layer of complexity to your curry. Give everything a final stir and your chickpea curry is complete!
Tips for Making Perfect Chole Palak:
- Use Fresh Spinach: Fresh spinach works best in this recipe as it adds a vibrant green color and a tender texture to the curry.
- Adjust Spice Level: Customize the spice level according to your preference by adjusting the amount of red chili powder or green chilies used.
- Add Lemon Juice: A squeeze of lemon juice added to the curry just before serving will brighten the flavors and add a hint of acidity.
Variations of Chole Palak:
- Creamy Chole Palak: Stir in some coconut milk or cashew cream for a creamy and indulgent version of the dish.
- Spicy Chole Palak: Add extra green chilies or a pinch of cayenne pepper for a spicier kick.
- Chole Palak with Paneer: Add cubed paneer to the curry for added richness and protein.
Benefits of Including Chole Palak in Your Diet:
- High in Protein: Chickpeas are an excellent source of plant-based protein, making Chole Palak a nutritious option for vegetarians and vegans.
- Rich in Iron: Spinach is packed with iron, which is essential for maintaining healthy blood cells and preventing anemia.
- Loaded with Vitamins and Minerals: Chole Palak is rich in vitamins A, C, and K, as well as folate, potassium, and magnesium, contributing to overall health and well-being.
Frequently Asked Questions (FAQs) about Chole Palak:
Q: Can I use frozen spinach instead of fresh spinach?
A: Yes, you can use frozen spinach if fresh spinach is not available. Thaw the frozen spinach and squeeze out any excess water before adding it to the curry.
Q: Can I make Chole Palak in advance?
A: Yes, Chole Palak can be made ahead of time and stored in the refrigerator for up to 3 days. Reheat gently on the stovetop before serving.
Q: Is Chole Palak gluten-free?
A: Yes, Chole Palak is naturally gluten-free, making it suitable for those with gluten intolerance or celiac disease.
For more delicious Indian curry recipes, visit Manjula’s Kitchen. Explore a variety of vegetarian curries featuring a range of spices, vegetables, and legumes to add flavor and variety to your meals.For more delicious Indian recipes, check out Manjula’s Kitchen: Chole Bhature, Naan, Paneer Tikka Masala, Aloo Paratha, Vegetable Biryani.