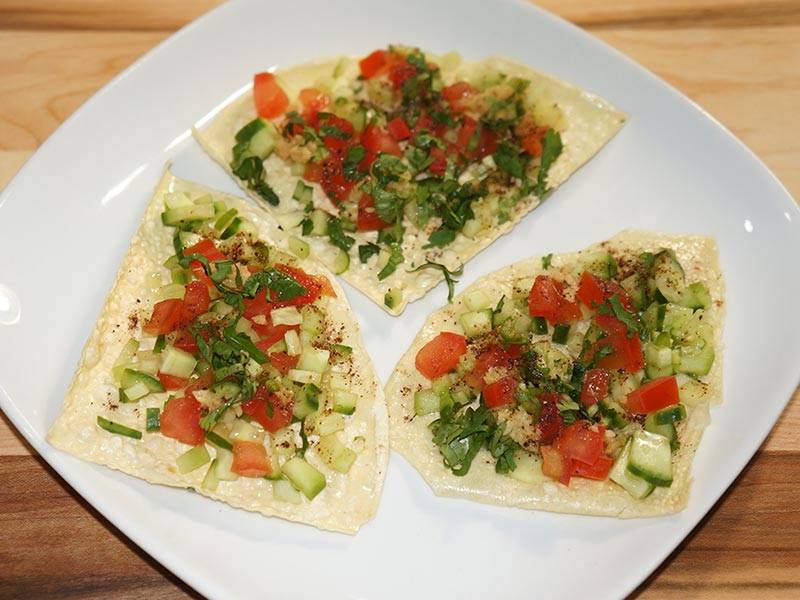
Masala Papad (Papad Salad)
Ingredients
Ingredients:
- 2 plain papad, (available in Indian grocery stores)
- 2 medium tomatoes, seeded and diced very small to make a approx. 1cup
- 1/2 English or deseeded cucumber, cut in very small pieces to make it about ½ cup
- 2 tablespoons cilantro finely chopped
- 1 teaspoon ginger finely shredded, optional
- 1 green chili finely chopped, optional
- ½ lemon
- 2 teaspoon 2 teaspoon oil
Spice Mix for Garnishing
- 1/2 teaspoon salt
- 1/4 teaspoon black salt
- 1/2 teaspoon dry roasted cumin seeds powder
- 1/8 teaspoon black pepper
- Pinch red chili
Instructions
Method
- Mix all the dry ingredients to make a spice mix, set aside.
- Mix tomatoes, cucumbers, cilantro, ginger, and green chili, set aside
- Lightly oil the papads from both sides, set aside.
- Preheat the skillet over medium high heat. Roast the papads on both sides in the skillet one at a time, pressing with spatula. The papads will change to a light yellow with a few brown spots. Be careful not to over-roast. Fold the Papads in quarters while they are hot, making triangles right on the skillet.
- Remove the papads from the skillet and break on the folds, creating four triangles from each one.
- Take one piece of papad and top it with cucumber, tomato, ginger, green chili, and cilantro. Drizzle with lemon juice and sprinkle the spice mix on top.
Notes
- Removing the seeds from the tomatoes keeps the papads crunchy.
- English cucumber is crisper on the outside and tender on the inside.
- You can prepare the masala papad in advance, and add the toppings just before serving.
Crunchy Delight: How to Make Delicious Masala Papad at Home
Masala Papad is a flavorful appetizer perfect for parties, offering a low-fat, vegan option that delights snack enthusiasts with its crunchy texture and spicy seasoning. Masala Papad is a delightful Indian appetizer that combines the crunchiness of papad with a burst of spicy, tangy flavors. If you’re wondering how to make masala papad, you’re in for a treat! This masala papad recipe brings together a harmonious blend of ingredients to create a dish that’s not only delicious but also incredibly easy to prepare at home. Let’s dive into the steps to prepare this mouthwatering delicacy.
1. Making the Spice Mix:
First, we’ll create a flavorful spice blend to add a kick to your masala papad. Gather all the dry ingredients like cumin, coriander powder, chili powder, and maybe even some chaat masala (a tangy and savory spice blend commonly used in Indian street food). In a bowl, carefully measure and combine these dry spices. Once everything is incorporated, set the bowl aside for later.
2. Preparing the Veggie Topping:
Next, we’ll create a refreshing and vibrant topping for the papad. Start by chopping the tomatoes, cucumbers, cilantro, ginger, and green chili. Aim for a fine chop to ensure even distribution on the papad. You can remove the seeds from the tomatoes if you prefer a drier topping, as the seeds can release moisture and make the papad soggy. After chopping, combine all the veggies in a separate bowl and set it aside with the spice mix.
3. Oiling and Roasting the Papads:
Now it’s time to prepare the base of our dish – the papad itself! Take each papad and lightly brush or drizzle a thin layer of oil on both sides. This will help them crisp up nicely during roasting. Once oiled, set the papads aside on a plate.
4. Roasting and Folding the Papads:
Heat up your skillet over medium-high heat. It’s important to have the pan hot enough to ensure the papads roast quickly and evenly. Carefully place one papad at a time in the hot skillet. Use a spatula to gently press down on the papad as it cooks. You’ll see the color change from its original white to a light yellow with a few brown spots. This is your cue to flip the papad and cook the other side. Be mindful not to overcook them, as they can become burnt and brittle. While the papad is still hot and pliable, fold it in half to create a semi-circle shape. Then, fold it in half again to form a small triangle. This folding technique not only creates a nice presentation but also helps cradle the toppings when assembled.
5. Assembling and Serving the Masala Papad:
Finally, it’s time to put everything together! Take one of the folded papad triangles and carefully break it along the folds to create four smaller triangles. Now you have a crispy base ready for the toppings. Place a dollop of the prepared vegetable mixture on each papad triangle. Don’t forget a squeeze of fresh lemon juice for a touch of tanginess! Lastly, sprinkle the reserved spice mix over the top for a burst of flavor.
Tips for Perfect Masala Papad
Using English cucumbers is recommended for their crisp texture, but regular cucumbers will work too.
You can prepare the masala papad in advance for a quick and easy snack. Just store the roasted papad triangles in an airtight container and assemble them with fresh toppings right before serving.
Experiment with different toppings such as grated cheese, finely chopped bell peppers, or even crumbled paneer to create your own unique variations of masala papad.
For a healthier alternative, opt for baked papads instead of the traditional fried ones.
If you’re short on time, you can prepare the masala mixture in advance and store it in the refrigerator until ready to use.
Variations of Masala Papad
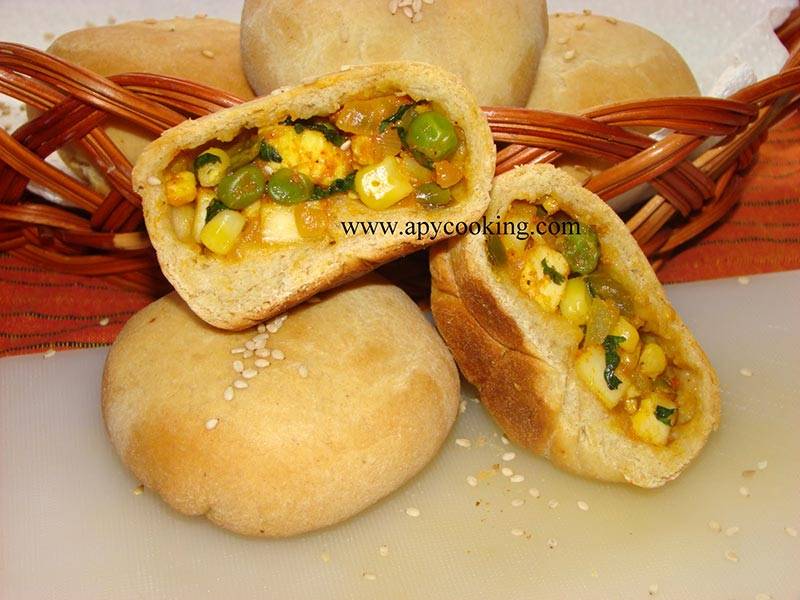
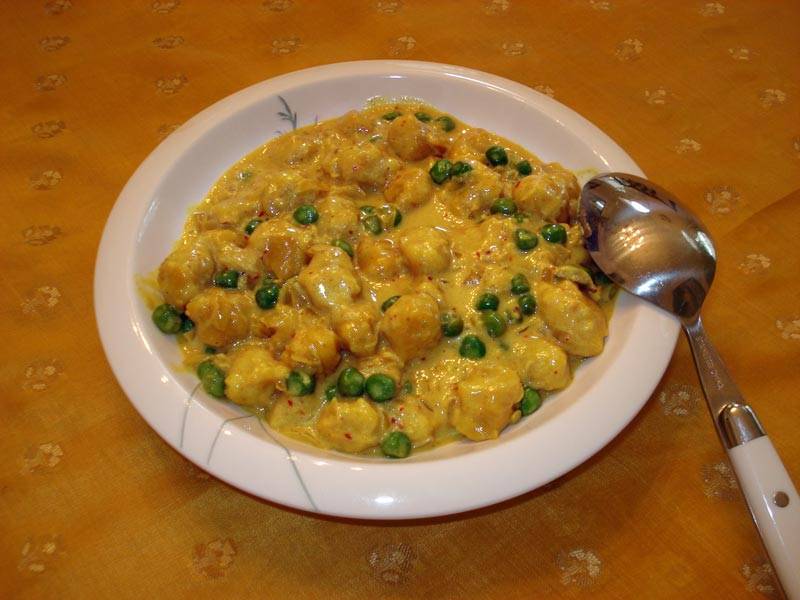
Paneer Masala Papad: Top your papads with a spicy paneer mixture for a creamy twist on this classic recipe. Check out the recipe here.
Corn Masala Papad: Add a sweet and savory element to your masala papad by incorporating corn kernels into the masala mixture. Find the recipe here.
Schezwan Masala Papad: Give your masala papad an Indo-Chinese twist by drizzling it with spicy Schezwan sauce. Learn how to make Schezwan sauce here.
Benefits of Masala Papad
Masala papad is a low-calorie snack that’s perfect for those watching their weight.
The combination of spices in masala papad aids digestion and stimulates the appetite.
Papads are rich in dietary fiber, making them a healthy option for snacking.
FAQs about Masala Papad
Can I make masala papad in advance?
Yes, you can prepare the masala mixture ahead of time and store it in an airtight container in the refrigerator. Simply assemble the papads right before serving.
Can I use store-bought papads for this recipe?
Absolutely! Store-bought papads work just as well as homemade ones for making masala papad.
Can I customize the spice level of masala papad?
Of course! Adjust the amount of green chilies and chaat masala according to your preference for spiciness.
With these simple steps and tips, you’ll be able to whip up a batch of delicious masala papad that’s sure to be a hit at your next gathering or as a quick snack for yourself. Enjoy experimenting with different toppings and flavors to create your own signature version of this beloved Indian appetizer!
Other Recipes on Manjula’s Kitchen
If you’re looking to explore more Indian recipes, appetizers, beverages, and desserts, be sure to check out the following links on Manjula’s Kitchen. Here are some links to recipes on Manjula’s Kitchen official website: Paneer Tikka Masala Recipe, Chana Chaat (Spicy Chickpea Salad), Pav Bhaji (Spicy Vegetable Hash with Buns), Raj Kachori (Crunchy Chaat), Vegetable Biryani