North Indian Recipes: A Journey Through Flavors
There’s something irresistibly comforting about North Indian cuisine. It’s not just the rich, aromatic spices that tantalize your senses, but the sheer warmth and heartiness of the dishes that make you feel at home, no matter where you are. Today, let’s explore some North Indian recipes, perfect for any occasion, and delightfully vegetarian to boot.
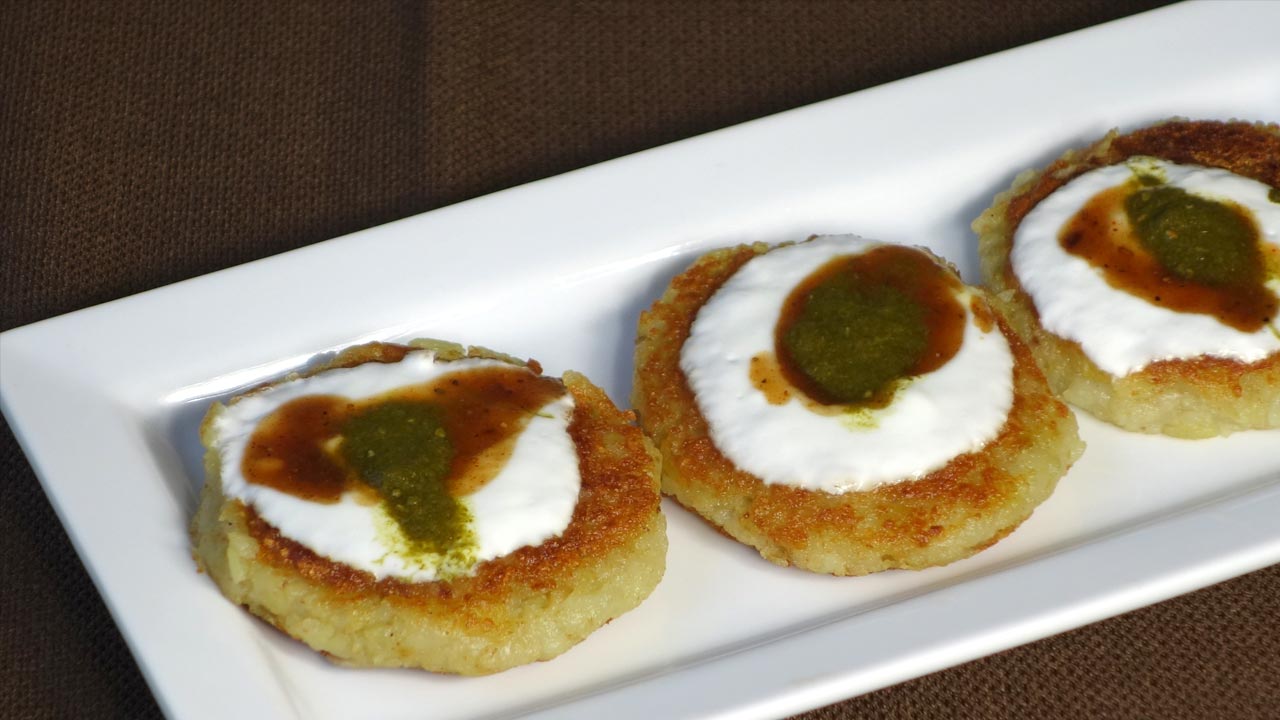
Rajma Galouti Kebabs
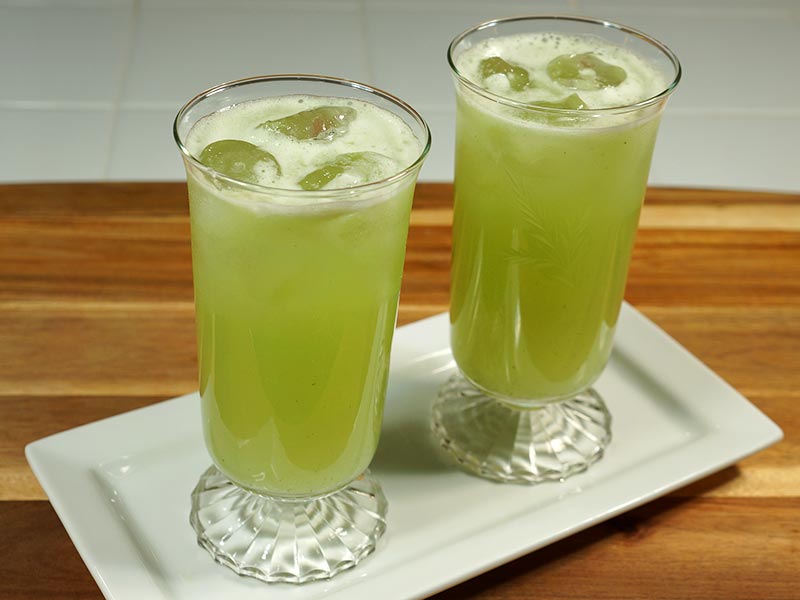
Imagine biting into Rajma Galouti Kebabs, where the robust flavor of kidney beans meets a medley of aromatic spices. These kebabs, a wonderful example of North Indian vegetarian recipes, are perfect for starting your meal. They pair beautifully with a refreshing sip from one of the many delightful Indian beverages, perhaps a tangy aam panna or a cooling lassi.
Methi Malai Matar
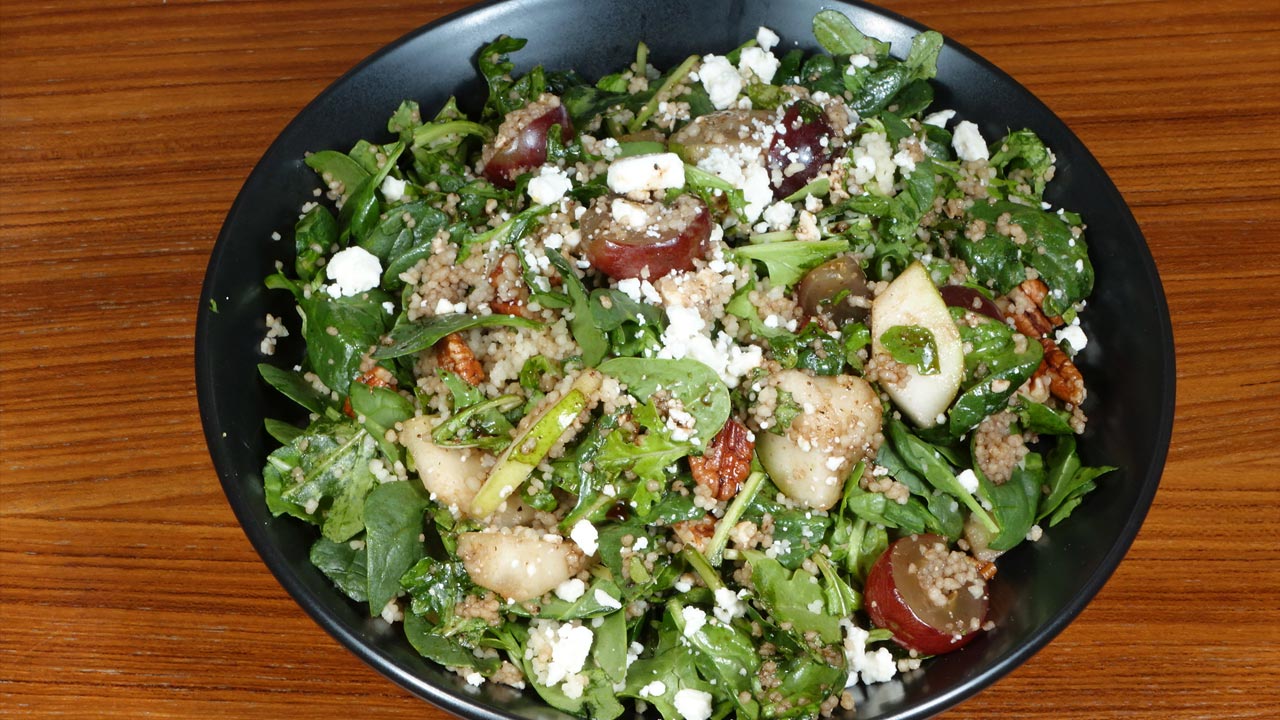
The gentle bitterness of fresh fenugreek leaves mingles with the sweet pop of peas in Methi Malai Matar. This dish, creamy and subtly spiced, epitomizes the charm of North Indian food recipes. It sits wonderfully alongside a bowl of fragrant rice or warm naan, complemented by a light, crisp salad from the array of soups and salads recipes available.
Pindi Chana
For those who crave a hearty, robust dish, Pindi Chana offers chickpeas enveloped in a symphony of spices, each bite bursting with flavor. This traditional gem from North Indian recipes is best enjoyed with fluffy bhature or poori. Add a tangy, spicy pickle from the pickle chutney selection to elevate the experience.
Enhancing Your North Indian Menu
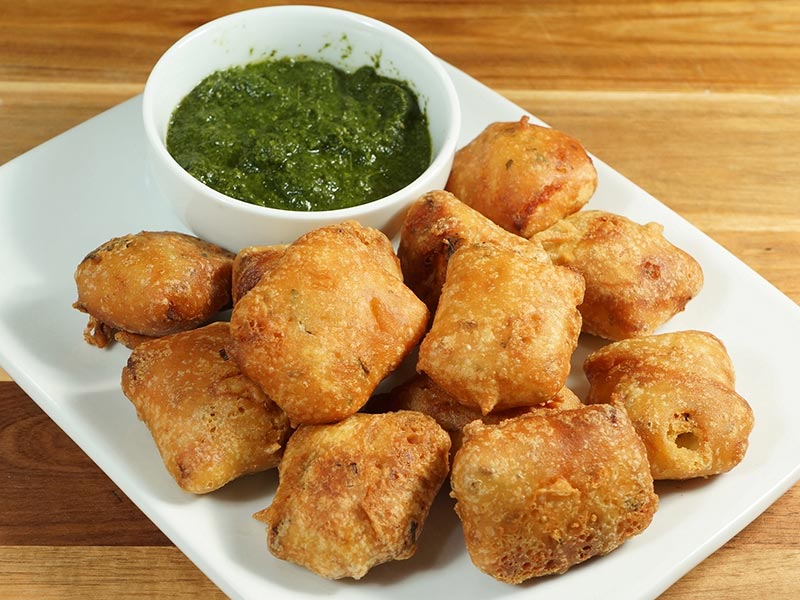
To elevate your North Indian feast, consider adding delightful Indian snacks like dhokla or kachori. These snacks bring a playful variety of textures and flavors that dance on your palate.
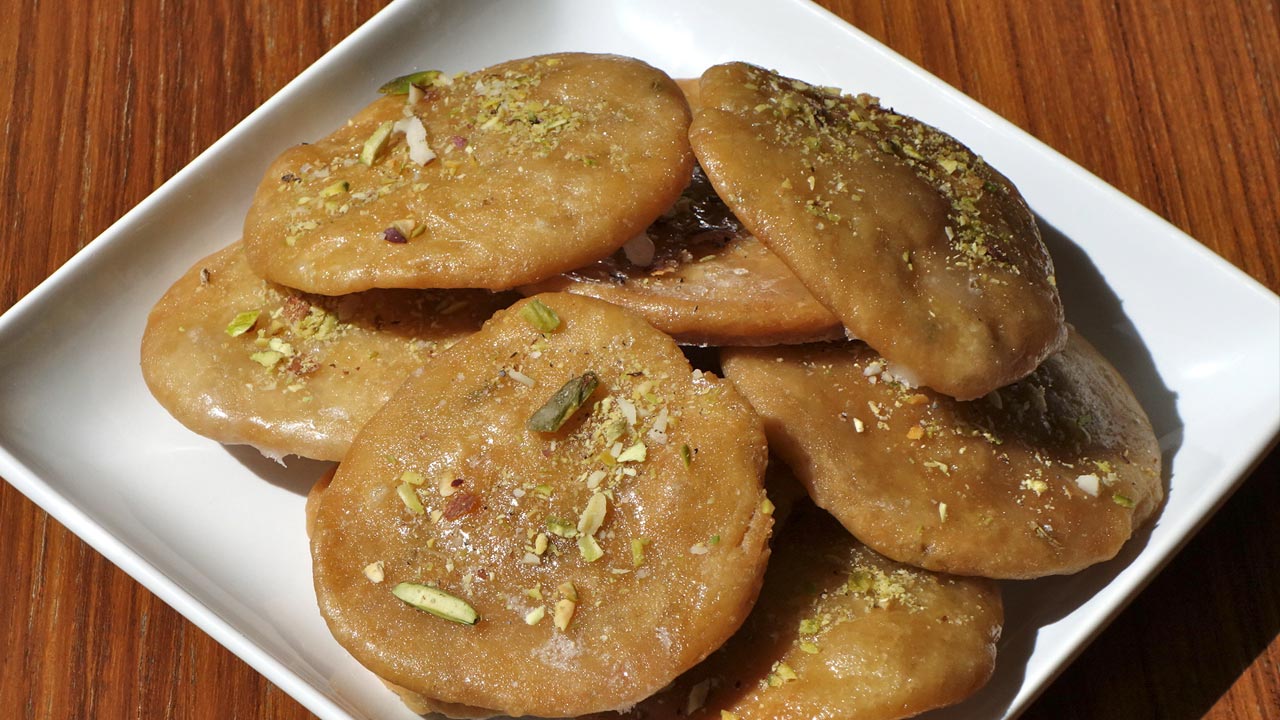
To end on a sweet note, indulge in Indian desserts recipes such as the delicate, syrup-soaked rasmalai or the creamy, comforting shrikhand.
For healthier options, dishes like dal makhani and bhindi masala offer deliciously light choices, perfect for those mindful of their diet.
For your next gathering, explore the wealth of recipes in the popular party recipe collection to ensure your menu impresses every guest.
More North Indian Vegetarian Recipes
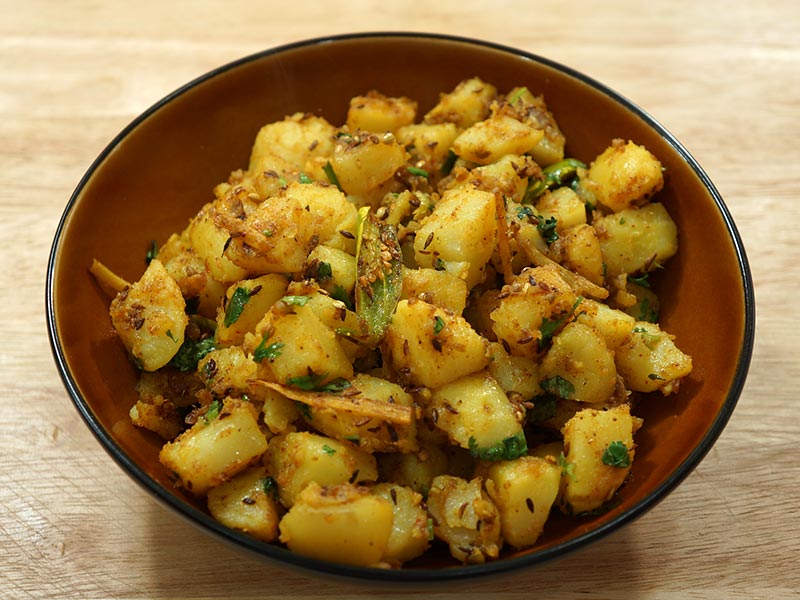
Dum Aloo
Imagine baby potatoes, cooked gently until tender, then enveloped in a rich, spiced gravy that epitomizes comfort food. This is Dum Aloo, a beloved staple in North Indian vegetarian recipes. It’s a dish that not only satisfies but also invites you to savor each mouthful. Pair it with a vibrant side from the vegetables sautéed / dry recipes, like a simple yet flavorful stir-fry.
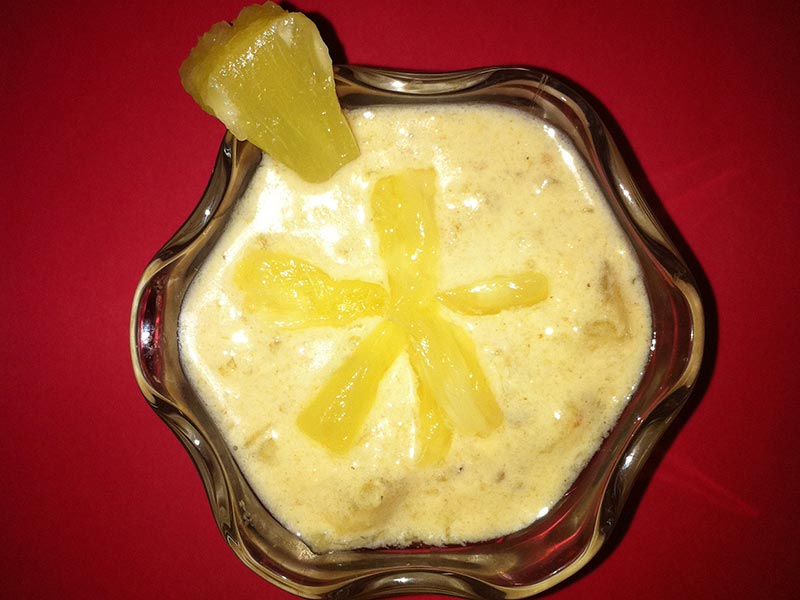
Sweet Endings: Gulab Jamun and Kheer
No meal is complete without a sweet indulgence. Gulab Jamun, those soft, syrup-drenched delights, and Kheer, a creamy rice pudding adorned with cardamom and nuts, are perfect for rounding off your feast. These desserts, highlighted in the Indian desserts recipe category, add a touch of sweetness to your culinary journey.
Frequently Asked Questions (FAQs)
Q: What are some popular North Indian recipes?
A: Some popular North Indian recipes include Rajma Galouti Kebabs, Methi Malai Matar, Pindi Chana, Dum Aloo, Gulab Jamun, and Kheer. These dishes are flavorful, nutritious, and perfect for any occasion.
Q: How can I make traditional North Indian food suitable for a vegetarian diet?
A: To make traditional North Indian food suitable for a vegetarian diet, try recipes like Rajma Galouti Kebabs, Methi Malai Matar, and Dum Aloo. These recipes are hearty, flavorful, and perfect for vegetarians.
Q: What are some easy North Indian vegetarian recipes?
A: Some easy healthy vegetarian recipes include Rajma Galouti Kebabs, Methi Malai Matar, and Pindi Chana. These dishes are quick to prepare and provide the necessary nutrients for a healthy diet.
Q: Can I prepare North Indian food recipes in advance?
A: Yes, many North Indian food recipes can be prepared in advance and stored. Dishes like Rajma Galouti Kebabs and Pindi Chana can be made ahead of time and refrigerated, while snacks like dhokla and kachori can be prepped and frozen.
Q: What are some sweet North Indian food recipes for special occasions?
A: Some sweet North Indian food recipes for special occasions include Gulab Jamun and Kheer. These desserts are classic, easy to prepare, and perfect for celebrations.
Conclusion
North Indian recipes are a celebration of diverse flavors and rich cultural heritage. Whether you’re looking for North Indian vegetarian recipes, specific North Indian food recipes, or comprehensive vegetarian Indian recipes, these dishes will bring variety and flavor to your meals. So, gather your ingredients, try out these recipes, and enjoy the rich and diverse world of North Indian cuisine. Happy cooking and happy eating!
By incorporating these dishes into your menu, you’ll be able to enjoy a wide variety of delicious and nutritious foods. Whether you’re looking for snacks, main courses, or desserts, there’s a North Indian recipe to suit every taste. Don’t forget to check out Manjula’s Kitchen for more inspiration and culinary delights. Happy cooking and happy eating!