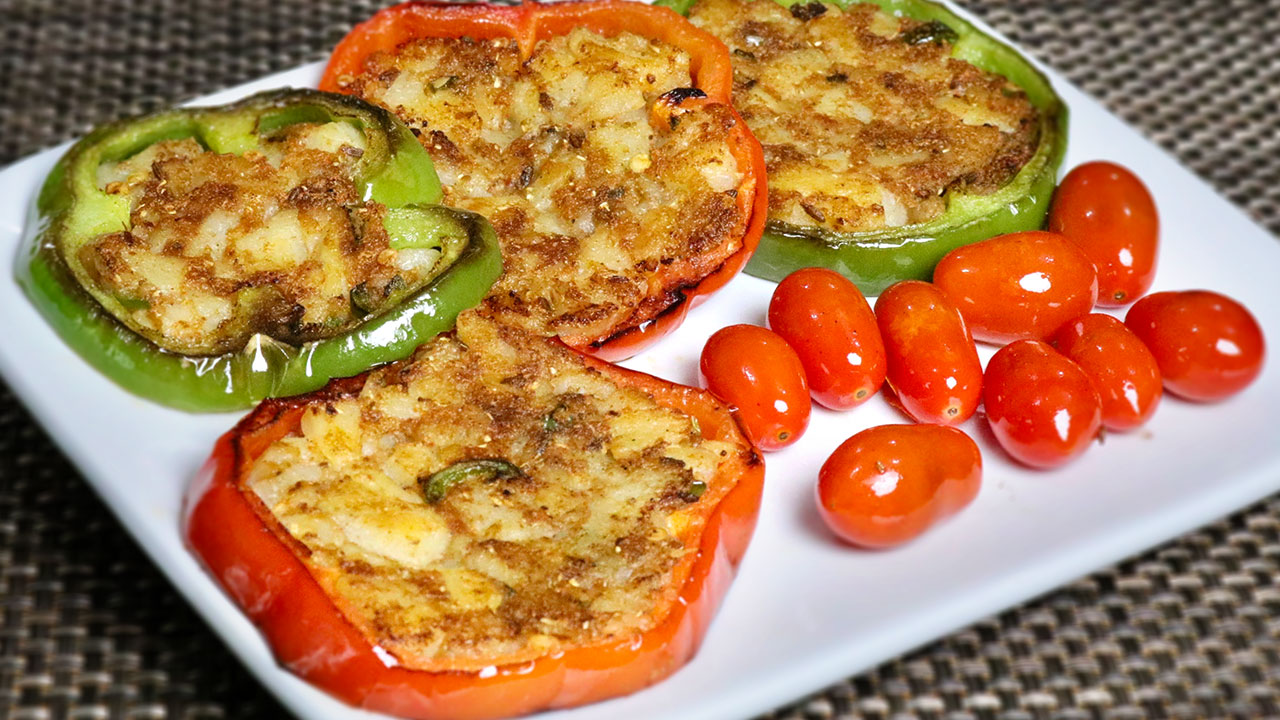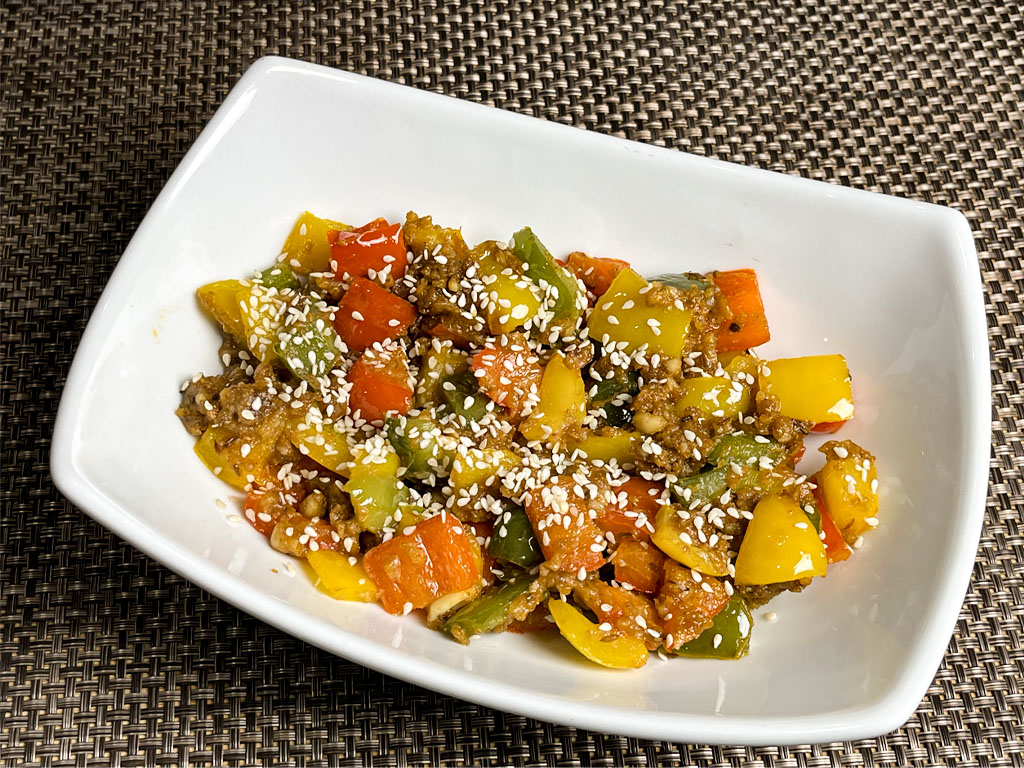

Sweet and Sour Bell Pepper
Ingredients
- 3 cups bite-cubed bell pepper, I am using green, yellow, and red bell peppers to make it colorful.
- 1/4 cup peanuts coarsely powder
- 2 tbsp besan
- 2 tbsp oil
- 1/2 tsp cumin seeds (jeera)
- 2 tsp coriander powder (dhania)
- 1 tsp salt
- ¼ tsp red chili powder
- 1 tsp mango powder (amchoor)
- 2 tsp lemon juice
- 3 tbsp brown sugar or jaggery
- 2 tsp sesame seeds
Instructions
- Cut the bell peppers into bite-size cubes and remove all the seeds.
- Heat the oil in a saucepan. Test the heat by adding one cumin seed to the oil. If the cumin seed cracks right away, the oil is ready. Add the cumin seeds. After the cumin seeds crack, add peanuts, besan, and 1 teaspoon of sesame seeds. Stir for about half a minute until the besan (gram flour) is golden-brown.
- Reduce the heat to medium-low, add the bell peppers and stir. Add coriander powder, red chili powder, and salt, then stir. Add about ¼ cup of water and cover the pan. Cook over low-medium heat for 6 to 8 minutes. Open and stir to check if the bell peppers are tender but still have some crispness to it.
- Add the mango powder and brown sugar. Stir and taste to adjust salt and lemon juice according to your taste.
- Turn the heat to low and cook for about 2 minutes, stirring gently.
- Before serving, garnish with the saved sesame seeds. Enjoy
Easy Bell Pepper Recipe: How to make Sweet & Sour Bell Pepper
Bell peppers are versatile vegetables that add vibrant color and flavor to dishes. While commonly used in savory recipes, they also shine in sweet and sour preparations.
Sweet and sour bell peppers offer a delightful appetizer with an added combination of tangy sweetness, making them a favorite among food enthusiasts.
Tips for Easy Bell Pepper Recipe:
Selecting Bell Peppers: For bell pepper recipes, Choose bell peppers that are firm, glossy, and free from wrinkles or blemishes. Look for peppers with vibrant colors, such as red, yellow, or orange, as they tend to be sweeter than green bell peppers.
Preparing Bell Peppers: Wash the bell peppers thoroughly under running water and pat them dry with a paper towel. Remove the stem, seeds, and white membrane from the inside of the peppers before slicing them into uniform strips or cubes.
Balancing Sweetness and Sourness: Achieving the perfect balance of sweetness and sourness is key to a delicious sweet and sour bell pepper dish. Adjust the amount of brown sugar or jaggery and lemon juice according to your taste preferences, keeping in mind that the sweetness should complement the tanginess without overpowering it.
Cooking Techniques: Sweet and sour bell peppers can be cooked using various methods, including stir-frying, sautéing, or roasting. Stir-frying is a quick and convenient method that retains the peppers’ crisp texture, while roasting enhances their natural sweetness and adds depth of flavor.
Suggestions for Spicy Bell Pepper Recipe:
Side Dish: Sweet and sour bell peppers make a flavorful side dish that pairs well with a variety of main courses, such as grilled tofu. Serve them alongside steamed rice or noodles for a complete meal.
Topping: Use sweet and sour bell peppers as a topping for pizza, sandwiches, or burgers to add a burst of flavor and color. They can also be layered onto wraps or quesadillas for a tasty twist.
Dip or Relish: Turn sweet and sour bell peppers into a dip or relish by blending them with herbs, spices, and a touch of olive oil. Serve it with crunchy crackers, tortilla chips, or crusty bread for a delicious appetizer or snack.
Variations to Sweet & Sour Bell Pepper:
Spicy Kick: Add diced jalapeños or red chili flakes to the sweet and sour bell pepper mixture for a spicy kick. The heat from the peppers will complement the sweet and tangy flavors, creating a delicious contrast.
Herb Infusion: Enhance the flavor of sweet and sour bell peppers by infusing them with fresh herbs such as basil, thyme, or cilantro. Simply add the herbs to the cooking process or sprinkle them over the dish before serving for a burst of freshness.
Protein Addition: Incorporate tofu into the sweet and sour bell pepper dish to make it more hearty and satisfying. Cook the protein separately and then combine it with the peppers during the final stages of cooking.
Frequently Asked Questions (FAQs):
Q: How long can I store leftover sweet and sour bell peppers?
A: Leftover sweet and sour bell peppers can be stored in an airtight container in the refrigerator for up to 3-4 days. Reheat them gently on the stovetop or in the microwave before serving.
Q: Can I make sweet and sour bell peppers ahead of time?
A: Yes, you can prepare sweet and sour bell peppers ahead of time and reheat them when ready to serve. However, keep in mind that the texture may slightly change upon reheating.
Q: Is this dish vegan/vegetarian-friendly?
A: Of course this dish is absolutely vegan/vegetarian-friendly for it doesn’t incorporate any non veg ingredients.
Q: How spicy is this dish?
A: Sweet and Sour Bell Pepper is typically not spicy, but you can adjust the heat level by adding chili flakes or fresh chili peppers if desired.
Q: Can I make this dish ahead of time?
Yes, you can make the sauce ahead of time and store it in the refrigerator for up to a week. When ready to serve, simply reheat the sauce and stir in freshly cooked bell peppers.
Q: What can I serve with Sweet and Sour Bell Pepper?
This dish pairs well with steamed rice or noodles. You can also serve it alongside other Asian-inspired dishes like stir-fried vegetables or tofu.
Q: How long will leftovers last?
Leftovers can be stored in an airtight container in the refrigerator for up to 3-4 days. Reheat gently on the stove or in the microwave before serving.
Q: Can I freeze Sweet and Sour Bell Pepper?
While you can freeze this dish, the texture of the bell peppers may change slightly upon thawing. It’s best enjoyed fresh, but if you do freeze it, store it in an airtight container for up to 2-3 months.
Q: How can I make this dish gluten-free?
Use tamari or a gluten-free soy sauce instead of regular soy sauce, and ensure all other ingredients are gluten-free as well.