Gluten-Free Indian Recipes: Delicious and Healthy Options
Eating gluten-free doesn’t mean sacrificing flavor, especially with the wide array of gluten free Indian recipes available. Whether you are gluten intolerant or simply looking to reduce gluten in your diet, these gluten free recipes Indian style will delight your taste buds. Let’s explore some delectable gluten free Indian food recipes that you can enjoy for every meal.
Breakfast Recipes
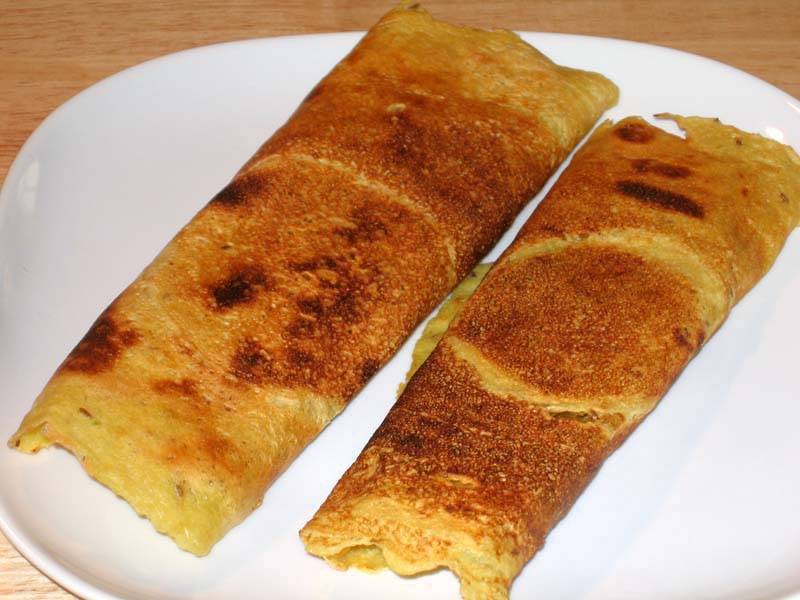
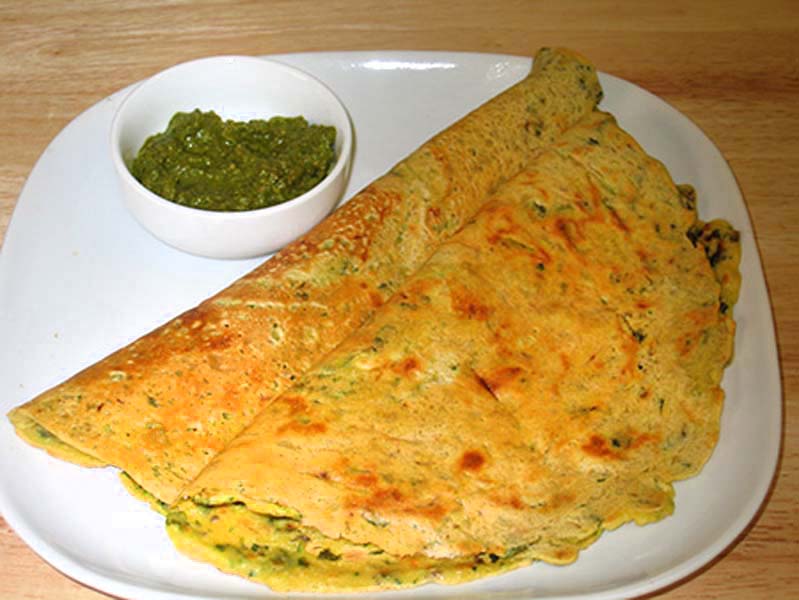
Besan Chilla
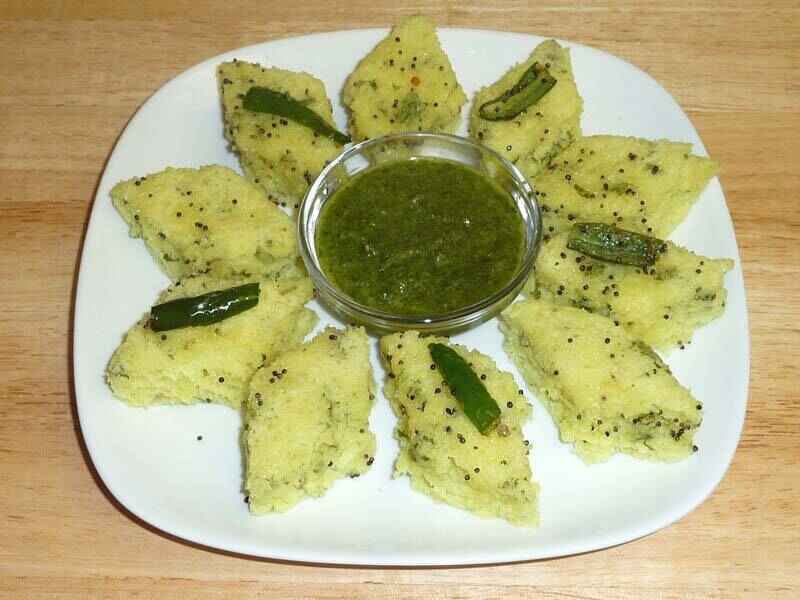
Besan Chilla, or chickpea flour pancake, is a high protein vegetarian meals option that fits perfectly within gluten free Indian recipes. This dish is quick to prepare and can be enjoyed with a side of yogurt or chutney. Besan Chilla is also a great example of Indian gluten free recipes that are both nutritious and delicious.
Poha
Poha is a light and flavorful dish made from flattened rice, seasoned with turmeric, mustard seeds, and curry leaves. This dish is a staple in many Indian households and is a fantastic gluten free Indian food recipe for Indian breakfast ideas. It’s easy to make and highly customizable.
Lunch Recipes
Rajma Chawal (without the wheat)
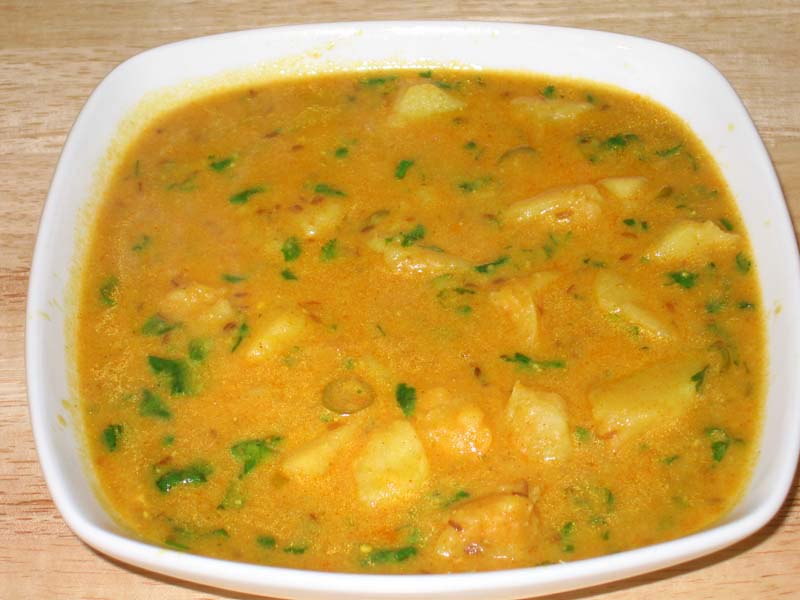
Rajma Chawal is one such beloved north indian recipes made with red kidney beans in a spiced tomato gravy, typically served with rice. By using gluten-free rice, this dish becomes a delightful addition to your collection of gluten free Indian recipes.
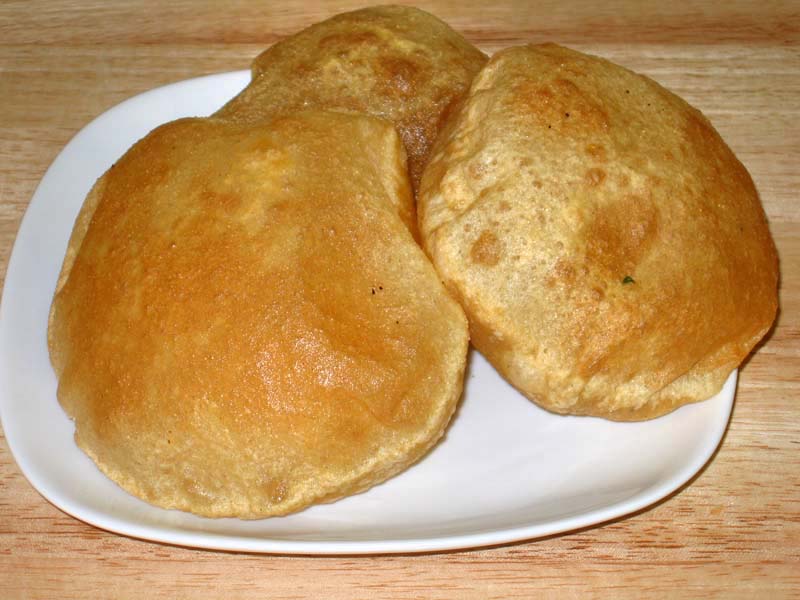
Bajra Roti
Bajra Roti is a traditional Indian flatbread made from pearl millet flour. This roti is a staple in the gluten free recipes Indian category and pairs well with various curries and sabzis. It’s nutritious and adds a rustic flavor to your meal.
Dinner Recipes
Paneer Tikka
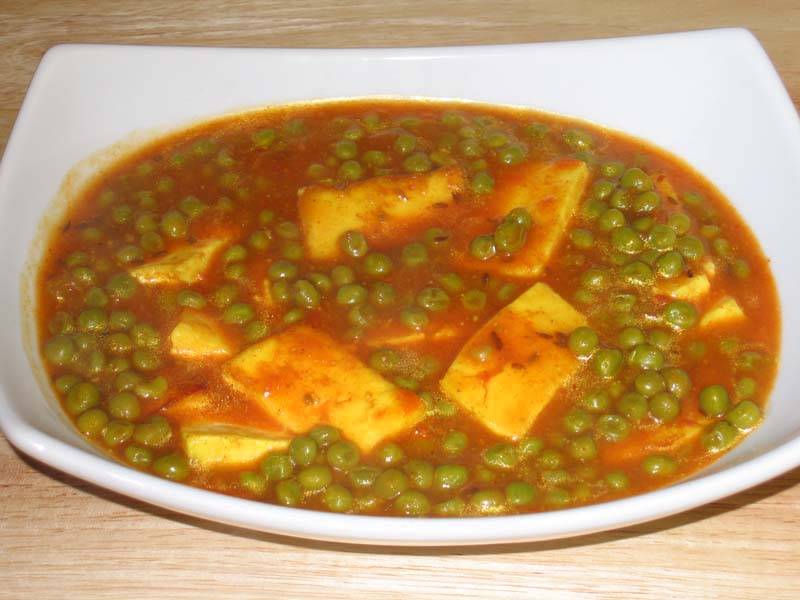
Paneer Tikka is popular in paneer recipes made by marinating paneer cubes in yogurt and spices, then grilling them to perfection. This dish is not only delicious but also fits well within gluten free Indian food recipes. It’s a great starter for any dinner.
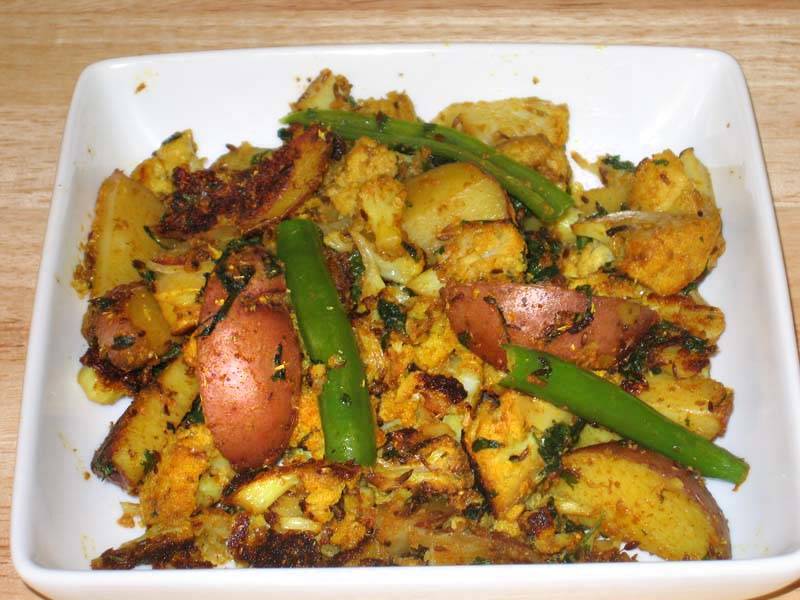
Vegetable Pulao
Vegetable Pulao is a one-pot rice dish cooked with mixed vegetables and aromatic spices. This dish is a versatile and satisfying gluten free Indian food recipe that can be enjoyed by everyone. It’s perfect for a quick and nutritious Indian dinner recipes.
Snack Recipes
Bhel Puri (without sev)
Bhel Puri is a popular Indian street food made with puffed rice, vegetables, and tamarind chutney. By omitting sev (which usually contains gluten), this snack becomes a fantastic addition to your gluten free Indian recipes. It’s tangy, spicy, and utterly delicious.
Roasted Makhana
Roasted Makhana are fox nuts that are lightly roasted and seasoned with spices. This snack is not only crunchy and addictive but also fits perfectly into the gluten free recipes Indian category. It’s a healthy option for those mid-day cravings.
Dessert Recipes
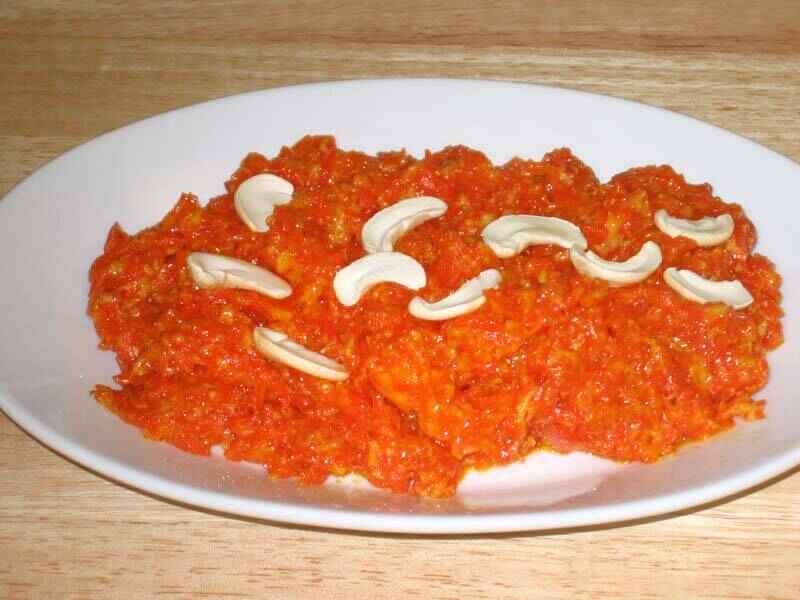
Kheer
Kheer is a creamy rice pudding flavored with cardamom and garnished with nuts. This classic Indian dessert is naturally gluten-free and is a beloved part of gluten free Indian food recipes. It’s easy to make and perfect for any festive occasion.
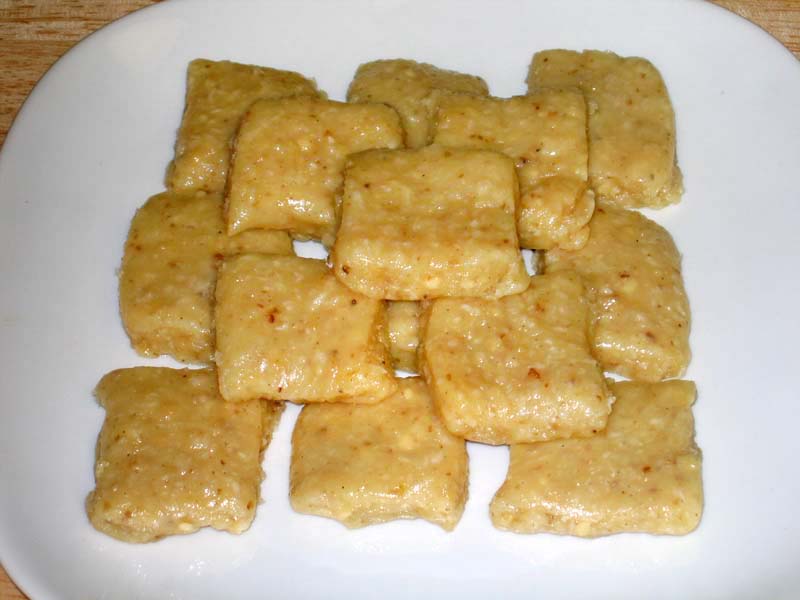
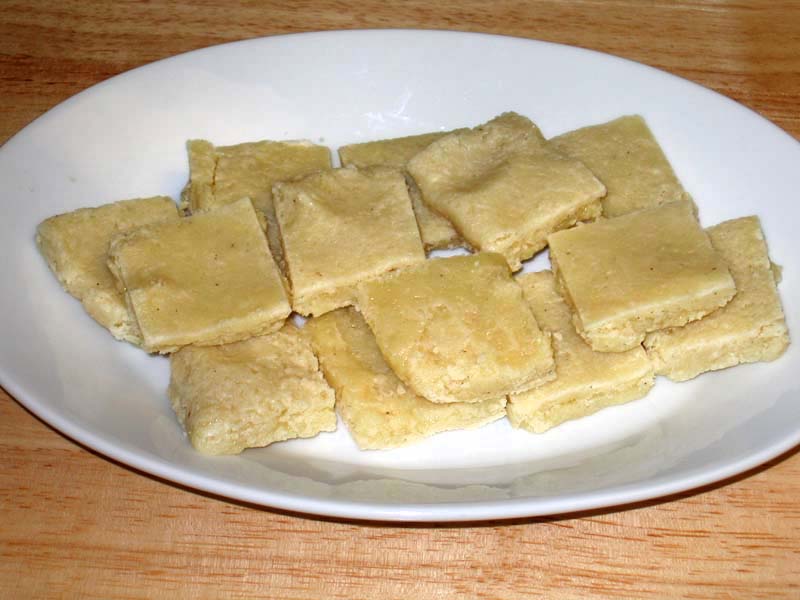
Coconut Ladoo
Coconut Ladoo are sweet balls made from grated coconut and condensed milk, often flavored with cardamom. These ladoos are a delightful example of Indian gluten free recipes that can be enjoyed as a dessert or a snack.
Enhancing Your Gluten-Free Menu
To make your gluten-free menu even more delightful, consider adding dishes from related categories that complement these gluten free Indian recipes. Adding Indian snacks like roasted makhana and bhel puri can provide a variety of flavors and textures. For a sweet ending, explore Indian desserts such as kheer and coconut ladoo, made with gluten-free ingredients. Incorporating healthy recipes like besan chilla and vegetable pulao can offer lighter options for your meals. Hosting a large gathering? The popular party recipe category is filled with dishes that are sure to impress your guests and make your celebration memorable. Including North Indian recipes like rajma chawal or bajra roti can add a touch of authenticity to your meal.
Frequently Asked Questions (FAQs)
Q: What are some popular gluten free Indian recipes?
A: Some popular gluten free Indian recipes include Besan Chilla, Poha, Rajma Chawal (without wheat), Bajra Roti, Paneer Tikka, Vegetable Pulao, Bhel Puri (without sev), Roasted Makhana, Kheer, and Coconut Ladoo.
Q: How can I make traditional Indian food gluten-free?
A: To make traditional Indian food for diabetics gluten-free, try recipes like Besan Chilla, Bajra Roti, and Kheer. These recipes are modified to exclude gluten while retaining their authentic flavors.
Q: What are some gluten-free recipes Indian style for a party?
A: Some gluten free recipes Indian style for a party include Paneer Tikka, Vegetable Pulao, Bhel Puri (without sev), and Coconut Ladoo. These dishes are flavorful and perfect for gatherings while being gluten-free.
Q: Can I prepare gluten-free Indian food in advance?
A: Yes, many gluten free Indian food recipes can be prepared in advance and stored. Snacks like Roasted Makhana and Bhel Puri can be made ahead of time, while dishes like Vegetable Pulao and Rajma Chawal can be prepped and refrigerated.
Q: What are some healthy options for gluten-free Indian food?
A: Some healthy options for gluten free Indian recipes include Quinoa Salad, Vegetable Stir Fry, Oats Idli, and Besan Chilla. These dishes are high in fiber and protein, helping to manage blood sugar levels effectively.
Conclusion
Gluten free Indian recipes are a celebration of healthy and flavorful foods. Whether you’re looking for gluten free recipes Indian style or traditional gluten free Indian food recipes, these dishes will bring variety and nutrition to your meals.
So, gather your ingredients, try out these recipes, and create delicious meals that are mindful of your health needs. Don’t forget to explore related categories for more delightful recipes from Manjula’s Kitchen!
By incorporating these dishes into your diet, you’ll be able to enjoy a wide variety of delicious and nutritious foods. Whether you’re looking for breakfast, snacks, main courses, or desserts, there’s a gluten free Indian recipe to suit every taste. Happy cooking and healthy eating!