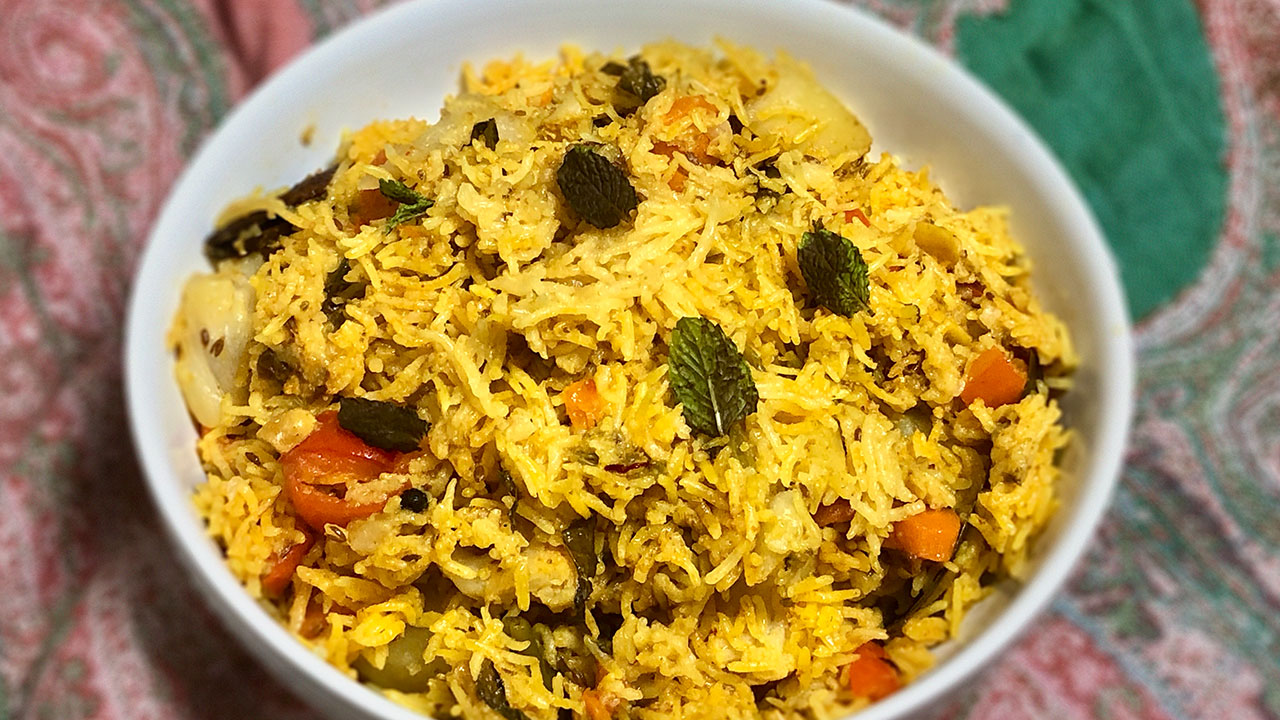
Vegetable Biryani (Instant Pot)
This next recipe is due to many of you requesting I do a tasty and delicious recipe using the Instant Pot. I decided to try a recipe for "Vegetable Biryani". I have been a little hesitant to do recipes using the Instant Pot. Maybe it's because I have been cooking for so long and I'm set in my habits, or maybe it's my age! I will say I have loved using my Instant Pot more as a pressure cooker and love using it for that purpose! I make lentils and legumes using the Instant Pot and think it's great. Once I use the Instant Pot more and get used to the timings, I think it will allow me to give more precise times for my recipes. Vegetable Biryani is a complete, satisfying, one-dish meal. My mother would often say this dish is a fancy name for vegetable pulao. However, I think it is more than that. The secret behind this flavorful Vegetable Biryani is a spice mixture that creates the perfect balance of flavors. Basmati rice with a mix of fresh vegetables combined with this spice mixture turns into a dish of perfection! If you follow my steps, you'll see I try to make this recipe as simple as possible. Vegetable Biryani also makes a great lunch box meal. Make sure to check out the footnotes to see how you can make this dish vegan. Hope you enjoy!This recipe will serve 3
Ingredients
- 1 cup long grain rice I preferred Basmati Rice
- 3 Tbsp Milk
- 1 pinch Saffron Kesar few strands
- 2 Tbsp oil or ghee
- ¼ cup cashews
- 15 Raisins
- 1 Tbsp ginger thinly sliced
- 2 cup mixed vegetables cubed potatoes, carrots, bell pepper, green beans cut into 1-inch pieces, cauliflower florets
- ¼ cup Plain Yogurt whisked
- ¼ cup Mint leaves Pudhina finely chopped
- 1 ¼ cup Water
Spices
- 3 whole Green Cardamom Elaichi
- 6 Cloves Laung
- 8 Black Peppercorns
- 1 inch long cinnamon stick Dalchini
- 2 Bay leaf Tej Patta
- 1 tsp Cumin seeds Jeera
- 1 tsp coriander powder
- 1 tsp fennel seed powder
- 1 tsp red chili powder adjust to taste
- ¼ tsp Turmeric Haldi
- 1 tsp Salt adjust to taste
Instructions
- In warm milk soak the saffron and keep aside.
- Soak the rice for about 10 minutes, then drain the water and keep aside.
- Use the instant pot on sauté mode add ghee after half a minute add cashews and raisins and sauté lightly roast them for about 1 minutes.
- Add all the whole spices and sauté for 30 seconds, they will become aromatic.
- Add all the dry spices, coriander powder, fennel seed powder, turmeric, red chili powder and salt stir for few seconds, add vegetables and yogurt mix it well, cleaning sides and making sure vegetable mix spread evenly in the pot.
- Next spread the rice evenly over the veggies. Spread the mint leaves evenly over rice. Sprinkle saffron milk on top of the rice.
- Add the water for cooking on top of the rice. Rice should be just immersed under water.
- You are layering the ingredients do not stir in between the steps. Close the lid with vent in sealing position.
- Change the instant pot setting to pressure cook mode. Secure the lid, close the pressure valve and cook for 9 minutes at high pressure.
- After the instant pot beeps, on the instant pot panel you will notice keep warm mode. Cancel the keep warm mode and wait until it releases the pressure and open the pot, that will take about 12 minutes.
- Open the pot and fluff the rice gently with a fork.
Notes
Serve hot with Plain yogurt, Spinach Raita, and my favorite is Salted Mint Lassi
Making Vegan:
This is a easy recipe to make vegan, soak saffron in water instead of milk and yogurt you can replace with vegan yogurt or tomato puree.
Tried this recipe?Let us know how it was!