Indian Lunch Box Recipes: Delicious and Convenient Options
Packing a nutritious and tasty lunch box is essential for both children and adults. Indian cuisine offers a variety of lunch box recipes Indian style that are not only delicious but also convenient to prepare. Whether you’re looking for Indian lunch box recipes or simply lunch box recipes, Manjula’s Kitchen has a range of options to suit every palate. Let’s explore some fantastic lunch box recipes Indian that are perfect for a hearty and healthy meal on the go.
Classic Indian Lunch Box Recipes
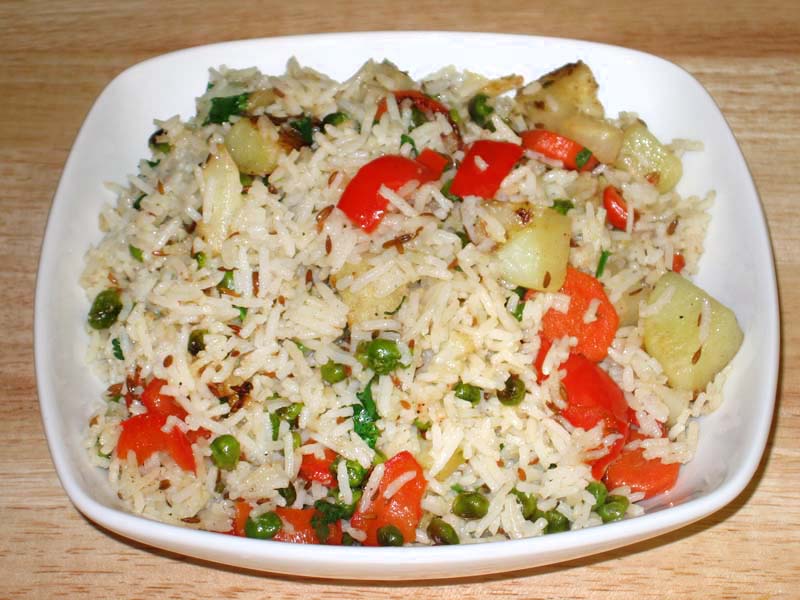
Vegetable Pulao
Vegetable Pulao is a fragrant and flavorful rice dish cooked with a variety of vegetables and spices. This dish is a staple in many Indian households and is a fantastic option when you want to pack a nutritious and filling lunch. The aromatic spices and colorful vegetables make it a delightful addition to your collection of Indian lunch box recipes.
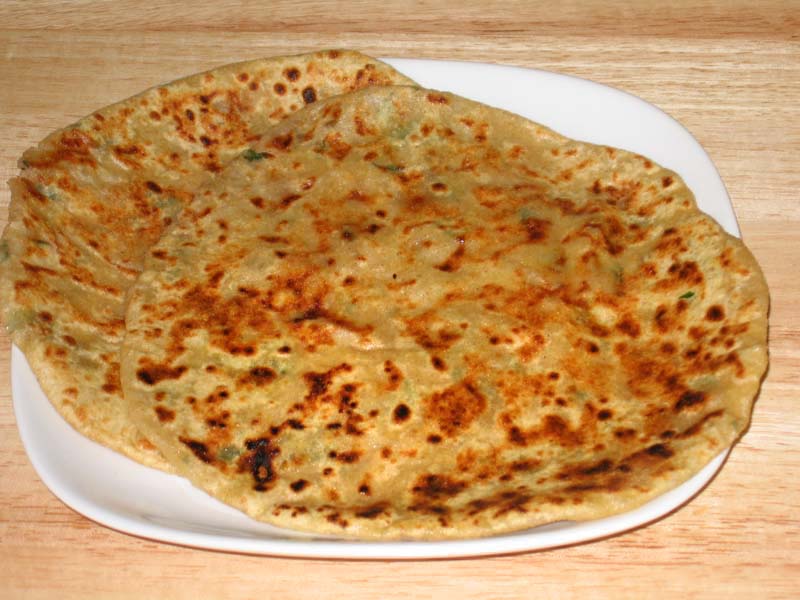
Aloo Paratha
Aloo Paratha is a popular Indian flatbread recipe stuffed with spiced mashed potatoes. This dish is a classic example of lunch box recipes Indian style. It’s hearty, flavorful, and perfect for a satisfying lunch. Serve it with yogurt and pickle for a complete meal.
Easy Indian Lunch Box Recipes
Chana Masala Wraps
Chana Masala Wraps are a convenient and delicious option for lunch. Chickpeas cooked in a spiced tomato gravy are wrapped in whole wheat tortillas, making it a perfect choice among lunch box recipes Indian. These wraps are easy to prepare and can be enjoyed cold or at room temperature.
Paneer Bhurji Sandwich
Paneer Bhurji Sandwich is a quick and easy lunch option that fits well within Indian lunch box recipes. Scrambled paneer cooked with tomatoes, and spices is stuffed between slices of whole wheat bread. This sandwich is not only nutritious but also satisfying.
Healthy Indian Lunch Box Recipes
Quinoa Salad
Quinoa Salad is a versatile dish that can be customized with various vegetables and herbs. This Indian salad recipes is perfect for those looking for lunch box recipes Indian style that are high in protein and fiber. It’s also an ideal option for a light and healthy lunch.
Moong Dal Chilla
Moong Dal Chilla, or lentil pancakes, is a protein-rich option that fits well within Indian lunch box recipes. It’s quick to prepare and can be enjoyed with a side of chutney or yogurt. This dish is also suitable for those seeking lunch box recipes that are both nutritious and delicious.
Vegetarian Indian Lunch Box Recipes
Baingan Bharta with Roti
Baingan Bharta is a smoky and flavorful eggplant dish that is perfect for lunch. Paired with whole wheat roti, this dish is a delightful addition to your collection of Indian lunch box recipes. The combination of roasted eggplant and spiced roti makes it a satisfying meal.
Mixed Vegetable Sabzi with Rice
Mixed Vegetable Sabzi with Rice is a simple yet flavorful dish that fits perfectly within lunch box recipes Indian. A variety of vegetables are cooked with aromatic spices and served with steamed rice. This dish is a great way to include more vegetables in your diet and enjoy a wholesome lunch.
Quick and Simple Lunch Box Recipes
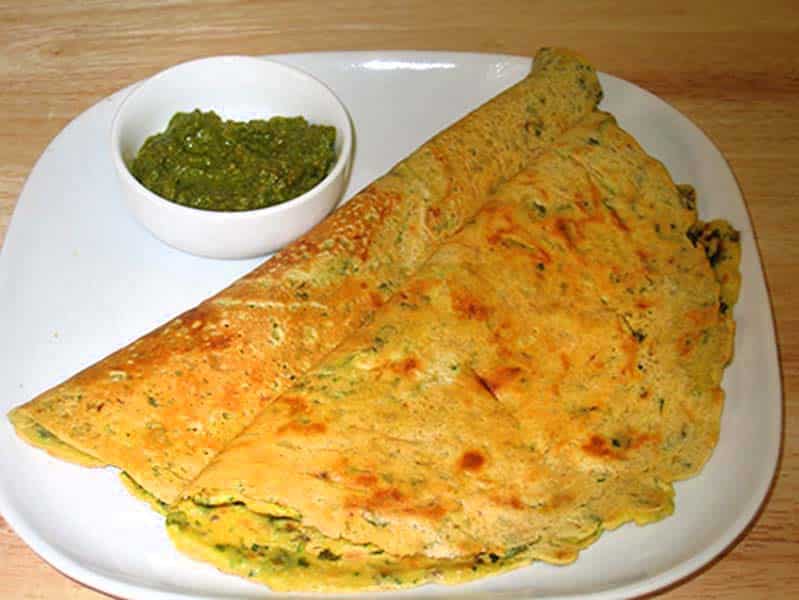
Besan Chilla
Besan Chilla, or chickpea flour pancake, is a quick and easy option that fits well within Indian lunch box recipes. Made with chickpea flour and a variety of vegetables, this dish is a nutritious choice. It can be enjoyed with a side of green chutney and is perfect for a quick lunch.
Masala Rice
Masala Rice is a simple yet flavorful rice dish that is perfect for lunch. Cooked with spices and vegetables, this dish is a fantastic addition to your collection of lunch box recipes Indian. It’s quick to prepare and can be enjoyed cold or at room temperature.
Indulgent Indian Lunch Box Recipes
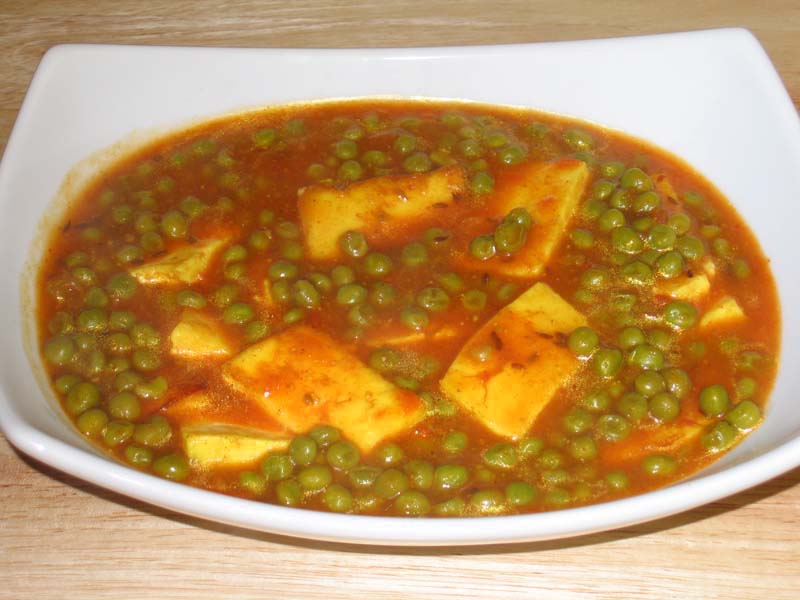
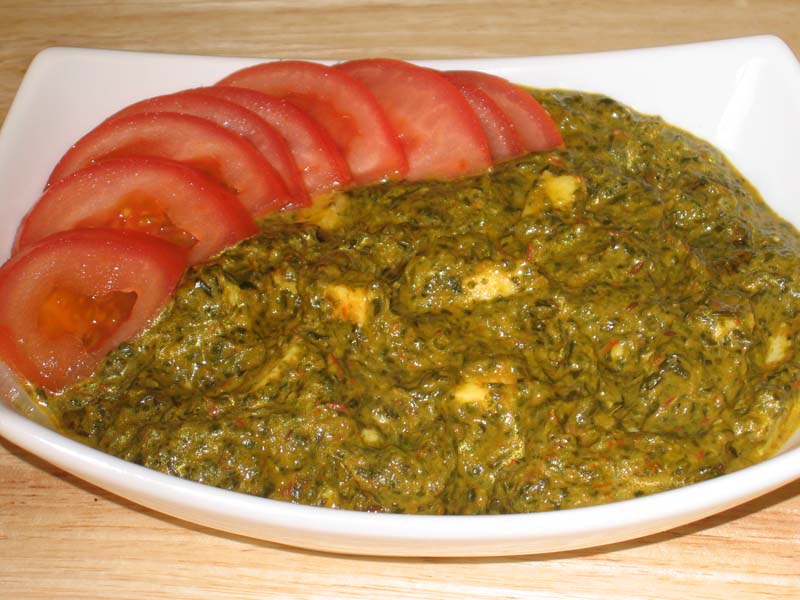
Paneer Butter Masala with Naan
Paneer Butter Masala with Naan is a rich and creamy dish that is perfect for a special lunch. Paneer cooked in a spiced tomato and cashew gravy is served with soft naan. This dish is a bit indulgent but is a beloved part of Indian lunch box recipes.
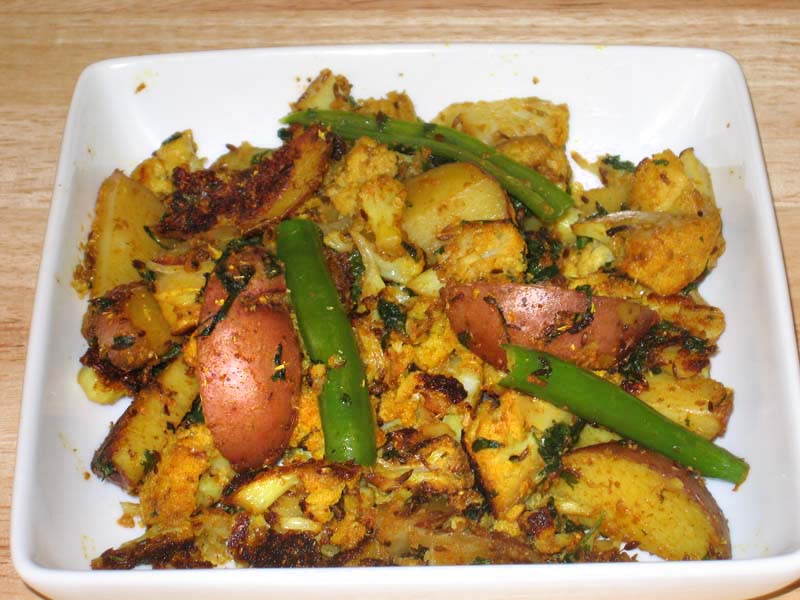
Aloo Gobi with Paratha
Aloo Gobi with Paratha is a classic Indian dish made with potatoes and cauliflower, served with whole wheat paratha. This dish is hearty and satisfying, making it a great choice for a filling lunch. The combination of soft paratha and spiced vegetables is a favorite among many.
Enhancing Your Indian Lunch Box Menu
To elevate your Indian lunch box menu, consider incorporating dishes from various categories that enhance these Indian lunch box recipes. Introducing Indian snacks like samosas and pakoras can offer a delightful mix of flavors and textures.
For a sweet conclusion, explore Indian desserts such as gulab jamun and kheer. Offering healthy options like quinoa salad and moong dal chilla can provide lighter meal choices.
Planning a large gathering? The popular party recipe category is packed with dishes that will impress your guests and make your celebration unforgettable. Adding North Indian recipes like chole or dal makhani can bring an authentic touch to your meal.
Frequently Asked Questions (FAQs)
Q: What are some popular Indian lunch box recipes?
A: Some popular Indian lunch box recipes include Vegetable Pulao, Aloo Paratha, Chana Masala Wraps, Paneer Bhurji Sandwich, Baingan Bharta with Roti, and Mixed Vegetable Sabzi with Rice. These dishes are flavorful, nutritious, and perfect for a satisfying lunch.
Q: How can I make traditional Indian lunch box recipes healthy?
A: To make traditional lunch box recipes Indian style healthy, try recipes like Quinoa Salad, Moong Dal Chilla, and Mixed Vegetable Sabzi. These recipes are modified to include more vegetables and whole grains while retaining their authentic flavors.
Q: What are some easy Indian lunch box recipes for a busy day?
A: Some easy Indian lunch box recipes for a busy day include Besan Chilla, Masala Rice, and Chana Masala Wraps. These dishes are quick to prepare and provide the necessary nutrients to keep you energized throughout the day.
Q: Can I prepare Indian lunch box recipes in advance?
A: Yes, many Indian lunch box recipes can be prepared in advance and stored. Dishes like Vegetable Pulao and Chana Masala can be made ahead of time and refrigerated, while wraps and sandwiches can be prepped and packed.
Q: What are some vegetarian Indian lunch box recipes for kids?
A: Some vegetarian Indian lunch box recipes for kids include Aloo Paratha, Paneer Bhurji Sandwich, and Besan Chilla. These dishes are kid-friendly, nutritious, and easy to eat.
Conclusion
Indian lunch box recipes are a celebration of diverse flavors and nutritious ingredients. Whether you’re looking for lunch box recipes Indian style, Indian lunch box recipes, or simply lunch box recipes, these dishes will bring variety and flavor to your meals. So, gather your ingredients, try out these recipes, and enjoy the rich and diverse world of Indian lunch box recipes. Happy cooking and happy eating!
By incorporating these dishes into your diet, you’ll be able to enjoy a wide variety of delicious and nutritious foods. Whether you’re looking for breakfast, snacks, main courses, or desserts, there’s an Indian lunch box recipe to suit every taste. Don’t forget to check out Manjula’s Kitchen for more inspiration and culinary delights. Happy cooking and happy eating!