Holi Food Recipes: A Festive Feast
Holi, the vibrant festival of colors, is celebrated with an array of delicious foods across India. Holi recipes encompass sweets, snacks, and beverages that are integral to the celebrations. Let’s delve into some popular Holi food recipes that you can prepare at home, highlighting various regional specialties and fitting them into different categories.
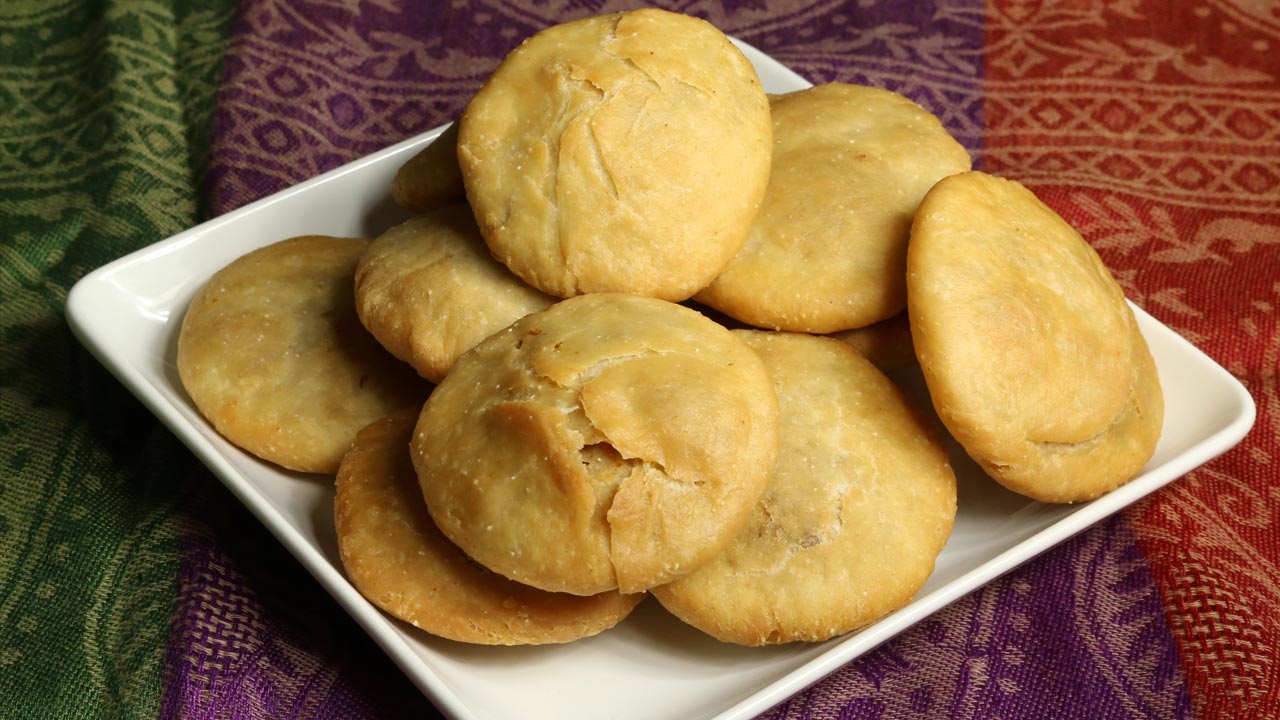
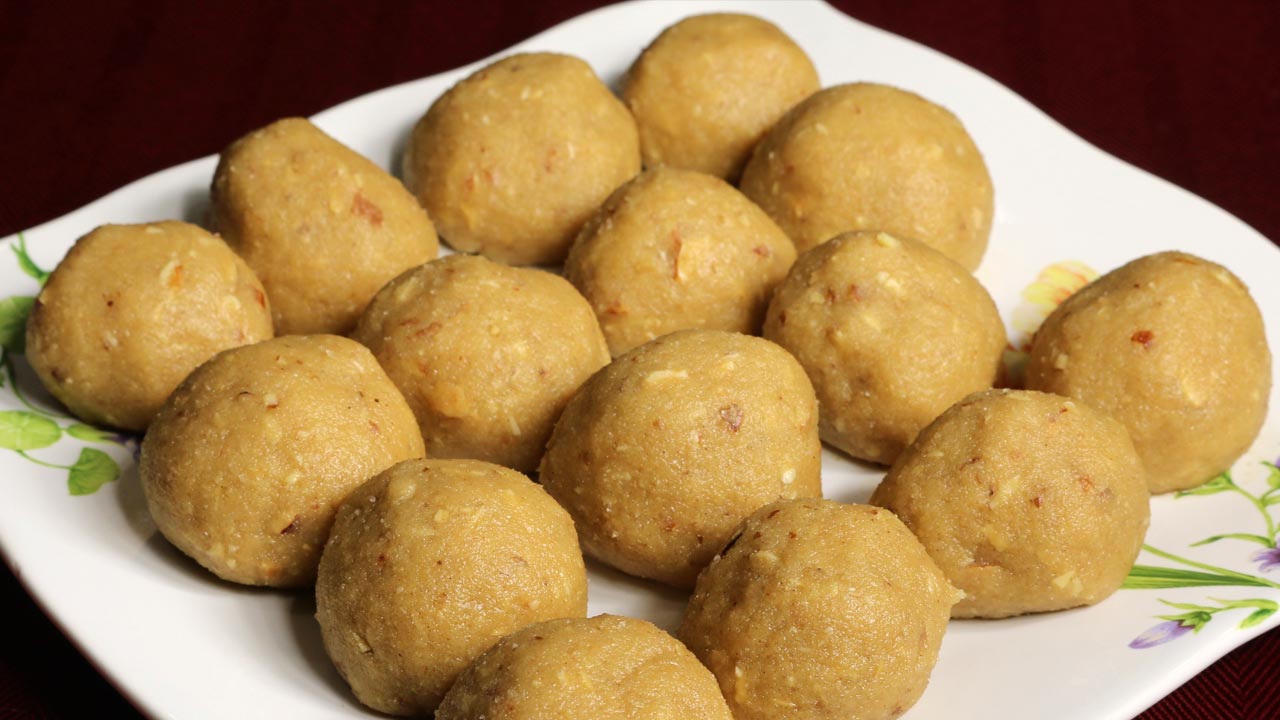
Gujiya
Gujiya is a sweet dumpling filled with khoya (dried milk), nuts, and dried fruits, deep-fried to a golden brown. This classic Holi food recipe is a must-have during the festival. It falls under the Indian desserts and North Indian recipes categories. Variations like Kesar Mawa Gujiya and Chocolate Cheese Gujiya are also popular. Including Gujiya in your Holi Indian kitchen menu ensures a festive touch.
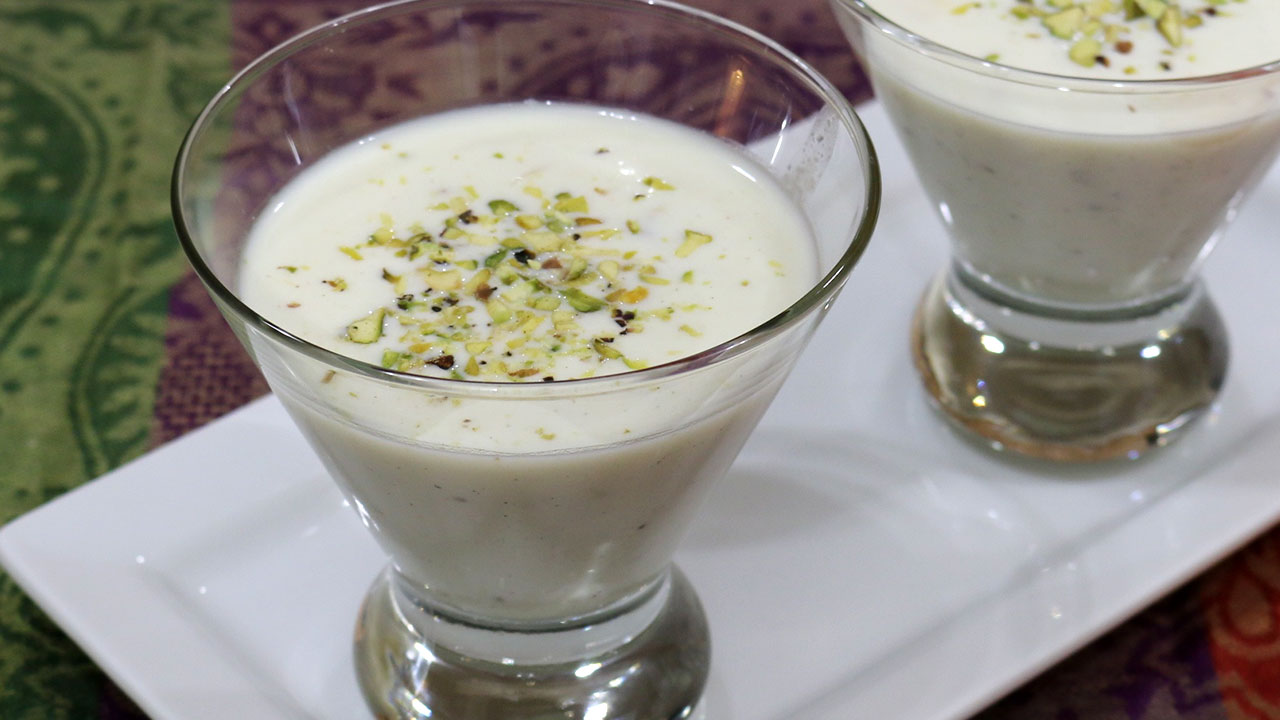
Thandai
Thandai is a cooling beverage made with milk, nuts, and aromatic spices, perfect for the hot days of Holi. This Holi Indian kitchen menu item is often flavored with saffron and rose, making it a delightful drink. It fits well within the beverages and healthy recipes categories. Thandai is an essential part of Holi vegan kitchen offerings.
Dahi Bhalla
Dahi Bhalla (or Dahi Vada) is a savory dish made with lentil fritters soaked in yogurt and topped with chutneys and spices. This recipe for Holi is a favorite snack, fitting perfectly in Indian snacks and healthy recipes categories. It’s known for its light, tangy flavor and is an essential part of the Holi Indian food menu.
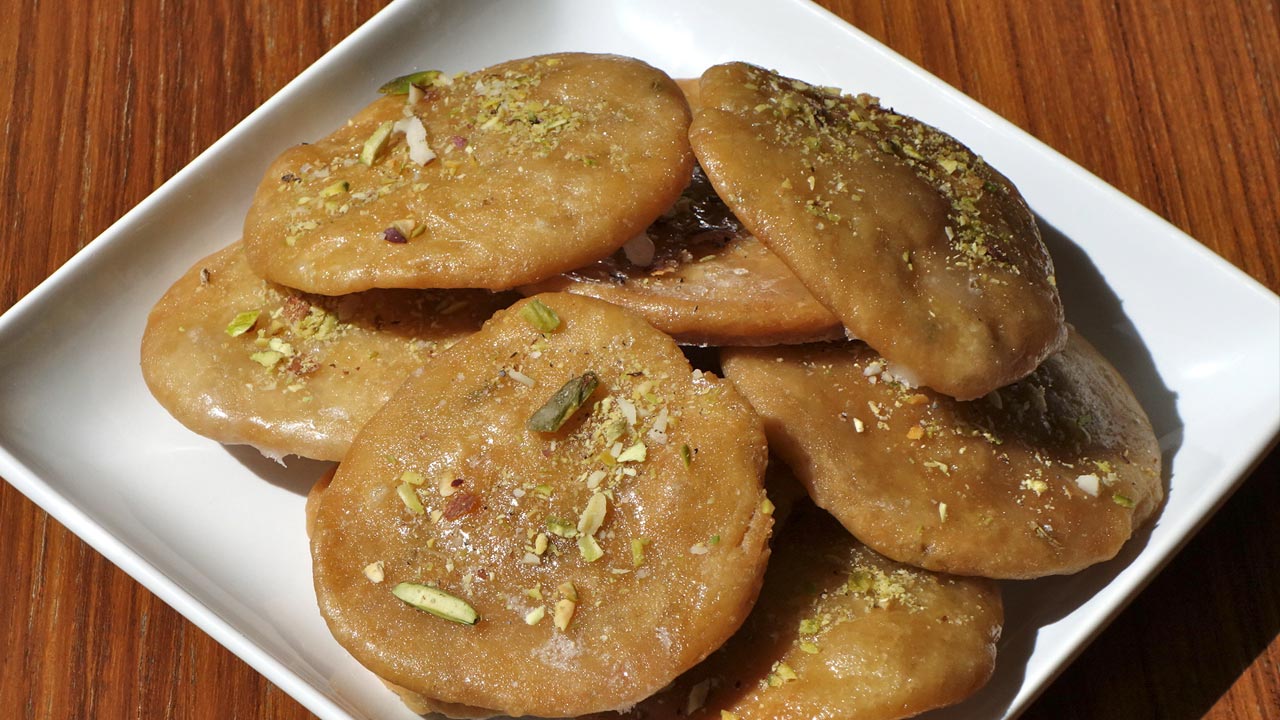
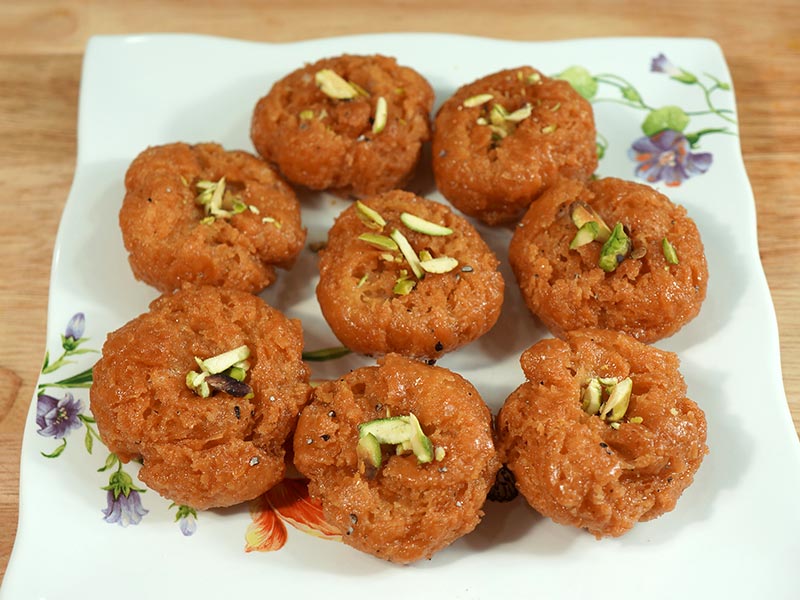
Malpua
Malpua is a traditional sweet pancake, often enjoyed with rabdi (sweetened condensed milk). This easy Holi recipe involves deep-frying the batter and soaking it in sugar syrup. Malpua is a delicious dessert that fits into Indian desserts and North Indian recipes categories. Adding Malpua to your Holi Indian food menu enhances the festive experience.
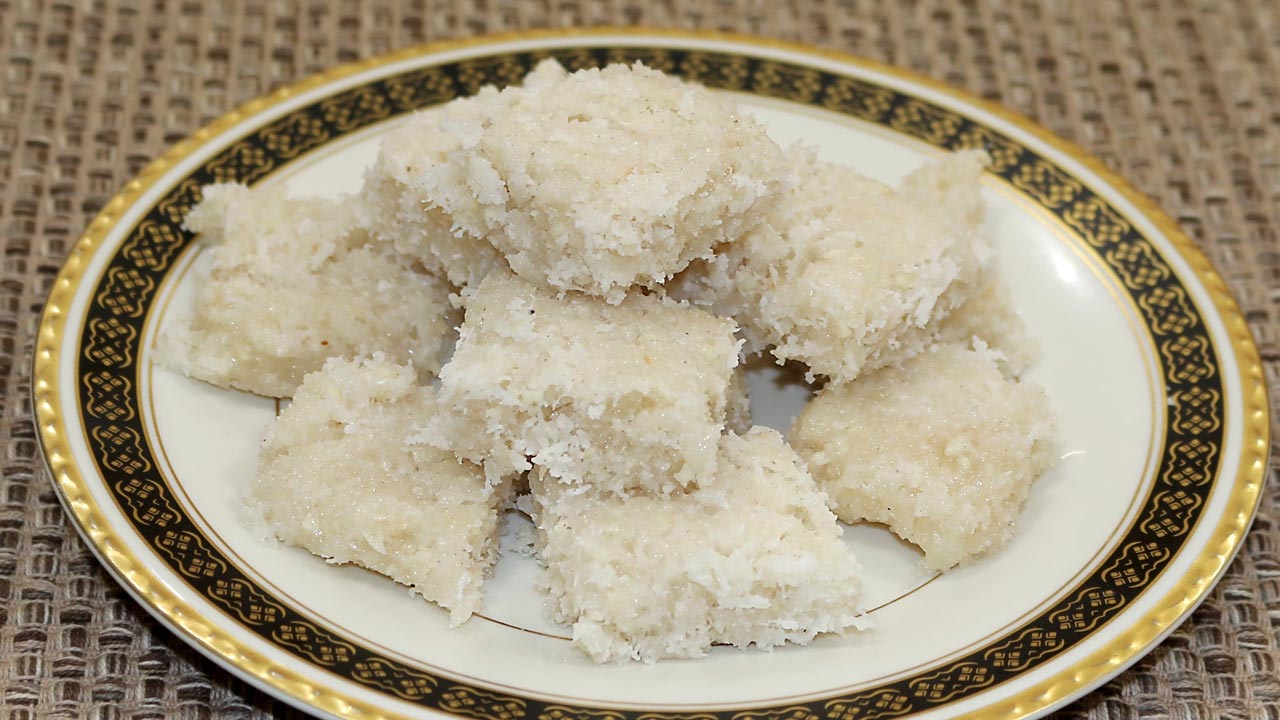
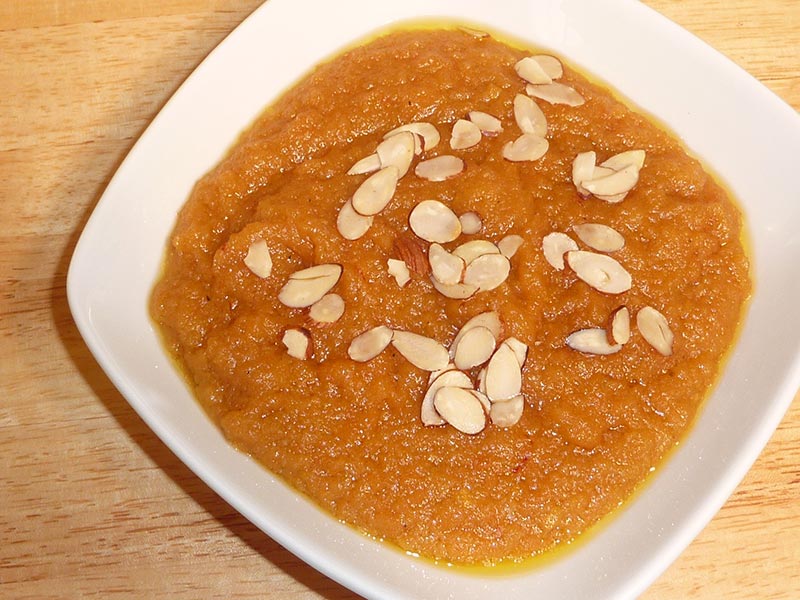
Puran Poli
Puran Poli is a sweet flatbread stuffed with a mixture of chana dal (split chickpeas) and jaggery, flavored with cardamom. This dish is a staple in many Indian households during festivals like Holi, making it a perfect addition to the Indian desserts and North Indian recipes categories.
Kanji
Kanji is a tangy and refreshing fermented drink made with black carrots, mustard seeds, and water. This beverage is a traditional Holi vegan kitchen item, fitting well in the beverages and healthy recipes categories. Known for its probiotic properties, Kanji is a unique and flavorful drink.
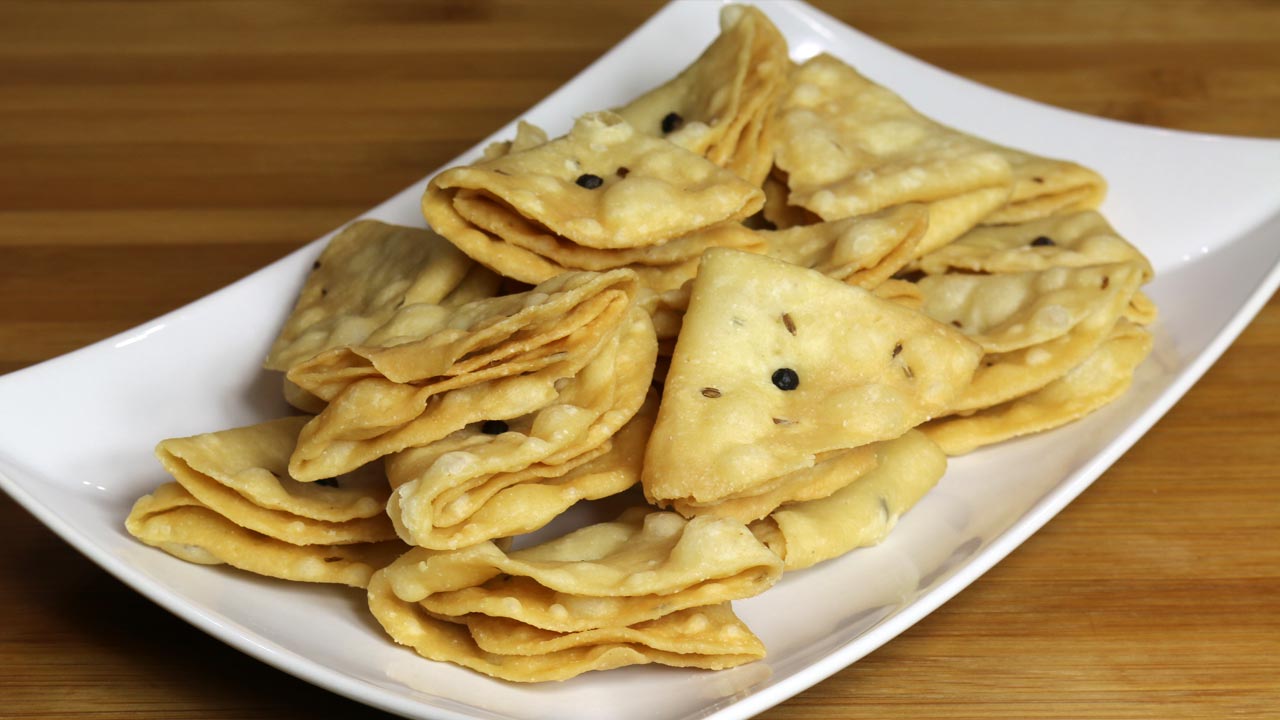
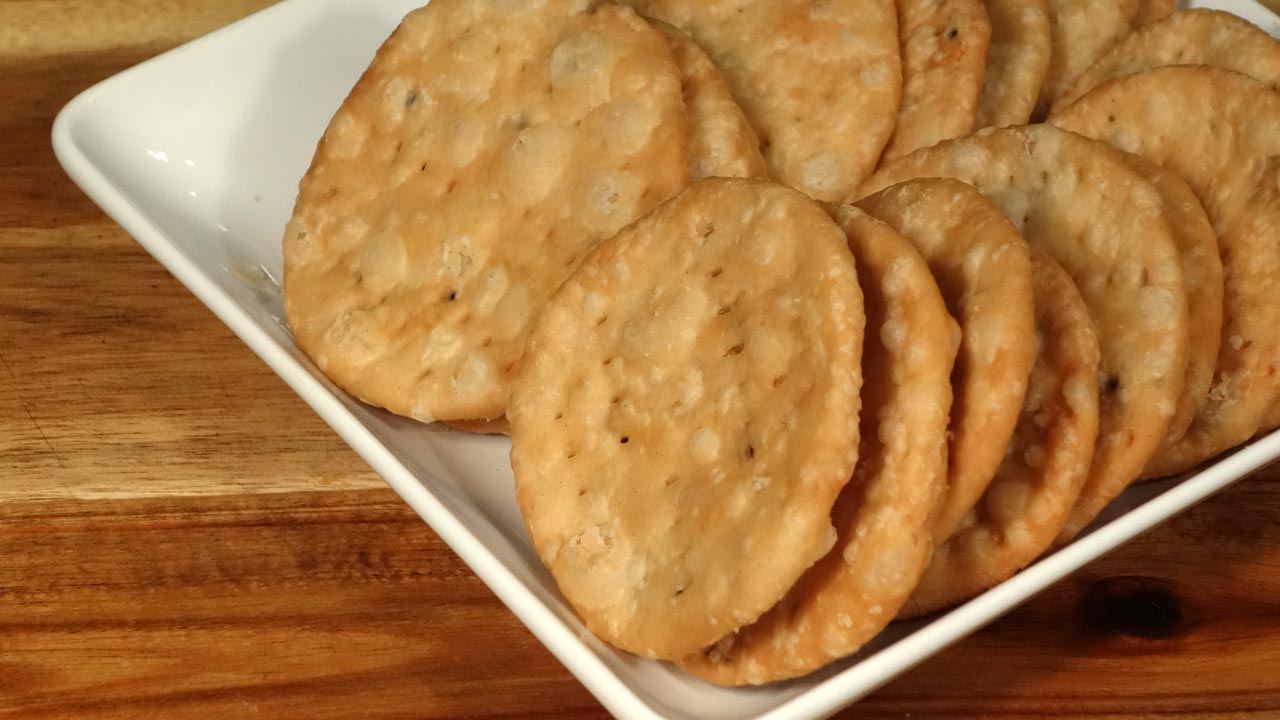
Shakarpara and Namakpara
Shakarpara and Namakpara are crispy, bite-sized snacks that are sweet and savory, respectively. These are easy to make and store well, making them perfect for Holi food recipes. They fall under Indian snacks and quick & easy categories.
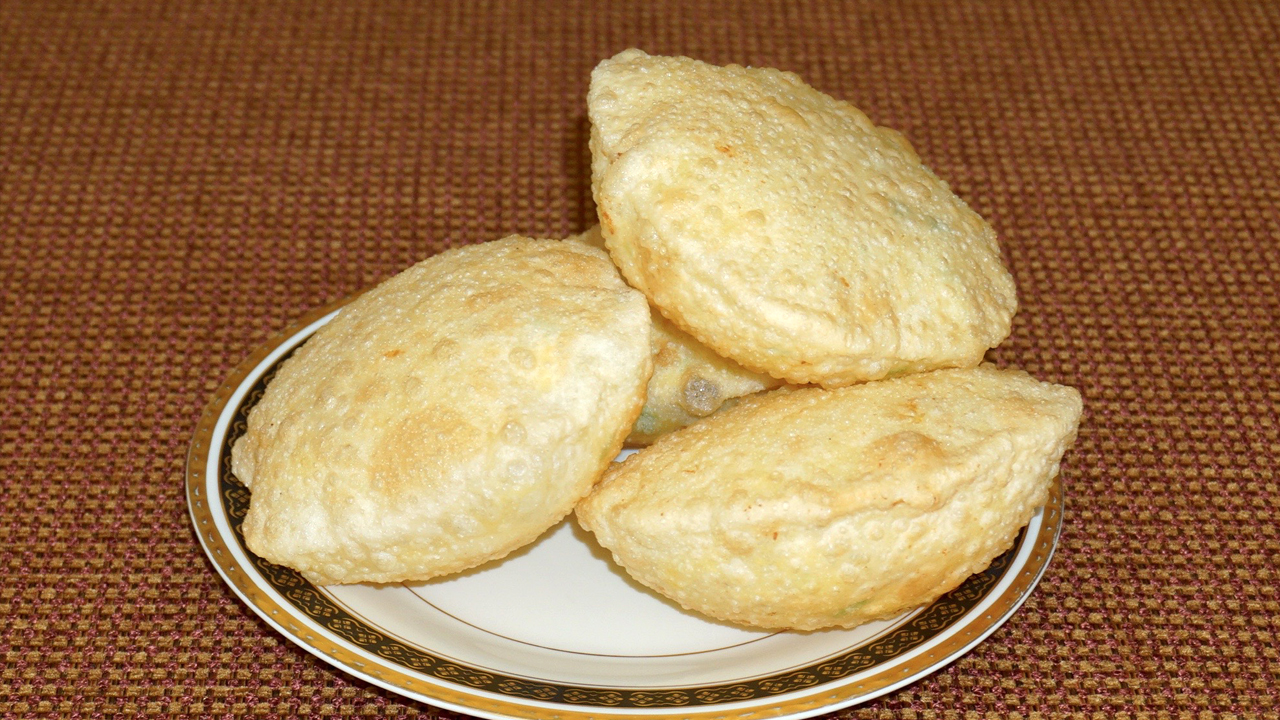
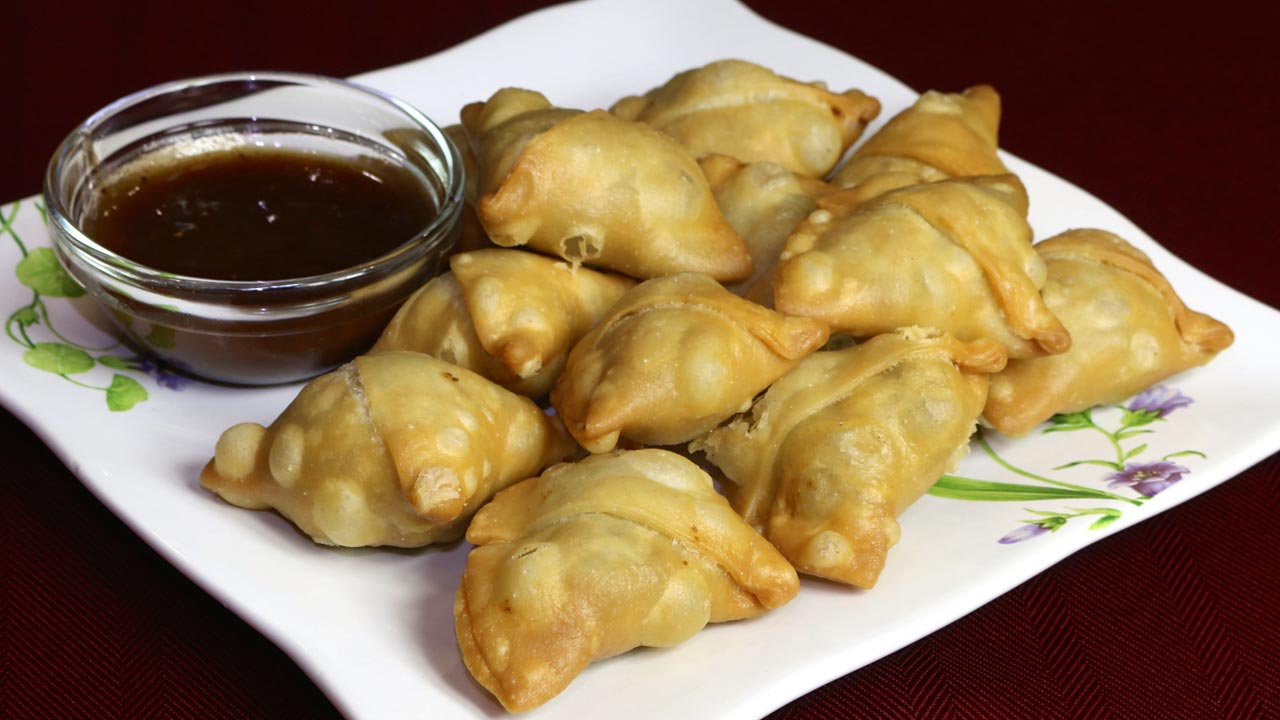
Kachori
Kachori is a deep-fried pastry filled with spicy lentils or peas. Variants like Moong Dal Kachori and Matar Kachori are popular during Holi. This snack fits into Indian snacks and popular party recipe categories, adding a savory crunch to the festive spread.
Ras Malai
Ras Malai consists of soft paneer balls soaked in sweet, flavored milk. This Indian dessert is often flavored with cardamom and saffron, making it a rich and delightful treat. It’s a part of Indian desserts and North Indian recipes categories, perfect for ending the meal on a sweet note.
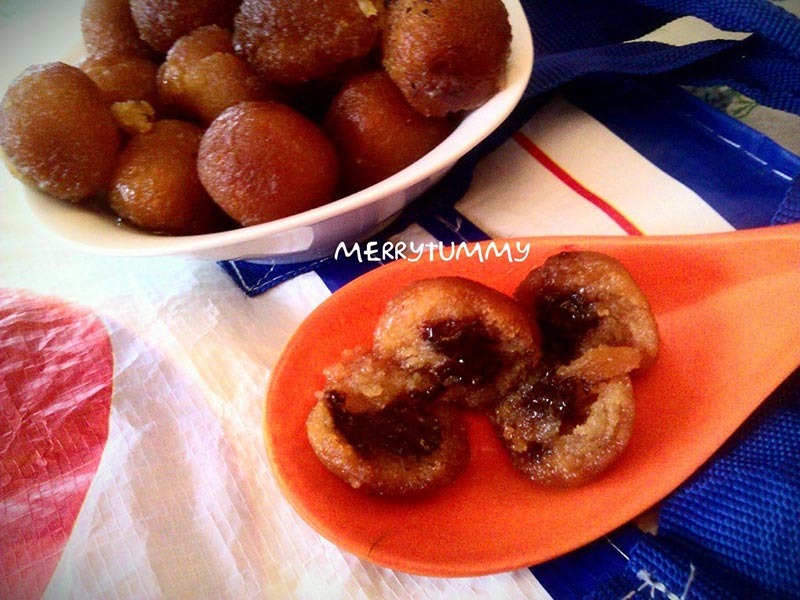
To elevate your Holi feast, consider exploring complementary categories to the food recipes. Introducing Indian snacks like samosas and pakoras can diversify the flavors and textures. For a delightful conclusion, try out Indian desserts such as gulab jamun and jalebi.
Opting for healthier chaat recipe options like roasted nuts and fruit chaat can provide lighter alternatives for your attendees. If hosting a large group, the party recipe section offers impressive dishes to make your gathering unforgettable. Including North Indian recipes like dal makhani or biryani can bring an authentic touch to your meal.
Frequently Asked Questions (FAQs)
Q: What are some popular Holi food recipes?
A: Some popular Holi food recipes include Gujiya, Thandai, Dahi Bhalla, Malpua, Puran Poli, and Kanji.
Q: How can I make traditional Holi food at home?
A: To make traditional Holi food at home, try recipes like Gujiya, Thandai, and Dahi Bhalla. These recipes are simple to prepare and capture the essence of the festival.
Q: What are some Holi special food ideas for a party?
A: Some Holi party food ideas include Gujiya, Thandai, Puran Poli, and Kanji. These dishes are flavorful and perfect for celebrations and gatherings.
Q: Can I prepare Holi food in advance?
A: Yes, many Holi food items can be prepared in advance and stored. Sweets like Gujiya and Puran Poli can be made ahead of time, while beverages like Thandai and Kanji can be prepared and refrigerated.
Q: What are some healthy options for Holi food?
A: Some healthy options for Holi food include Kanji, fruit chaat, and steamed dishes like Dahi Bhalla.