


Healthy Indian Recipes: Delicious and Nutritious Options
Eating healthy doesn’t mean you have to sacrifice flavor, especially with the wide array of Indian vegetarian recipes available. Whether you are looking for vegetarian Indian recipes, Indian vegetarian dinner recipes, or traditional Indian recipes vegetarian style, this guide offers a selection of delicious and nutritious dishes. Let’s explore some healthy Indian recipes that you can enjoy for every meal.
Breakfast Recipes
Oats Upma
Oats Upma is a nutritious and light breakfast option. Made with oats and vegetables, this dish is perfect for those looking for healthy Indian recipes. It is also a great example of low carb Indian vegetarian recipes that are both nutritious and delicious.
Moong Dal Cheela
Moong Dal Cheela, or lentil pancakes, is a high protein Indian food that makes a great breakfast within vegetarian Indian recipes. It’s quick to prepare and can be enjoyed with a side of yogurt or chutney. This dish is also suitable for those seeking Indian healthy recipes.
Lunch Recipes
Quinoa Salad
Quinoa Salad is a versatile dish that can be customized with various vegetables and herbs. This salad is perfect for those looking for Indian vegetarian dinner recipes as it is high in protein and fiber, helping to manage hunger and maintain energy levels. It’s also an ideal option for a light lunch or dinner.
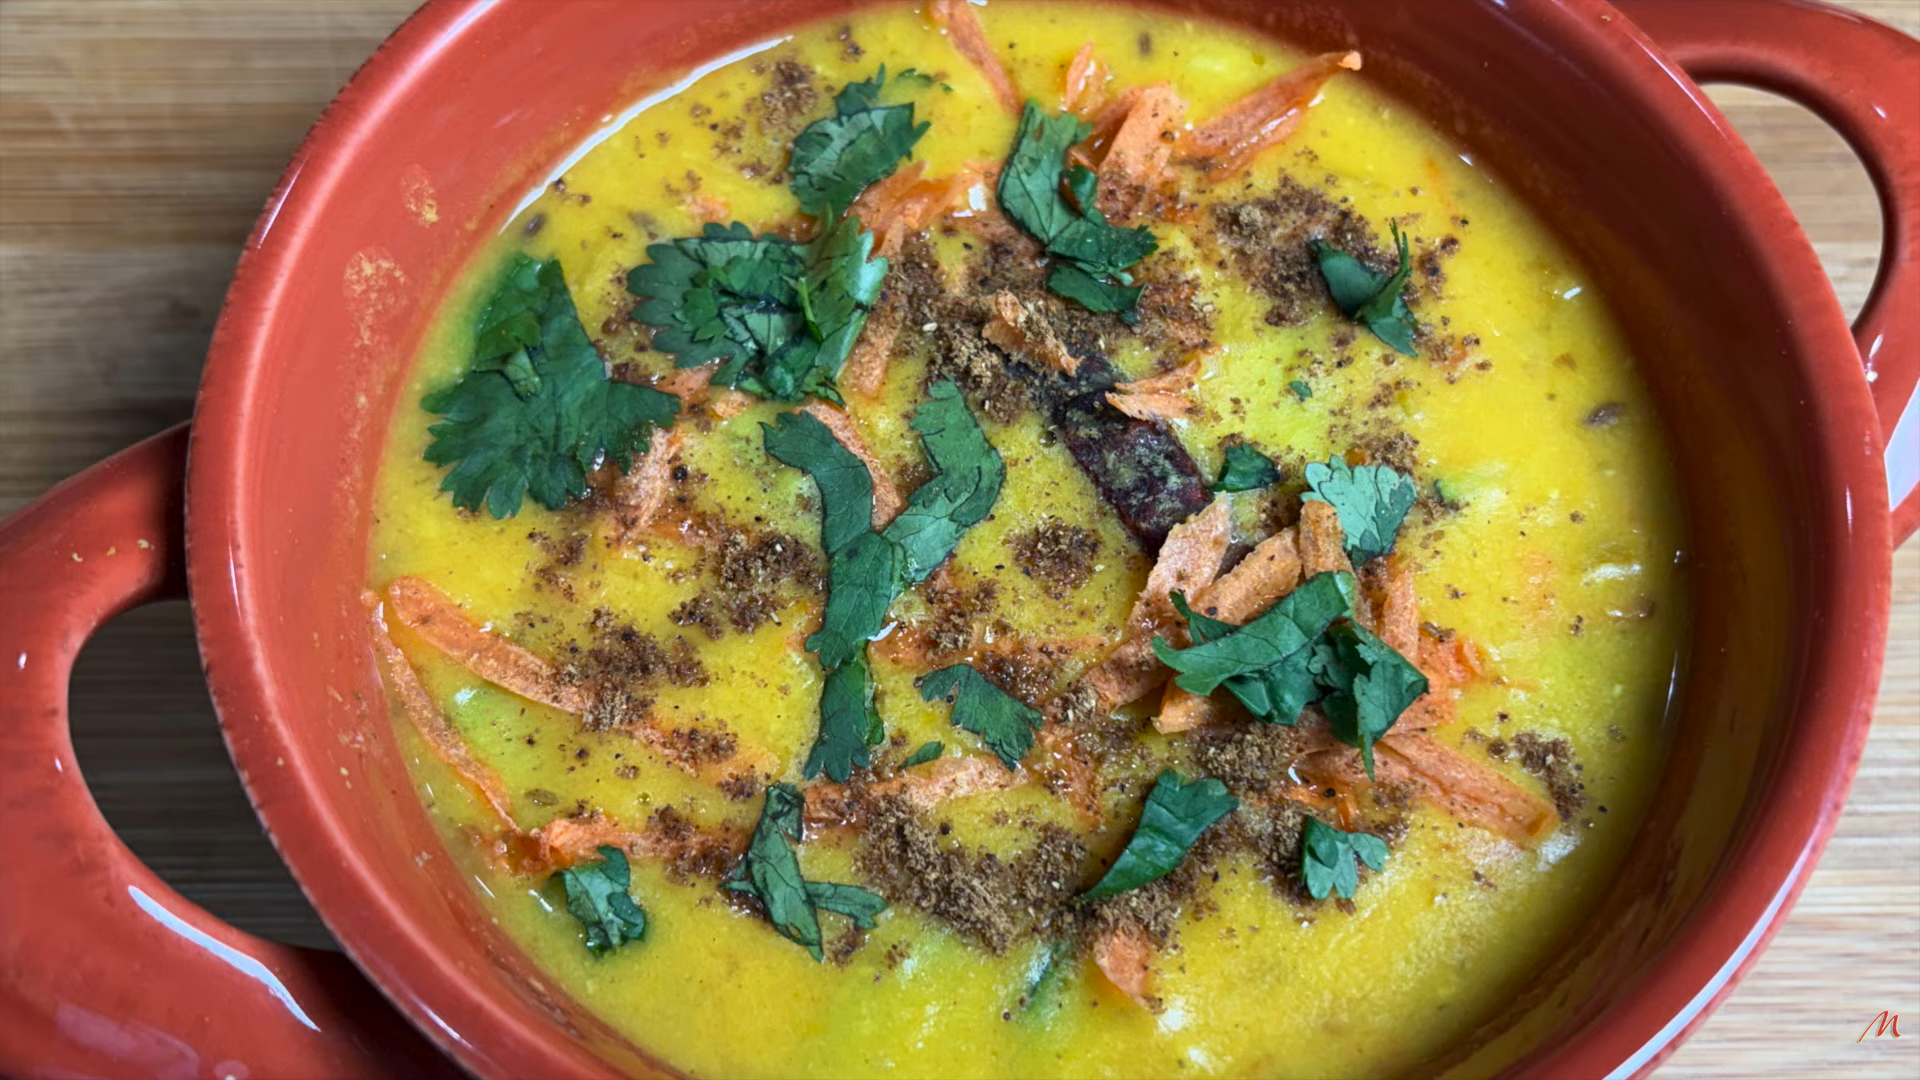
Palak Paneer
Palak Paneer is a popular paneer recipes made with spinach and cottage cheese. This dish is rich in iron and protein, making it a suitable option for Indian vegetarian recipes. It can be paired with whole wheat roti or brown rice for a balanced meal, making it one of the best vegetarian Indian recipes for dinner.
Dinner Recipes
Baingan Bharta
Baingan Bharta is a smoky and flavorful eggplant dish that fits perfectly within Indian vegetarian dinner recipes. This dish is made by roasting eggplants and cooking them with tomatoes, and spices. It’s a delicious and nutritious way to enjoy Indian recipes vegetarian style.
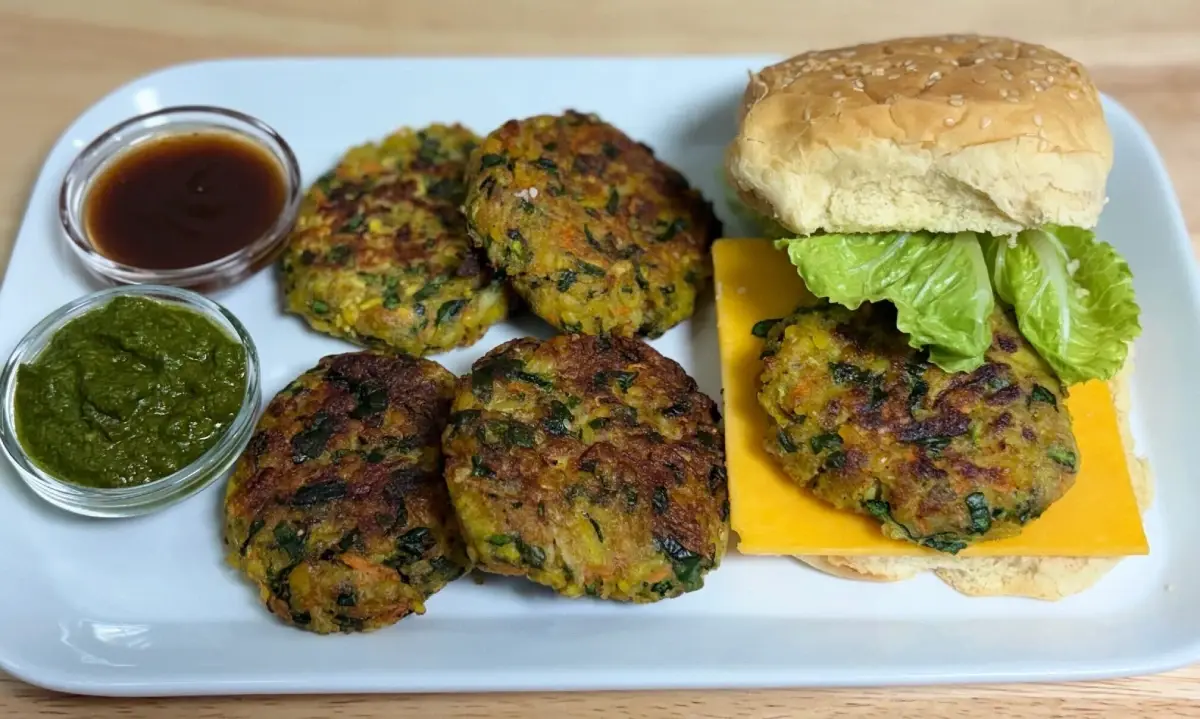
Mixed Vegetable Curry
Mixed Vegetable Curry is a hearty and nutritious dish that combines a variety of vegetables with aromatic spices. This dish is a staple in Indian vegetarian recipes and is a perfect indian dinner recipes It’s a great way to incorporate more vegetables into your diet and enjoy healthy Indian recipes.
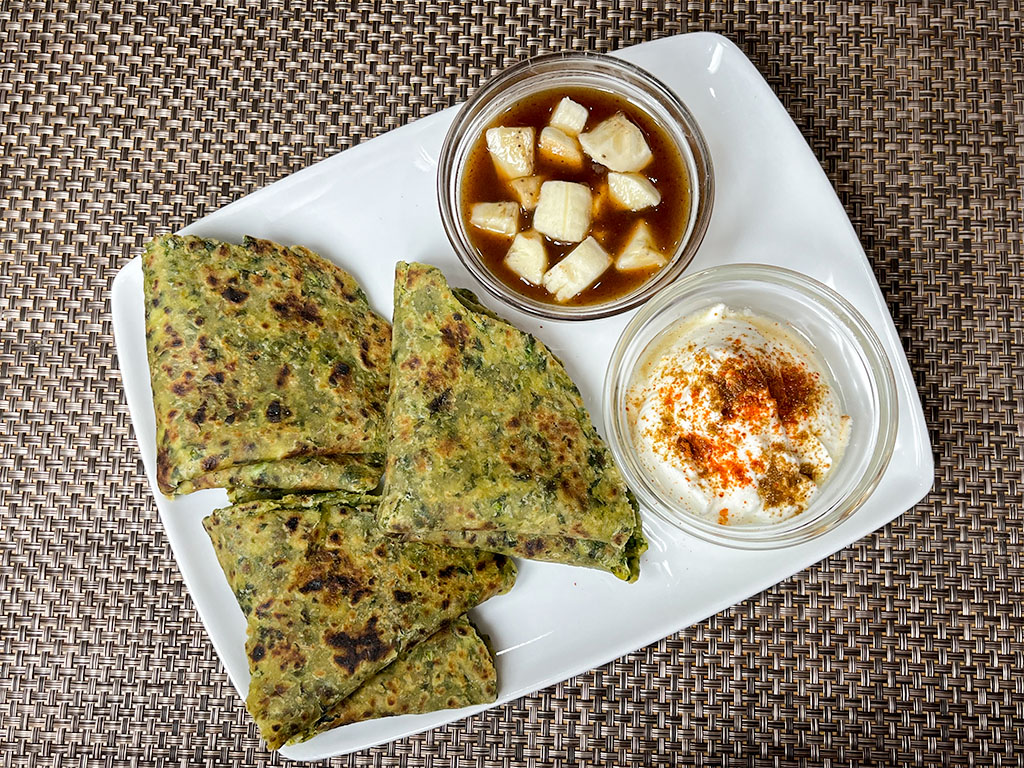
Snack Recipes
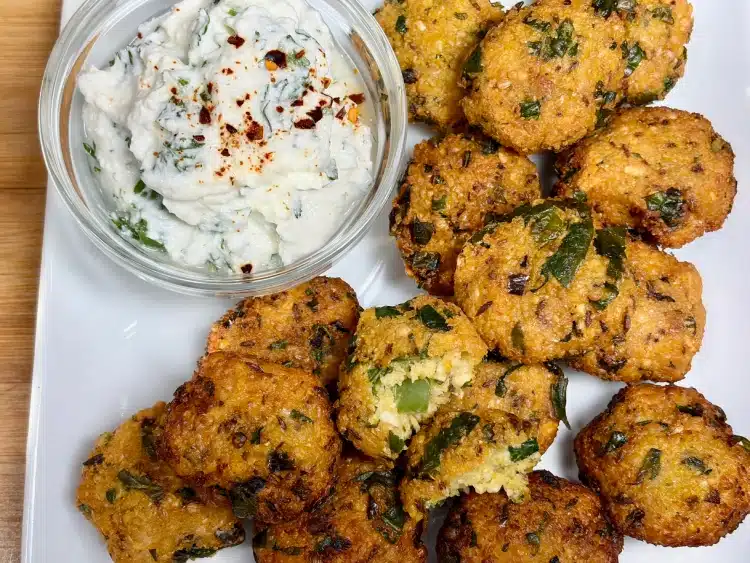
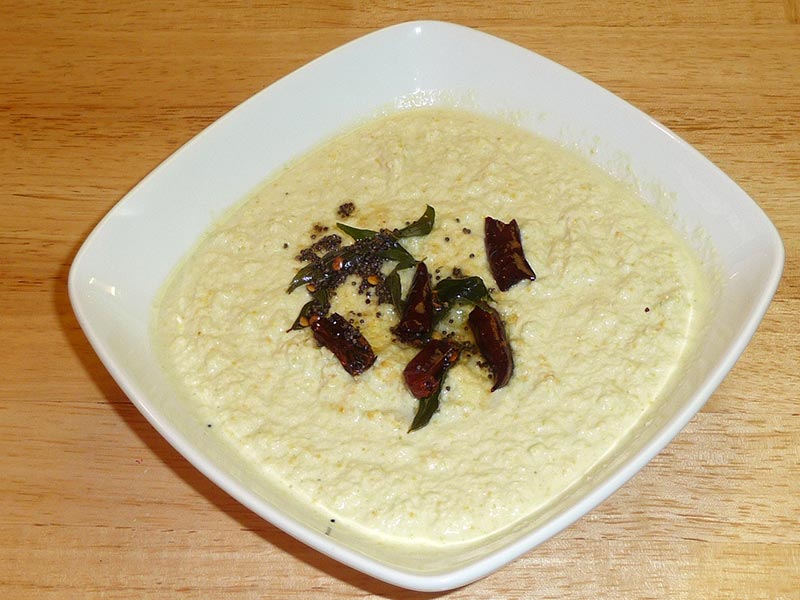
Sprout Salad
Sprout Salad is a refreshing and nutritious snack that fits well within Indian healthy recipes. Made with sprouted legumes, fresh vegetables, and a tangy dressing, this salad is a perfect example of vegetarian Indian recipes that are healthy and delicious.
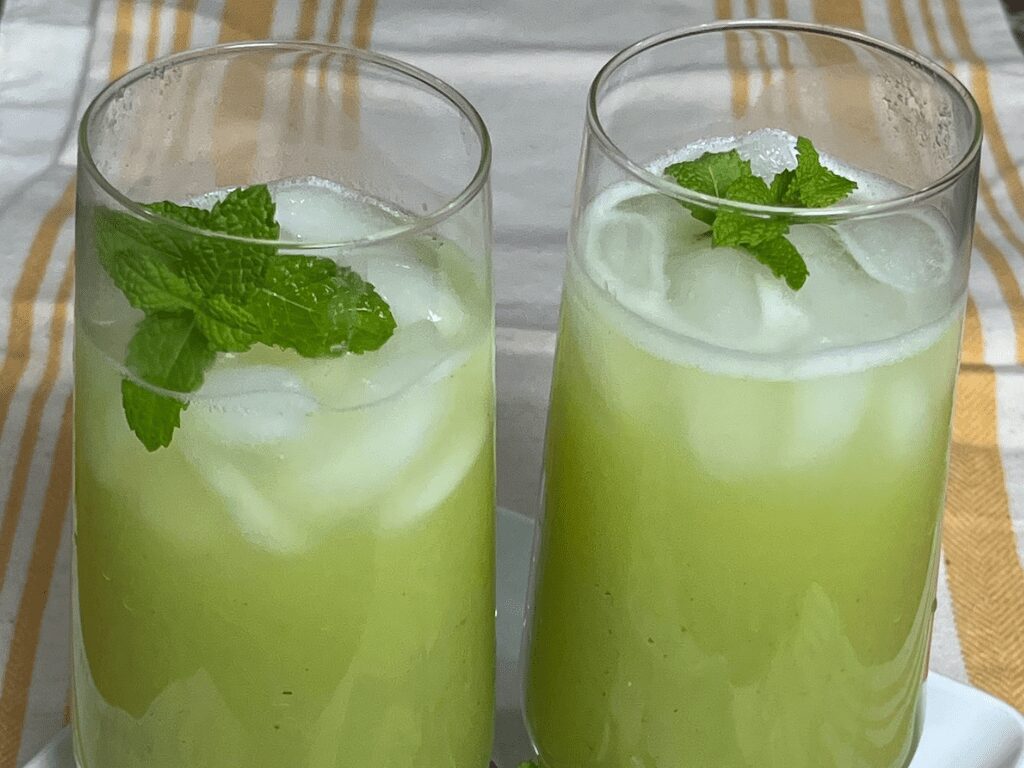
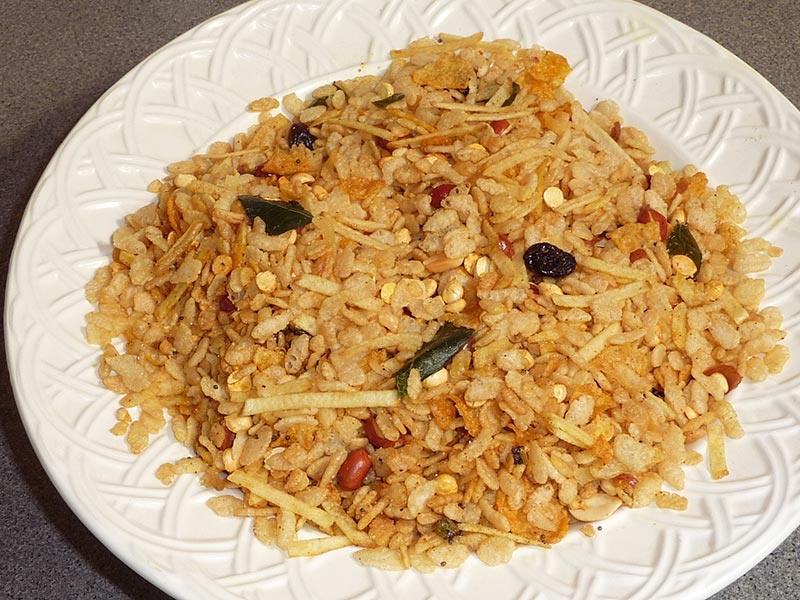
Masala Corn
Masala Corn is a quick and easy snack made with boiled corn kernels, spices, and lime juice. This snack is not only tasty but also fits perfectly into the healthy Indian recipes category. It’s a great way to enjoy a healthy and satisfying snack.
Dessert Recipes
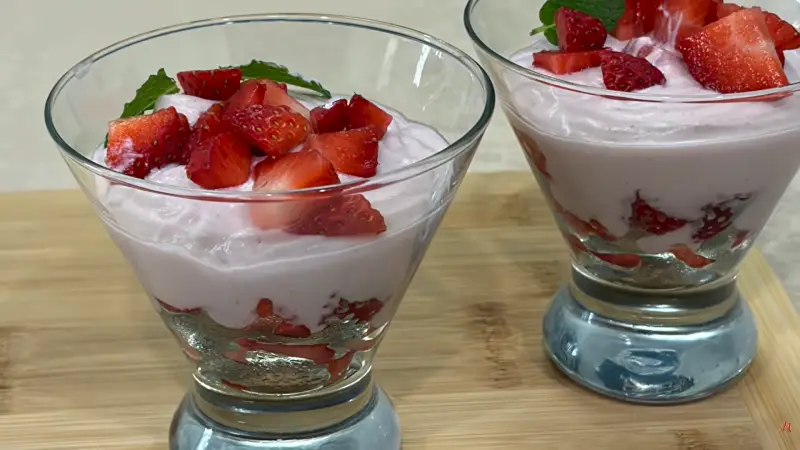
Fruit Chaat
Fruit Chaat is a nutritious and refreshing Indian dessert made with a mix of fresh fruits, spices, and lime juice. This dessert is a delightful example of Indian healthy recipes that can be enjoyed as a dessert or a snack. It’s perfect for those looking for a sweet treat that is also healthy.
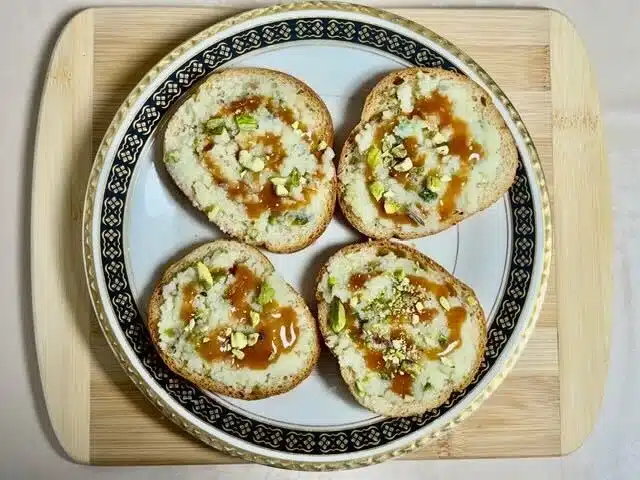
Carrot Halwa
Carrot Halwa, made with grated carrots, milk, and a sugar substitute, is a delightful dessert that can be enjoyed by those looking for healthy Indian recipes. This traditional Indian sweet is modified to reduce sugar content while retaining its delicious taste.
Enhancing Your Healthy Menu
To make your healthy menu even more delightful, consider adding dishes from related categories that complement these Indian vegetarian recipes. Adding Indian snacks like masala corn and sprout salad can provide a variety of flavors and textures. For a sweet ending, explore Indian desserts such as fruit chaat and carrot halwa, made with healthy ingredients. Incorporating healthy recipes like quinoa salad and mixed vegetable curry can offer lighter options for your meals. Hosting a large gathering? The popular party recipe category is filled with dishes that are sure to impress your guests and make your celebration memorable. Including North Indian recipes like palak paneer or baingan bharta can add a touch of authenticity to your meal.
Frequently Asked Questions (FAQs)
Q: What are some popular Indian vegetarian recipes?
A: Some popular Indian vegetarian recipes include Oats Upma, Moong Dal Cheela, Quinoa Salad, Palak Paneer, Baingan Bharta, Mixed Vegetable Curry, Sprout Salad, Masala Corn, Fruit Chaat, and Carrot Halwa.
Q: How can I make traditional Indian food healthy?
A: To make traditional Indian food healthy, try recipes like Oats Upma, Quinoa Salad, and Palak Paneer. These recipes are modified to include more vegetables and whole grains while retaining their authentic flavors.
Q: What are some vegetarian Indian recipes for a party?
A: Some vegetarian Indian recipes for a party include Palak Paneer, Mixed Vegetable Curry, Sprout Salad, and Masala Corn. These dishes are flavorful and perfect for gatherings while being mindful of health.
Q: Can I prepare healthy Indian food in advance?
A: Yes, many healthy Indian recipes can be prepared in advance and stored. Snacks like Masala Corn and Sprout Salad can be made ahead of time, while dishes like Quinoa Salad and Mixed Vegetable Curry can be prepped and refrigerated.
Q: What are some healthy options for Indian vegetarian food?
A: Some healthy options for Indian vegetarian recipes include Quinoa Salad, Vegetable Stir Fry, Oats Upma, and Moong Dal Cheela. These dishes are high in fiber and protein, helping to maintain energy levels effectively.
Conclusion
Indian vegetarian recipes are a celebration of healthy and flavorful foods. Whether you’re looking for vegetarian Indian recipes or Indian vegetarian dinner recipes, these dishes will bring variety and nutrition to your meals. So, gather your ingredients, try out these recipes, and create delicious meals that are mindful of your health needs. Don’t forget to explore related categories for more delightful recipes from Manjula’s Kitchen!
By incorporating these dishes into your diet, you’ll be able to enjoy a wide variety of delicious and nutritious foods. Whether you’re looking for breakfast, snacks, main courses, or desserts, there’s an Indian vegetarian recipe to suit every taste. Happy cooking and healthy eating!
