Recipe submitted by Jeeja Jaison
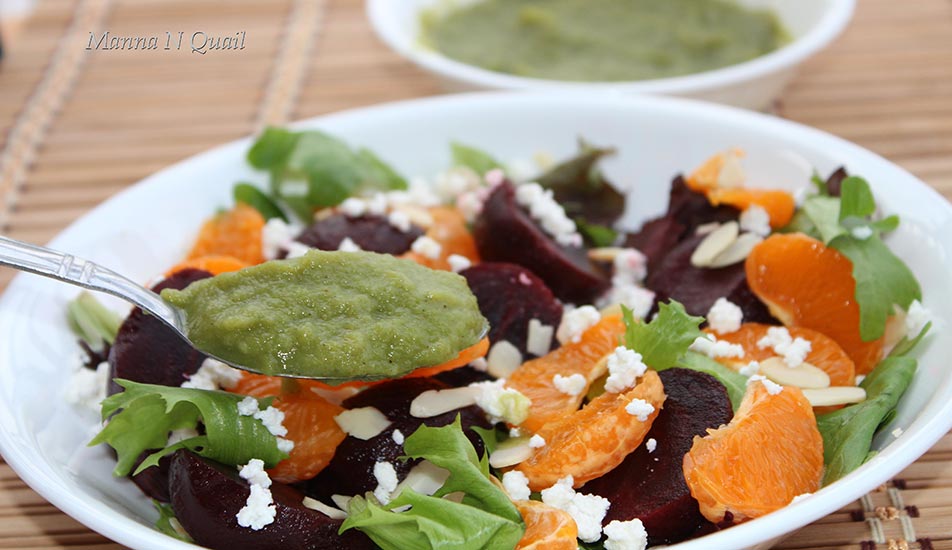
Beet salad with Mango dressing
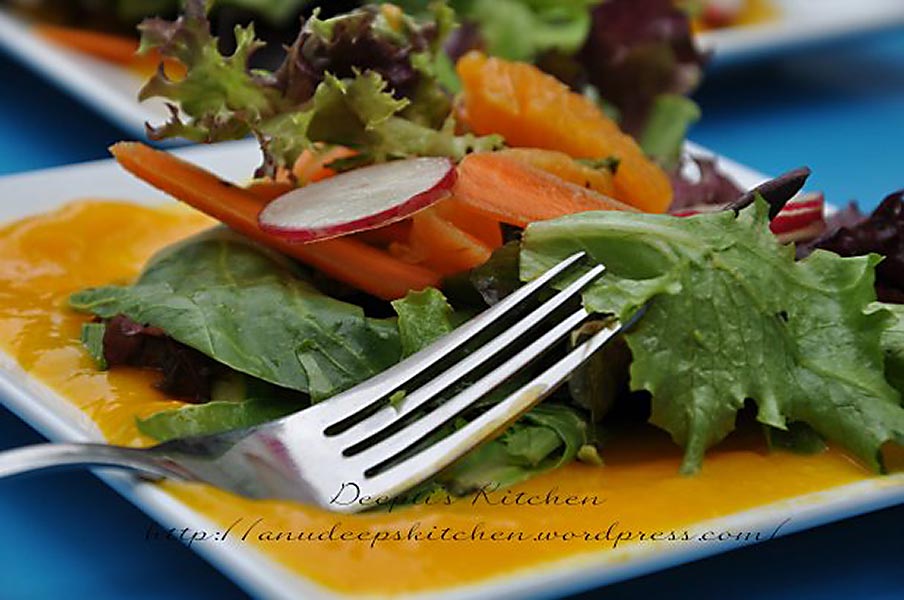
This delicious healthy salad is an alluring combination of roasted beets, mandarin oranges, leafy greens with creamy mango dressing. The mixture of sweet and tart flavors with a tangy mango dressing turns this salad recipe into something special. Total time: 1 Hour This recipe will serve 4.
Ingredients
- 4 small beets
- 2 teaspoons olive oil
- 1/4 tsp black pepper
- About 4 cups baby salad greens
- 2 mandarin oranges, peeled and sectioned
- 1/4 cup crumbled fresh paneer (optional)
- 2 tbsp coarsely chopped almonds, toasted
Dressing
- 1 medium sized raw mango, peeled and cut into cubes.
- 2 sprigs of cilantro/coriander leaves, stem removed
- Approx 2 tbsp fresh lime juice, or to taste
- Approx 1 tsp honey
- 1/4 tsp roasted ground cumin seeds
- 1/4 tsp of salt
Instructions
- Preheat oven to 375 degrees Fahrenheit. Combine beets and 2 tsp olive oil and ¼ tsp pepper in a bowl and toss to coat. Place beets in a baking pan.
- Cover tightly with aluminum foil and roast for 45 minutes or until tender when pierced with the tip of a small knife.
- When the beets have cooled slightly but are still warm, rub off the skins with a towel. Trim off roots.
- Cut beets into ½ inch wedges; cool completely.
- Blend all the dressing ingredients together until creamy. Adjust seasonings to taste, adding more honey, lime juice, or salt if desired.
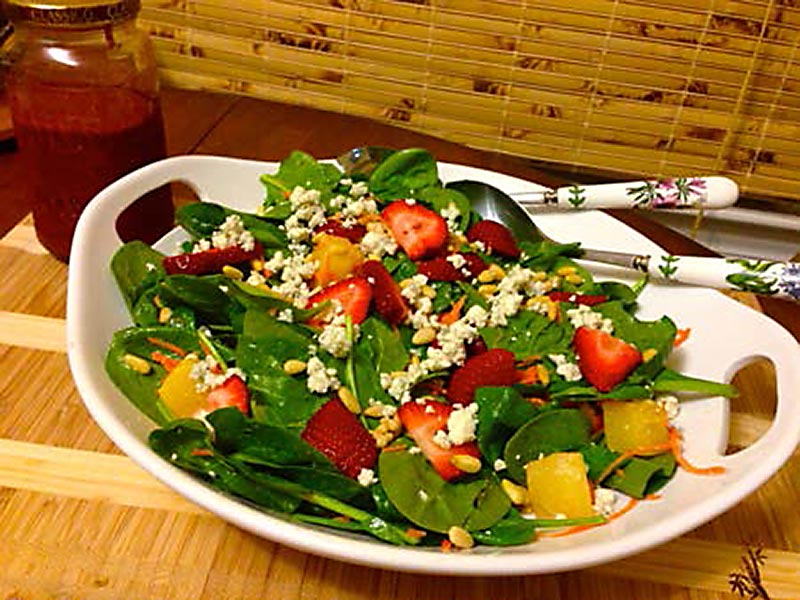
- Place greens and beets in a large bowl; Scatter the orange segments in the bowl. Pour the dressing over salad and toss gently. Top each serving with 1 tablespoon crumbled paneer and 1 1/2 teaspoons toasted almonds
Notes
Variations
- Baby salad greens can be replaced with spinach or any greens of choice.
- Instead of roasting the beets we can boil them. Cover the beets with water, bring to a boil, and simmer for 45 minutes or until beets can easily be pierced with the tip of a small knife.
- Replace the almond with roasted crushed peanuts.
- 1 cup milk
- 1/2 Tbsp lime juice with 1 tsp water
- Let the milk boil on medium high stirring continuously.
- When the milk is boiling add lime juice, then strain the paneer onto muslin/thin cotton cloth and run it under cold water, squeeze excess water.
Tried this recipe?Let us know how it was!