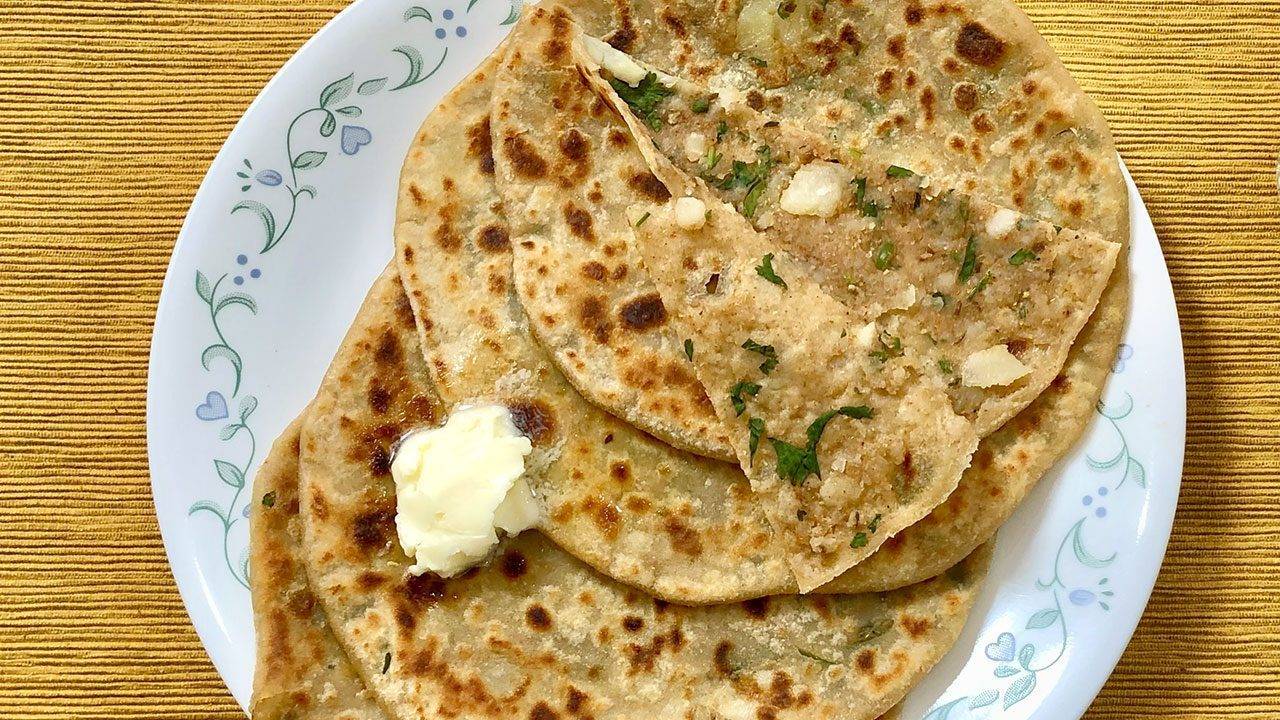

Spinach Almond Paratha

Spinach Almond Paratha is a delicious unleavened Indian flatbread made on a skillet. There are many variations of parathas, most of which are made with whole wheat flour. Parathas can be plain or stuffed with various fillings.
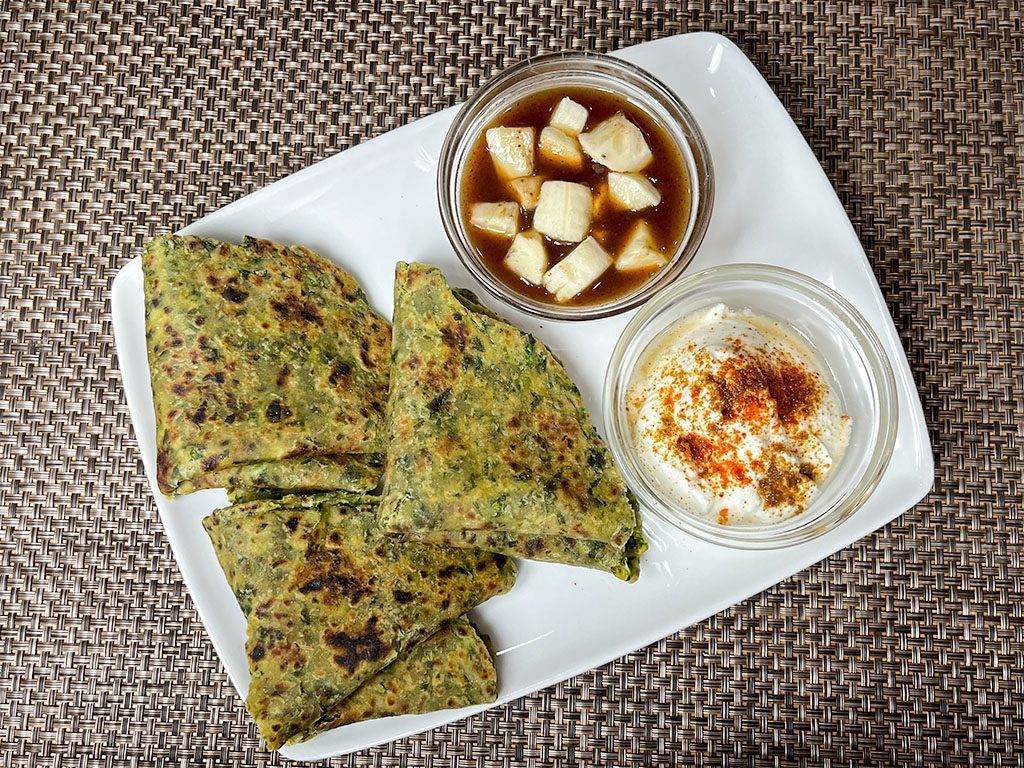
Spinach Almond Paratha is a healthy indian recipe and tasty option. It is crispy on the outside and soft on the inside. This paratha is made with spinach, almond flour, whole wheat flour, and some spices. It can be served for indian breakfast recipe with butter, yogurt, or pickle, or as part of a meal alongside toor dal or a gravy-based dish.
Almond Spinach Paratha has a beautiful green color and is a nutritious alternative, especially great for incorporating spinach into your diet.
When making indian parathas, it's important to know how to roll and fold them. While rolling the dough, apply oil or ghee and fold it to create layers. This technique results in parathas that are crisp on the outside and have a soft texture inside.
Another advantage of parathas is that they keep well, making them perfect for lunch boxes or for picnics.
- 1 cup whole wheat flour, atta
- ½ cup almond flour – badam ka powder
- 1½ cup chopped spinach, Palak
- 1 tbspn oil
- 1 tsp cumin seeds, jeera
- ½ tsp salt
- ¼ tsp black pepper, kali mirch
- ⅛ tsp asafetida, hing
- ½ cup chilled water
- ½ tsp red chili flake (if you like hot and spicy)
- ¼ cup whole wheat flour (for rolling paratha)
- 2 tbsp oil (for cooking parathas)
-
Mix all the ingredients together in a bowl, except water: flour, almond flour, chopped spinach, salt, black pepper, cumin seeds, asafetida, and oil. Add water as needed to make a firm dough (as it sits dough will get soft). Grease your palm and knead the dough until all the ingredients are combined. Let the dough sit aside for about 15 minutes.
-
Knead the dough on a lightly greased surface until it becomes soft. Divide the dough into four equal parts and form them into balls. Roll each dough ball into a 3-inch circle. Spread about 2 drops of oil on each circle and fold them into triangles. Repeat this process for all four triangles.
-
Meanwhile, heat a heavy skillet on medium heat until moderately hot. To test if the skillet is ready, sprinkle a few drops of water on it. When the water sizzles right away, the skillet is ready.
-
Take one dough ball and lightly press it on both sides on a surface dusted with dry flour. Using a rolling pin, roll the dough into a 7–8-inch circle. If the dough starts sticking, dust it with more flour.
-
Place the paratha on the skillet. When you see the color change and the paratha puffs up in different places, turn the paratha over. After a few seconds, spread 1/2 teaspoon of oil onto the paratha. Turn the paratha over again and spread another 1/2 teaspoon of oil. Using your spatula, lightly press the entire surface of the paratha to help it cook all the way through.
-
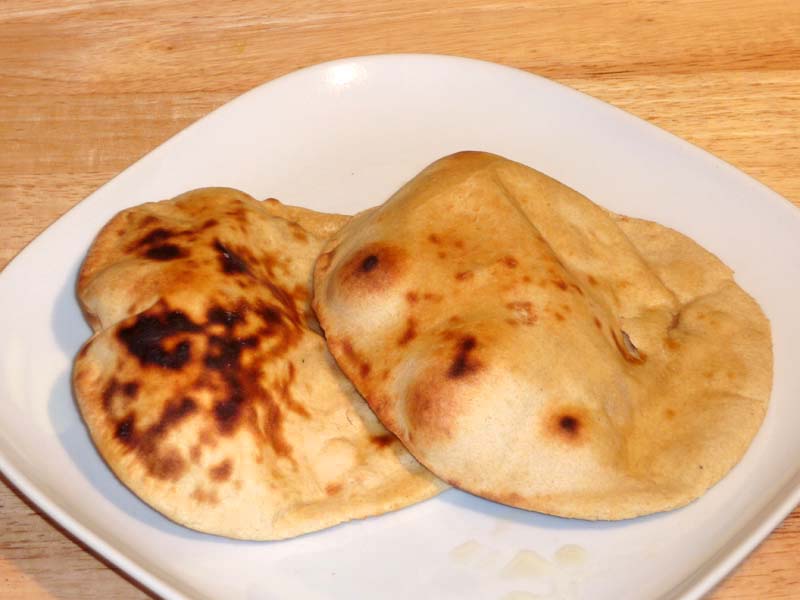
After a few seconds, flip the paratha and press with the spatula, ensuring it is golden-brown on both sides. Repeat this process for the remaining parathas.
-
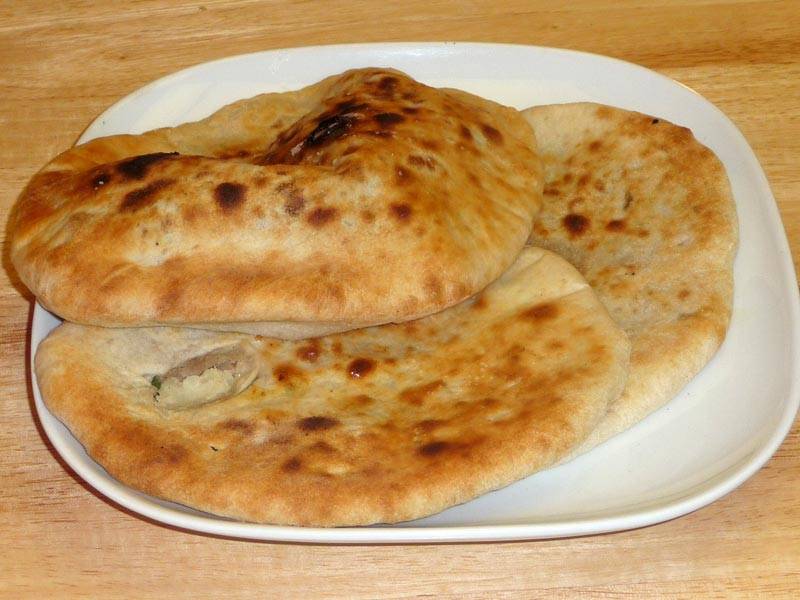
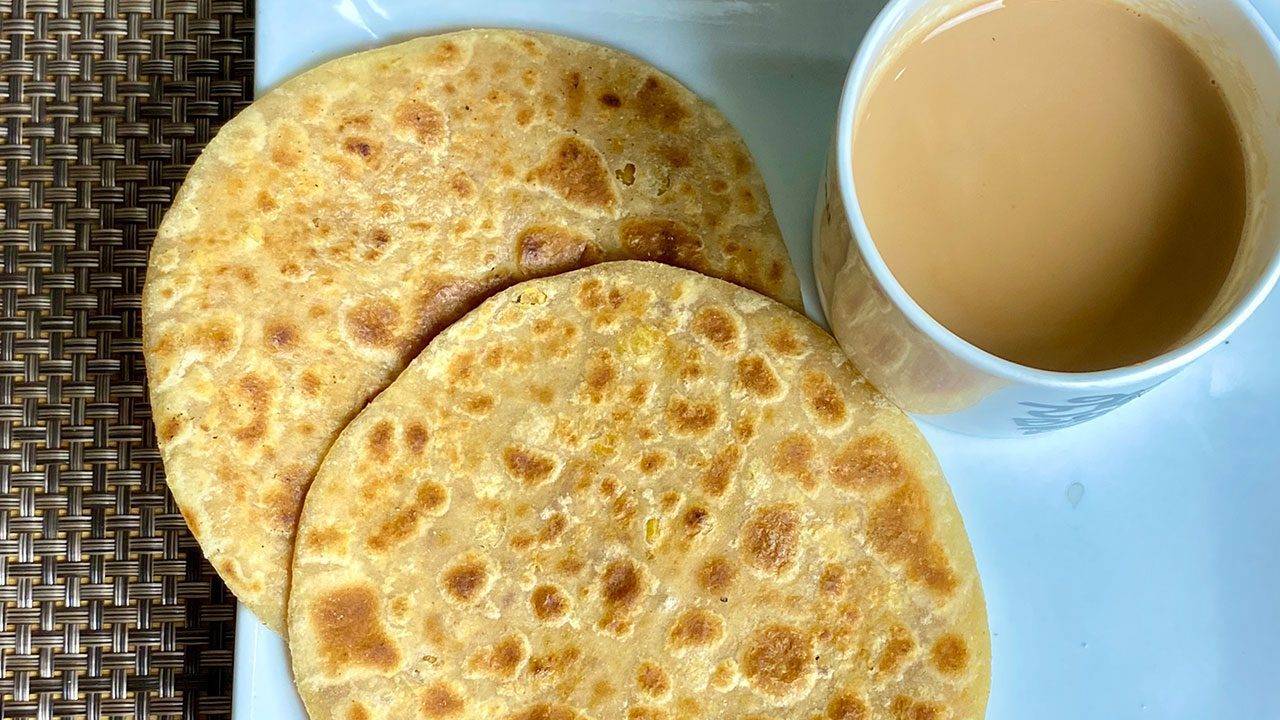
For the best taste serve paratha hot, taste great with hot cup of Chai. Enjoy!
When making parathas, it’s important to know how to roll and fold them. While rolling the dough, apply oil or ghee and fold it to create layers. This technique results in parathas that are crisp on the outside and have a soft texture inside.
Spinach Almond paratha taste great when cooked with ghee, (clarified butter).
Serving suggestions:
For breakfast serve the Spinach Almond Paratha with yogurt and pickle, or as part of a meal alongside dal or a gravy-based dish.
Introduction
Spinach Almond Paratha is a nutritious and flavorful Indian flatbread that combines the goodness of spinach and the crunch of almonds. This spinach almond paratha recipe is perfect for a healthy indian recipes breakfast, lunch, or indian dinner recipes. The addition of spinach not only enhances the nutritional value but also adds a vibrant green color, while the almonds provide a delightful crunch and a boost of healthy fats and proteins.
The Essence of Spinach Almond Paratha
The essence of spinach almond paratha lies in its blend of fresh spinach and finely chopped almonds. The spinach is mixed into the dough, making each bite packed with nutrients and flavor. The almonds add a unique texture and richness, making this paratha a wholesome and satisfying meal.
Origin and Popularity
Parathas are a staple in Indian cuisine, particularly in North India. They are enjoyed in various forms, stuffed with different fillings or mixed with ingredients like spinach and almonds. This healthy paratha recipe is a modern twist on the traditional paratha, incorporating superfoods to make it even more nutritious and delicious.
Why You’ll Love This Recipe
- Nutritious and Delicious: Packed with vitamins, minerals, and healthy fats from spinach and almonds.
- Easy to Make: Simple ingredients and straightforward steps make this recipe accessible to everyone.
- Versatile: Can be enjoyed as a main dish, side dish, or even as a snack.
- Perfect for Any Meal: Ideal for breakfast, lunch, or dinner.
How to Make Spinach Almond Paratha: Here’s a step-by-step guide on how to make spinach almond paratha:
- Prepare the Ingredients:
- Fresh spinach, washed and finely chopped.
- Almonds, finely chopped or ground.
- Whole wheat flour, water, and salt for the dough.
- Optional spices: cumin powder, garam masala, and green chilies for extra flavor.
- Make the Dough:
- In a large mixing bowl, combine whole wheat flour, chopped spinach, and almonds.
- Add salt and any optional spices.
- Gradually add water and knead the mixture into a soft dough.
- Cover the dough and let it rest for 15-20 minutes.
- Roll Out the Parathas:
- Divide the dough into equal-sized balls.
- Roll each ball into a flat circle using a rolling pin, dusting with flour as needed to prevent sticking.
- Cook the Parathas:
- Heat a tawa or skillet over medium heat.
- Place a rolled-out paratha on the hot tawa and cook until bubbles start to form.
- Flip the paratha and cook the other side until golden brown spots appear.
- Apply a small amount of oil or ghee on both sides and cook until crispy and fully cooked.
- Serve Hot:
- Serve the spinach almond parathas hot with yogurt, pickles, or your favorite curry.
Variations of Parathas
Exploring Manjula’s Kitchen reveals a treasure trove of other delicious paratha recipes that you might enjoy. Here are some related parathas that you might find interesting:
- Aloo Paratha: A classic stuffed paratha with a spiced potato filling.
- Paneer Paratha: Paratha stuffed with a flavorful paneer (Indian cottage cheese) filling.
- Methi Paratha: A healthy paratha made with fresh fenugreek leaves.
- Gobhi Paratha: Paratha stuffed with a spiced cauliflower filling.
- Palak Paratha: Another spinach-based paratha, perfect for a nutritious meal.
Serving Suggestions
Spinach almond paratha can be enjoyed in various ways:
- With Yogurt: Serve with plain or flavored yogurt for a cooling side.
- With Pickles: Pair with Indian pickles for a tangy contrast.
- With Raita: Serve with a refreshing cucumber or mint raita.
- As a Wrap: Use the paratha as a base for wraps, adding vegetables or paneer.
- With Curries: Enjoy with your favorite vegetarian curry.
Tips and Tricks
To perfect your spinach almond paratha recipe, consider these helpful tips:
Use Fresh Ingredients: Fresh spinach and high-quality almonds enhance the flavor.
Knead Well: Ensure the dough is well-kneaded for a soft and pliable texture.
Rest the Dough: Letting the dough rest helps it become more elastic and easier to roll out.
Cook on Medium Heat: Cooking on medium heat ensures the paratha is cooked through without burning.
Customize Spices: Adjust the spices to suit your taste preferences.
FAQs
Can I Use Frozen Spinach?
Yes, you can use frozen spinach. Thaw and drain it well before adding to the dough.
How Long Does Spinach Almond Paratha Last?
Parathas are best enjoyed fresh but can be stored in the refrigerator for up to 2 days. Reheat on a tawa before serving.
Can I Freeze the Dough?
Yes, you can freeze the dough for up to a month. Thaw it in the refrigerator before using.
Is This Recipe Vegan?
To make this recipe vegan, use oil instead of ghee for cooking the parathas.
Can I Add Other Ingredients?
Feel free to add other ingredients like grated carrots, beetroot, or different nuts for variety.