Tag: Low Carb Side Dishes
Exploring Low Carb Side Dishes: A Guide to Nutritious Indian Recipes
Introduction
Maintaining a diet with low carbohydrate intake can be challenging, especially when looking for complementary side dishes that are both nutritious and flavorful. This article delves into a variety of low carb side dishes, with a focus on Indian vegetarian options that fit this dietary requirement. By exploring easy low carb side dishes, you can enjoy delicious accompaniments that support your health goals.
Benefits of Low Carb Side Dishes
Incorporating low carb side dishes into your diet offers numerous benefits:
Weight Management: Low carb side dishes help in reducing overall calorie intake, aiding in weight management.
Blood Sugar Control: These dishes can help in stabilizing blood sugar levels, beneficial for diabetics and those with insulin resistance.
Nutritional Balance: Pairing main courses with low carb side dishes ensures a balanced intake of nutrients.
Popular Low Carb Side Dishes
Here is a list of low calorie foods that are must try and can be beneficial to everyone who’s interested to keep a check on their diet.
1. Cucumber Raita
Cucumber Raita is a refreshing yogurt-based side dish mixed with cucumber, mint, and spices. It’s a great example of low carb side dishes that complement spicy main courses.
2. Stir-Fried Vegetables
A medley of stir-fried vegetables like bell peppers, broccoli, and zucchini, seasoned with Indian spices, makes for a nutritious and low-carb side dish.
3. Cauliflower Rice
Cauliflower rice, seasoned with spices and herbs, serves as a versatile base or side that fits perfectly into the low carb side dishes category.
Easy Low Carb Side Dishes
For those new to this dietary approach, here are some easy low carb side dishes that are simple to prepare:
4. Masala Paneer
Masala paneer is a cubed paneer sautéed with tomatoes, and a blend of spices makes for a delicious and easy low carb side dish that is rich in protein. It’s a nice dish that comes from the paneer recipes.
5. Spinach Salad
Spinach salad is a fresh spinach salad with a light lemon dressing and sprinkled with nuts and seeds provides a quick and nutritious low carb side dish. It’s a dish that is highly nutritious and healthy amongst all indian salad recipes
6. Spiced Yogurt
Yogurt mixed with cumin, coriander, and a pinch of salt serves as a refreshing and easy low carb side dish.
Best Low Carb Side Dishes
When selecting the best low carb side dishes, it is essential to consider taste, nutritional value, and ease of preparation:
7. Roasted Brussels Sprouts
Brussels sprouts roasted with olive oil and herbs make for a flavorful and best low carb side dish that pairs well with various main courses.
8. Mixed Vegetable Soup
A light soup made with a variety of low carb vegetables like zucchini, spinach, and bell peppers, seasoned with herbs and spices, is a nourishing option.
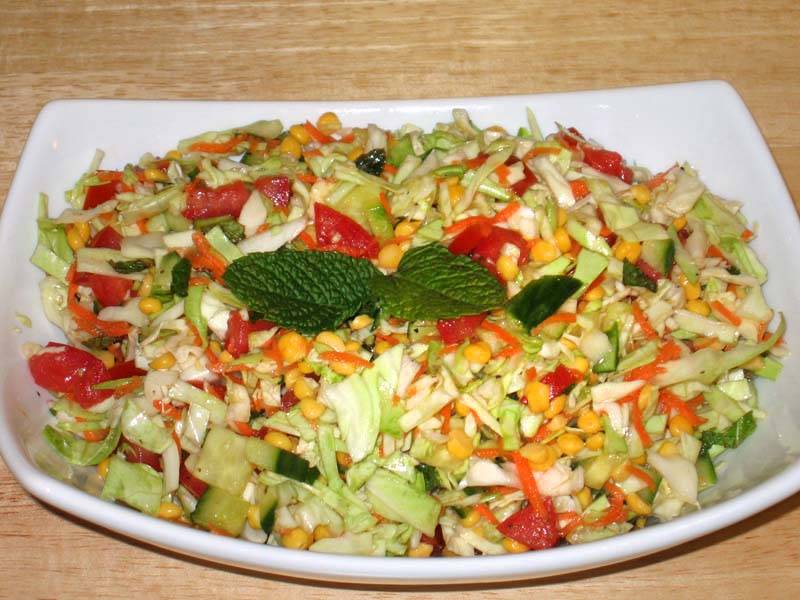
9. Chole Chaat
Chole chaat is a tangy and spicy chickpea salad with tomatoes, and a blend of chaat masala, this dish is both filling and a best low carb side dish.
FAQs about Low Carb Side Dishes
What are low carb side dishes?
Low carb side dishes are complementary dishes that have a minimal carbohydrate content, making them suitable for low carb diets.
What are some easy low carb side dishes?
Easy low carb side dishes include dishes like Masala Paneer, Spinach Salad, and Spiced Yogurt, which are simple to prepare and packed with nutrients.
What are the best low carb side dishes?
The best low carb side dishes combine great taste with nutritional value, such as Roasted Brussels Sprouts, Mixed Vegetable Soup, and Chole Chaat.
Exploring More Low Carb Side Dishes
10. Eggplant Bharta
Smoky roasted eggplant mashed and mixed with tomatoes, and spices. This dish is a flavorful and nutritious option for a low-carb side dish.
11. Green Bean Poriyal
A South Indian dish made with sautéed green beans, grated coconut, and mustard seeds, it serves as a delicious and easy low carb side dish.
12. Cabbage Stir-Fry
A simple stir-fry with cabbage, curry leaves, and spices. It is light, easy to prepare, and a perfect fit for the best low carb side dishes category.
Conclusion
Incorporating low carb side dishes into your diet can help you achieve various health goals while enjoying delicious and satisfying accompaniments. From Cucumber Raita and Stir-Fried Vegetables to Masala Paneer and Eggplant Bharta, there are plenty of options to explore.
By choosing easy low carb side dishes, you can indulge in nutritious and tasty sides that support your dietary needs. For more exciting recipes and ideas, visit Manjula’s Kitchen and discover the joy of Indian vegetarian and vegan cooking.
-
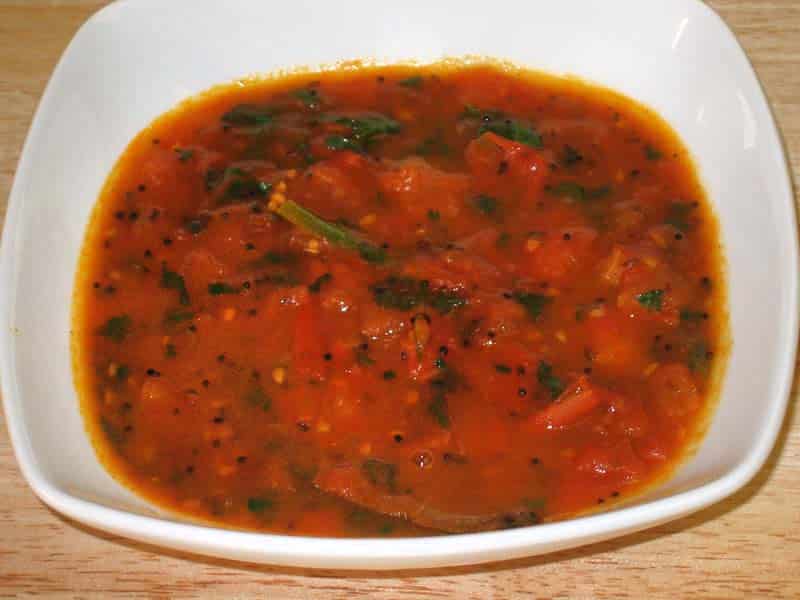
Tomato Chutney

Tomato Chutney
Perk up your meal with this savory Tomato chutney.
- 6 medium tomatoes (sliced)
- 1 tbsp ginger (shredded)
- 4 green chilli (sliced long ways)
- Pinch of asafetida (hing)
- 1 tsp cumin seed
- 1 tsp black mustard seed
- 2 bay leaves
- 1/2 tsp paprika
- 1/2 tsp turmeric
- 1 tsp salt
- 1 tsp cornstarch
- 2-3 tbsp sugar
- 2 tbsp chopped cilantro
- 2 tbsp oil
- Heat the oil in a saucepan.Test the heat by adding one cumin seed to the oil; if it cracks right away it is ready.
- Add the asafetida, black mustard seed and cumin seed. After seeds are cracked add bay leaves, paprika, and turmeric.
- Stir for a second and add sliced tomatoes and green chili.
- Cover the pan after mixture comes to boil and let it cook for 6 to 7 minutes on low medium heat; tomatoes should be soft but still be in slices.
- Mix the cornstarch with 2 teaspoons of water and add to the tomatoes (corn starch is added to give thickness to gravy but this is optional).
- Let chutney cook for another minute. Add sugar and cilantro, close the heat and cover for few minutes.
- Adjust the salt, sugar and pepper to your taste.
Tip
Add the sugar slowly as needed, depending on sourness of tomatoes.
Serving Suggestion
Tomato chutney Is my Favorite to serve with stuffed parathas, Aloo Paratha, Mattat Paratha
-
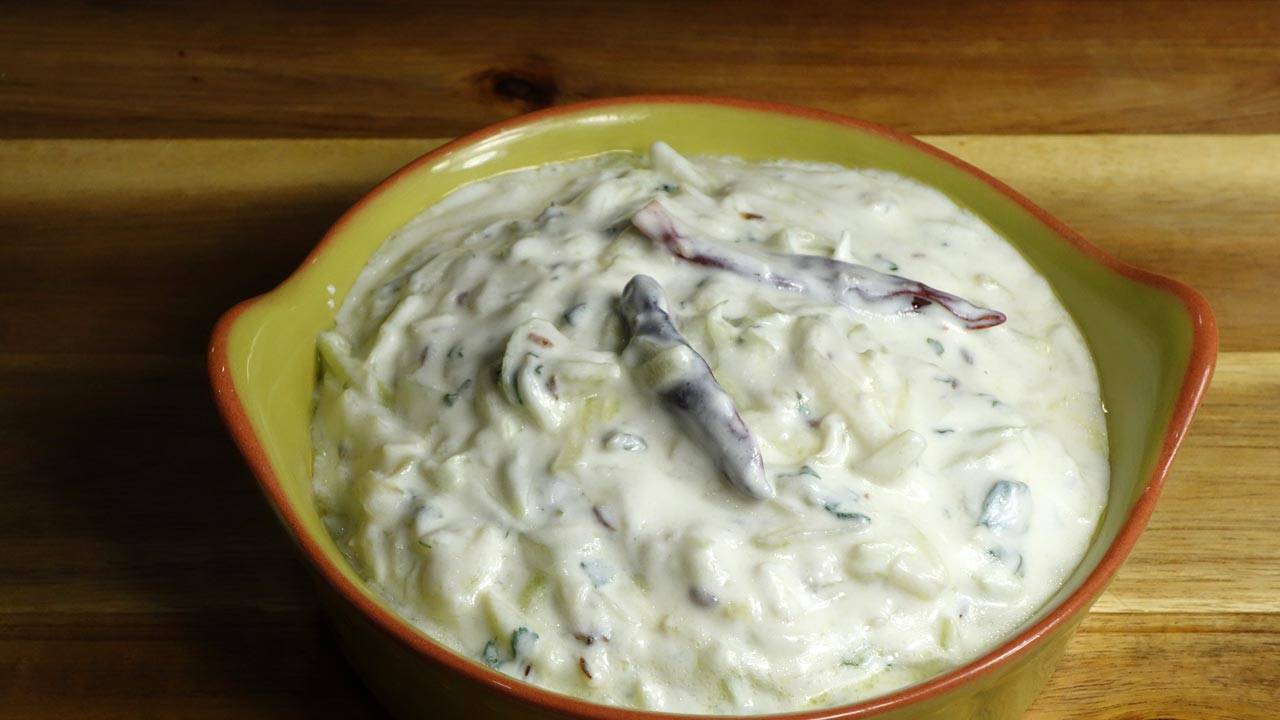
Lauki ka Raita Recipe

Lauki ka Raita – Bottle Gourd with Yogurt
Lauki raita is a refreshing yogurt-based dish made with spiced lauki and yogurt. Lauki is also known as bottle gourd, doodhi, or ghia. Lauki raita is healthy and tastes delicious. Serve this as a side dish with any Indian flatbread or over the rice.
- 1 cup yogurt (curd, dahi)
- Approx. ½ cup milk, use as needed
- 1 cup lauki grated (bottle gourd, doodhi, ghia)
- 2 tbsp oil
- 1 tbsp cumin seeds (jeera)
- 1/8 tbsp asafetida (hing)
- 2 whole red chilies (lal mirch)
- 1 tbsp ginger finely chopped (adrak)
- 1 tbsp green chilies finely chopped
- 3 tbsp cilantro finely chopped (hara dhania)
- 1/2 tbsp salt
-
Whip the yogurt and add the milk as needed to make the consistency of pancake batter, set aside.
-
Heat the oil in a saucepan on medium-high heat.
-
Add the cumin seeds and asafetida. After the cumin seeds crack, add red chilies. Stir-fry a few seconds.
-
Add lauki, ginger, green chilies, and cilantro, and stir-fry until most of the water has evaporated and the lauki is tender. This should take about four to five minutes.
-
After the lauki cools, mix it well into the yogurt.
-
Add more milk if needed.
-
For best results, serve chilled.
How To Make Lauki Ka Raita Manjula’s Kitchen
What is Raita: Raita is an accompaniment for any Indian meal and can be created in the form of Vegetable Raita, Spinach Raita, Boondi ka Raita, Cucumber Raita & Lauki ka Raita. Here we are focussing on making lauki ka raita, it’s a simple, quick & easy, gluten free, kid friendly and nutritious yogurt-based recipe featuring lauki and a selection of Indian spice powders.
Embark on a culinary journey through the vibrant flavors of India with the creation of lauki ka raita, a delightful yogurt-based dish infused with the subtle essence of bottle gourd. As you delve into the intricacies of preparing this luscious accompaniment, each step unveils a symphony of flavors and textures, culminating in a harmonious blend that tantalizes the taste buds. Let’s explore the art of making lauki raita in the following steps, from whipping the yogurt to adjusting the consistency and serving it chilled.
Step 1: Preparing the Creamy Base
Begin the culinary adventure by whipping the yogurt to perfection, creating a creamy base that serves as the canvas for the upcoming infusion of flavors. Adjust the consistency with milk, aiming for a texture resembling pancake batter—smooth and velvety, yet with a slight thickness that holds its form. This foundational process is key to understanding how to make lauki raita, setting the stage for the transformative journey ahead.
Step 2: Heating Oil and Infusing Flavors
In a saucepan, the culinary symphony commences as the oil sizzles to life over medium-high heat, signaling the start of a flavorful escapade. Introduce cumin seeds and asafetida to the shimmering oil, allowing their fragrant essence to permeate the air—a prelude to the aromatic dance of lauki. As the spices release their captivating aroma, add red chilies, igniting a fiery overture in the process of how to make lauki raita. This flavorful blend sets the stage for the starring ingredient, the humble bottle gourd.
Step 3: Stir-Frying Lauki and Aromatic Elements
Harmonize the flavors within the saucepan by adding lauki, ginger, green chilies, and cilantro, each ingredient adding its unique melody to the culinary composition. Stirring diligently, allow the ingredients to intertwine, coaxing out their inherent flavors as the lauki tenderizes and most of its water evaporates. In just four to five minutes, this vibrant medley becomes a pivotal step in the process of making lauki ka raita, infusing the dish with the rich essence of bottle gourd.
Step 4: Blending Lauki into Yogurt
Once the stir-fried lauki has cooled to a gentle warmth, seamlessly blend it into the whipped yogurt—a transformative moment in the journey of how to make lauki raita. This integration forms the heart of lauki ka raita, marrying creamy textures with vibrant flavors in a harmonious union. Ensure a seamless amalgamation by thoroughly mixing the cooled lauki into the yogurt, allowing the flavors to meld and evolve.
Step 5: Adjusting Consistency and Chilling
Fine-tune the lauki raita’s consistency to perfection by adding more milk if necessary, a meticulous detail in perfecting the lauki ka raita recipe. This adjustment ensures a harmonious blend of ingredients, resulting in a delectable texture that is neither too thick nor too thin. For an optimal dining experience, allow the flavors to meld and intensify by serving the raita chilled—a refreshing conclusion to the culinary journey of how to make lauki raita.
In conclusion, the art of crafting the perfect lauki raita transcends mere culinary skill—it is a testament to the harmony of flavors and textures, the balance of spices and aromatics, and the meticulous attention to detail. Each step in the process, from whipping the yogurt to adjusting the consistency and serving it chilled, contributes to the creation of a dish that delights the senses and nourishes the soul. So, gather your ingredients, ignite the flames of your culinary creativity, and embark on a flavorful voyage through the enchanting world of lauki ka raita.
-
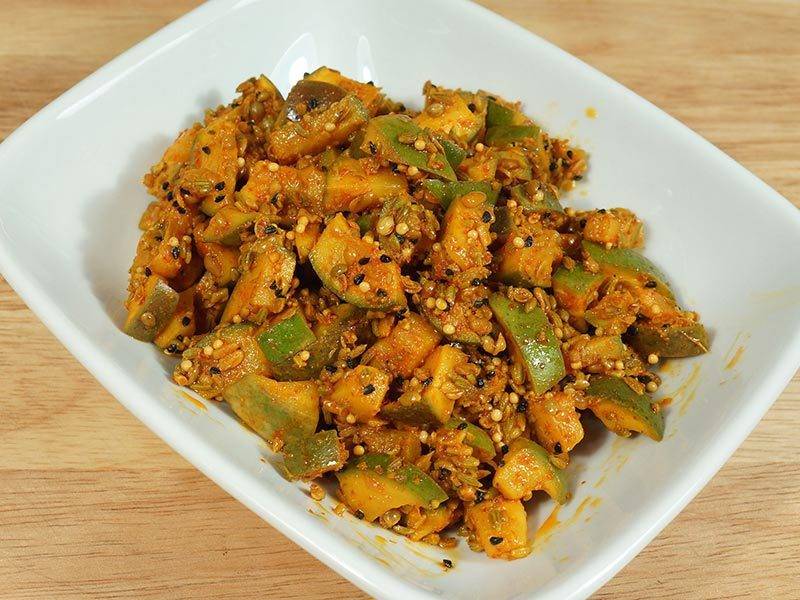
Mango Pickle (Aam ka Achar)

Mango Pickle (Aam ka Achar)
Mango pickle is a spicy and tangy gluten free condiment. Almost every Indian household has their own favorite recipes for Mango Pickle. It is a popular condiment adds the extra "oomph" to every meal.
- 1 large green mango raw pickling mango/about 2-1/2 cup cubed mango (they are available at Indian and Asian grocery store)
- 1 tablespoons salt
- 1 teaspoon red chili powder, adjust to taste (lal mirch)
- 1/4 teaspoons turmeric (haldi)
- 1 tablespoons coriander seeds crushed(dhania)
- 1 tablespoon fennel seeds crushed(Saunf)
- 1 teaspoon fenugreek seeds (sabut mathi)
- 1 teaspoon nigella seeds/kalonji
- 2 tablespoons mustard oil or olive oil
-
Wash and dry the mango, cut in small cubes with skin.
-
In a glass bowl put the mango with salt and mix it well.
-
Set aside for about 3-4 hour. Mix and by this time there will be some salt water. Squeeze the mango, and save the water, as we will use later.
-
Spread the mango slices over dry surface and let it dry out preferably in sun light for 4-5 hours. Mango slices should be little dry but still moist. Note: Mangoes will reduce in volume.
-
Add all the spices to salt water and keep it aside.
-
Mix spices, water and oil to mango slices.
-
Keep the Mango pickle in glass jar with lid on. Pickle should be ready in 4-7 days. Mango slices are nicely marinated with spices.