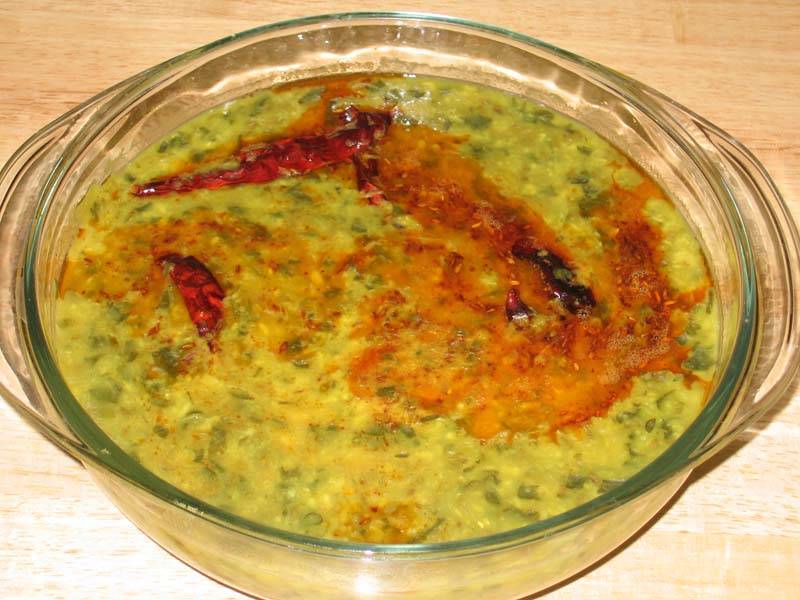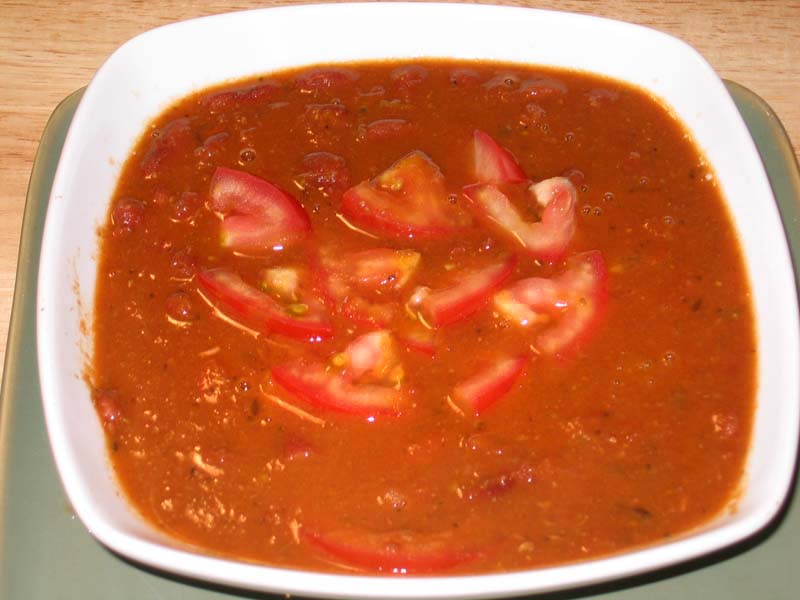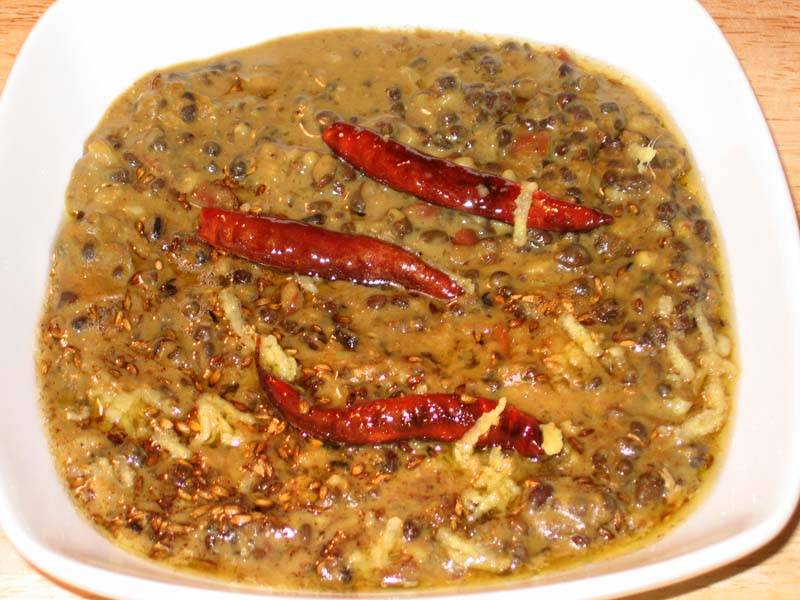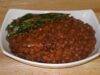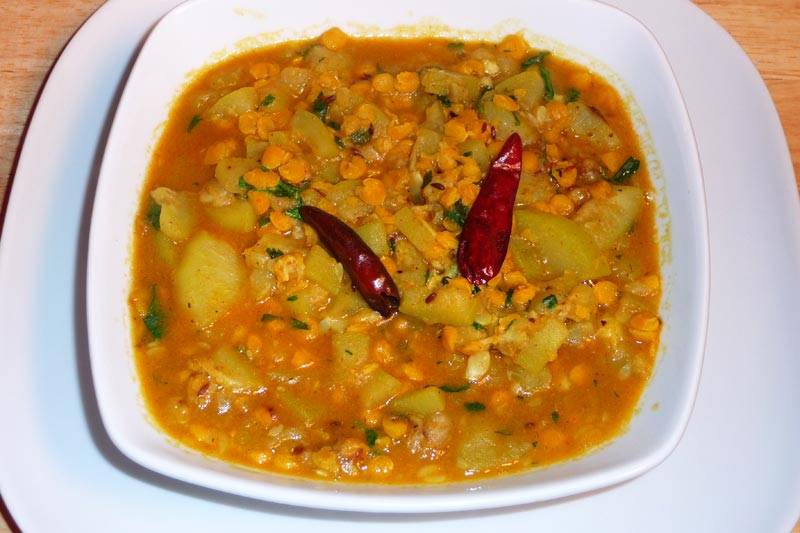

Lauki Chana Dal (Bottle Gourd, Ghiya, Doodhi)
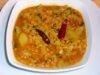

Lauki Chana Dal is is a healthful, wholesome lentil and vegetable main course dish. Having a low glycemic index, it is especially good for diabetics.
- 1 medium bottle gourd (laucki, ghiya, doodhi)
- 1/2 cup yellow split gram (chana dal)
- 2 tbsp oil
- 1/2 tsp cumin seeds (jeera)
- 1/8 tsp asafetida (hing)
- 2 whole red chilies
- 1 tsp ginger shredded (adrak)
- 1/4 tsp turmeric (haldi)
- 1/2 tsp chili powder, adjust to taste
- 1 tsp salt
- 1/2 tsp garam masala
- 1 tsp mango powder (amchoor)
- 2 tbsp cilantro finely chopped (hara dhania)
- 1 cup water used as needed
-
Wash and soak chana dal for one hour or more.
-
Peel and wash laucki (bottle gourd). Cut into half-inch cubes.
-
Heat the oil in a saucepan. Test the heat by adding one cumin seed to the oil; if the seed cracks right away, the oil is ready. Add the cumin seeds. When seeds start to crack, add the asafetida and whole red chilies. Stir for a few seconds. Add ginger, turmeric, and chili powder and stir for a few seconds.
- Add the chana dal, bottle gourd, salt, and one cup of water (adjust as needed to desired gravy thickness; bottle guard varies in moisture content).
- Cook the chana dal until soft. About fifteen minutes. Turn off the heat and add the mango powder, garam masala, and cilantro. Stir and cover the pan for a few minutes before serving.
Serving suggestion
Serve with roti (whole wheat flat bread), paratha (flat bread), or plain rice.
Variations
Mango powder can be replaced with lemon juice.
Add two tablespoons dry fenugreek leaves or two tablespoons of fresh chopped fenugreek leaves when adding the bottle gourd.
Introduction to Lauki Chana Dal
Lauki Chana Dal, also known as bottle gourd with split chickpeas, is a nutritious gluten free and flavorful dish that is popular in Indian cuisine. This wholesome recipe combines tender bottle gourd (lauki) with protein-rich split chickpeas (chana dal) to create a comforting and satisfying dish. In this Lauki Chana Dal recipe, we’ll show you how to make this delicious sabzi (vegetable dish) step by step, so you can enjoy its goodness at home.
Step 1: Preparing the Ingredients:
To start, gather all the necessary ingredients for making Lauki Chana Dal. Rinse the chana dal under cold water and soak it for a few hours or overnight to soften. Meanwhile, peel the bottle gourd and chop it into small cubes. Finely chopped tomatoes, green chilies, garlic, and ginger. Having all the ingredients prepped and ready will make the cooking process smoother.
Step 2: Cooking the Chana Dal:
In a pressure cooker or a pot, add the soaked chana dal along with water, turmeric, and salt. Pressure cook or simmer until the dal is soft and cooked through. Cooking the dal separately ensures that it’s tender and retains its shape when combined with the other ingredients later. Once the dal is cooked, set it aside while we prepare the rest of the dish.
Step 3: Tempering the Spices:
In a separate pan, heat ghee or oil over medium heat. Add cumin seeds and let them splutter. Next, add ginger, followed by chopped green chilies. Sauté until the raw aroma of the spices disappears and the mixture becomes fragrant.
Step 4: Adding the Bottle Gourd:
Once the spices are tempered, add the chopped bottle gourd to the pan. Stir well to coat the gourd pieces with the aromatic spices. Cook the bottle gourd for a few minutes until it starts to soften slightly. The gentle cooking process allows the flavors to meld together, resulting in a delicious and well-balanced dish.
Step 5: Combining with Chana Dal:
Now, add the cooked chana dal to the pan with the bottle gourd and spices. Stir gently to combine all the ingredients. Allow the mixture to simmer for a few more minutes, allowing the flavors to mingle and the bottle gourd to cook through completely. Adjust the seasoning with salt and add a pinch of garam masala for extra flavor if desired.
Step 6: Finishing Touches:
Once the Lauki Chana Dal is cooked to perfection, garnish it with freshly chopped cilantro leaves for a burst of freshness and color. You can also squeeze a bit of lemon juice over the dish to enhance its flavor. Serve the Lauki Chana Dal hot with steamed rice or roti for a wholesome and satisfying meal.
Tips for Making Perfect Lauki Chana Dal:
- Soak Chana Dal: Soaking the chana dal beforehand helps reduce cooking time and ensures that it cooks evenly.
- Don’t Overcook Bottle Gourd: Be careful not to overcook the bottle gourd, as it can become mushy. Cook until it’s tender but still retains its shape.
- Adjust Spice Level: Customize the spice level according to your preference by adjusting the amount of green chilies or adding red chili powder.
Variations of Lauki Chana Dal:
- Lauki Chana Dal Curry: Add coconut milk or tomato puree to create a creamy curry version of the dish.
- Spicy Lauki Chana Dal: Increase the amount of green chilies or add dried red chili flakes for extra heat.
- Lauki Chana Dal Soup: Blend the cooked ingredients with some vegetable broth to create a hearty and nutritious soup.
Benefits of Including Lauki Chana Dal in Your Diet
- Rich in Protein: Chana dal is an excellent source of plant-based protein, making Lauki Chana Dal a nutritious option for vegetarians and vegans.
- High in Fiber: Both chana dal and bottle gourd are rich in fiber, which aids digestion and helps keep you feeling full and satisfied.
- Loaded with Vitamins and Minerals: Lauki Chana Dal is packed with essential nutrients such as vitamin C, vitamin B6, iron, and potassium, contributing to overall health and well-being.
Frequently Asked Questions (FAQs) about Lauki Chana Dal:
Q: Can I use other lentils instead of chana dal?
A: Yes, you can use other lentils such as masoor dal or moong dal if you prefer. Keep in mind that cooking times may vary.
Q: Can I make Lauki Chana Dal ahead of time?
A: Yes, Lauki Chana Dal can be made ahead of time and stored in the refrigerator for up to 3 days. Reheat gently on the stovetop before serving.
Q: Is Lauki Chana Dal gluten-free?
A: Yes, Lauki Chana Dal is naturally gluten-free, making it suitable for those with gluten intolerance or celiac disease.
For more delicious Indian vegetable recipes, visit Manjula’s Kitchen. Explore a variety of vegetarian dishes featuring seasonal vegetables, lentils, and spices to add variety and flavor to your meals.